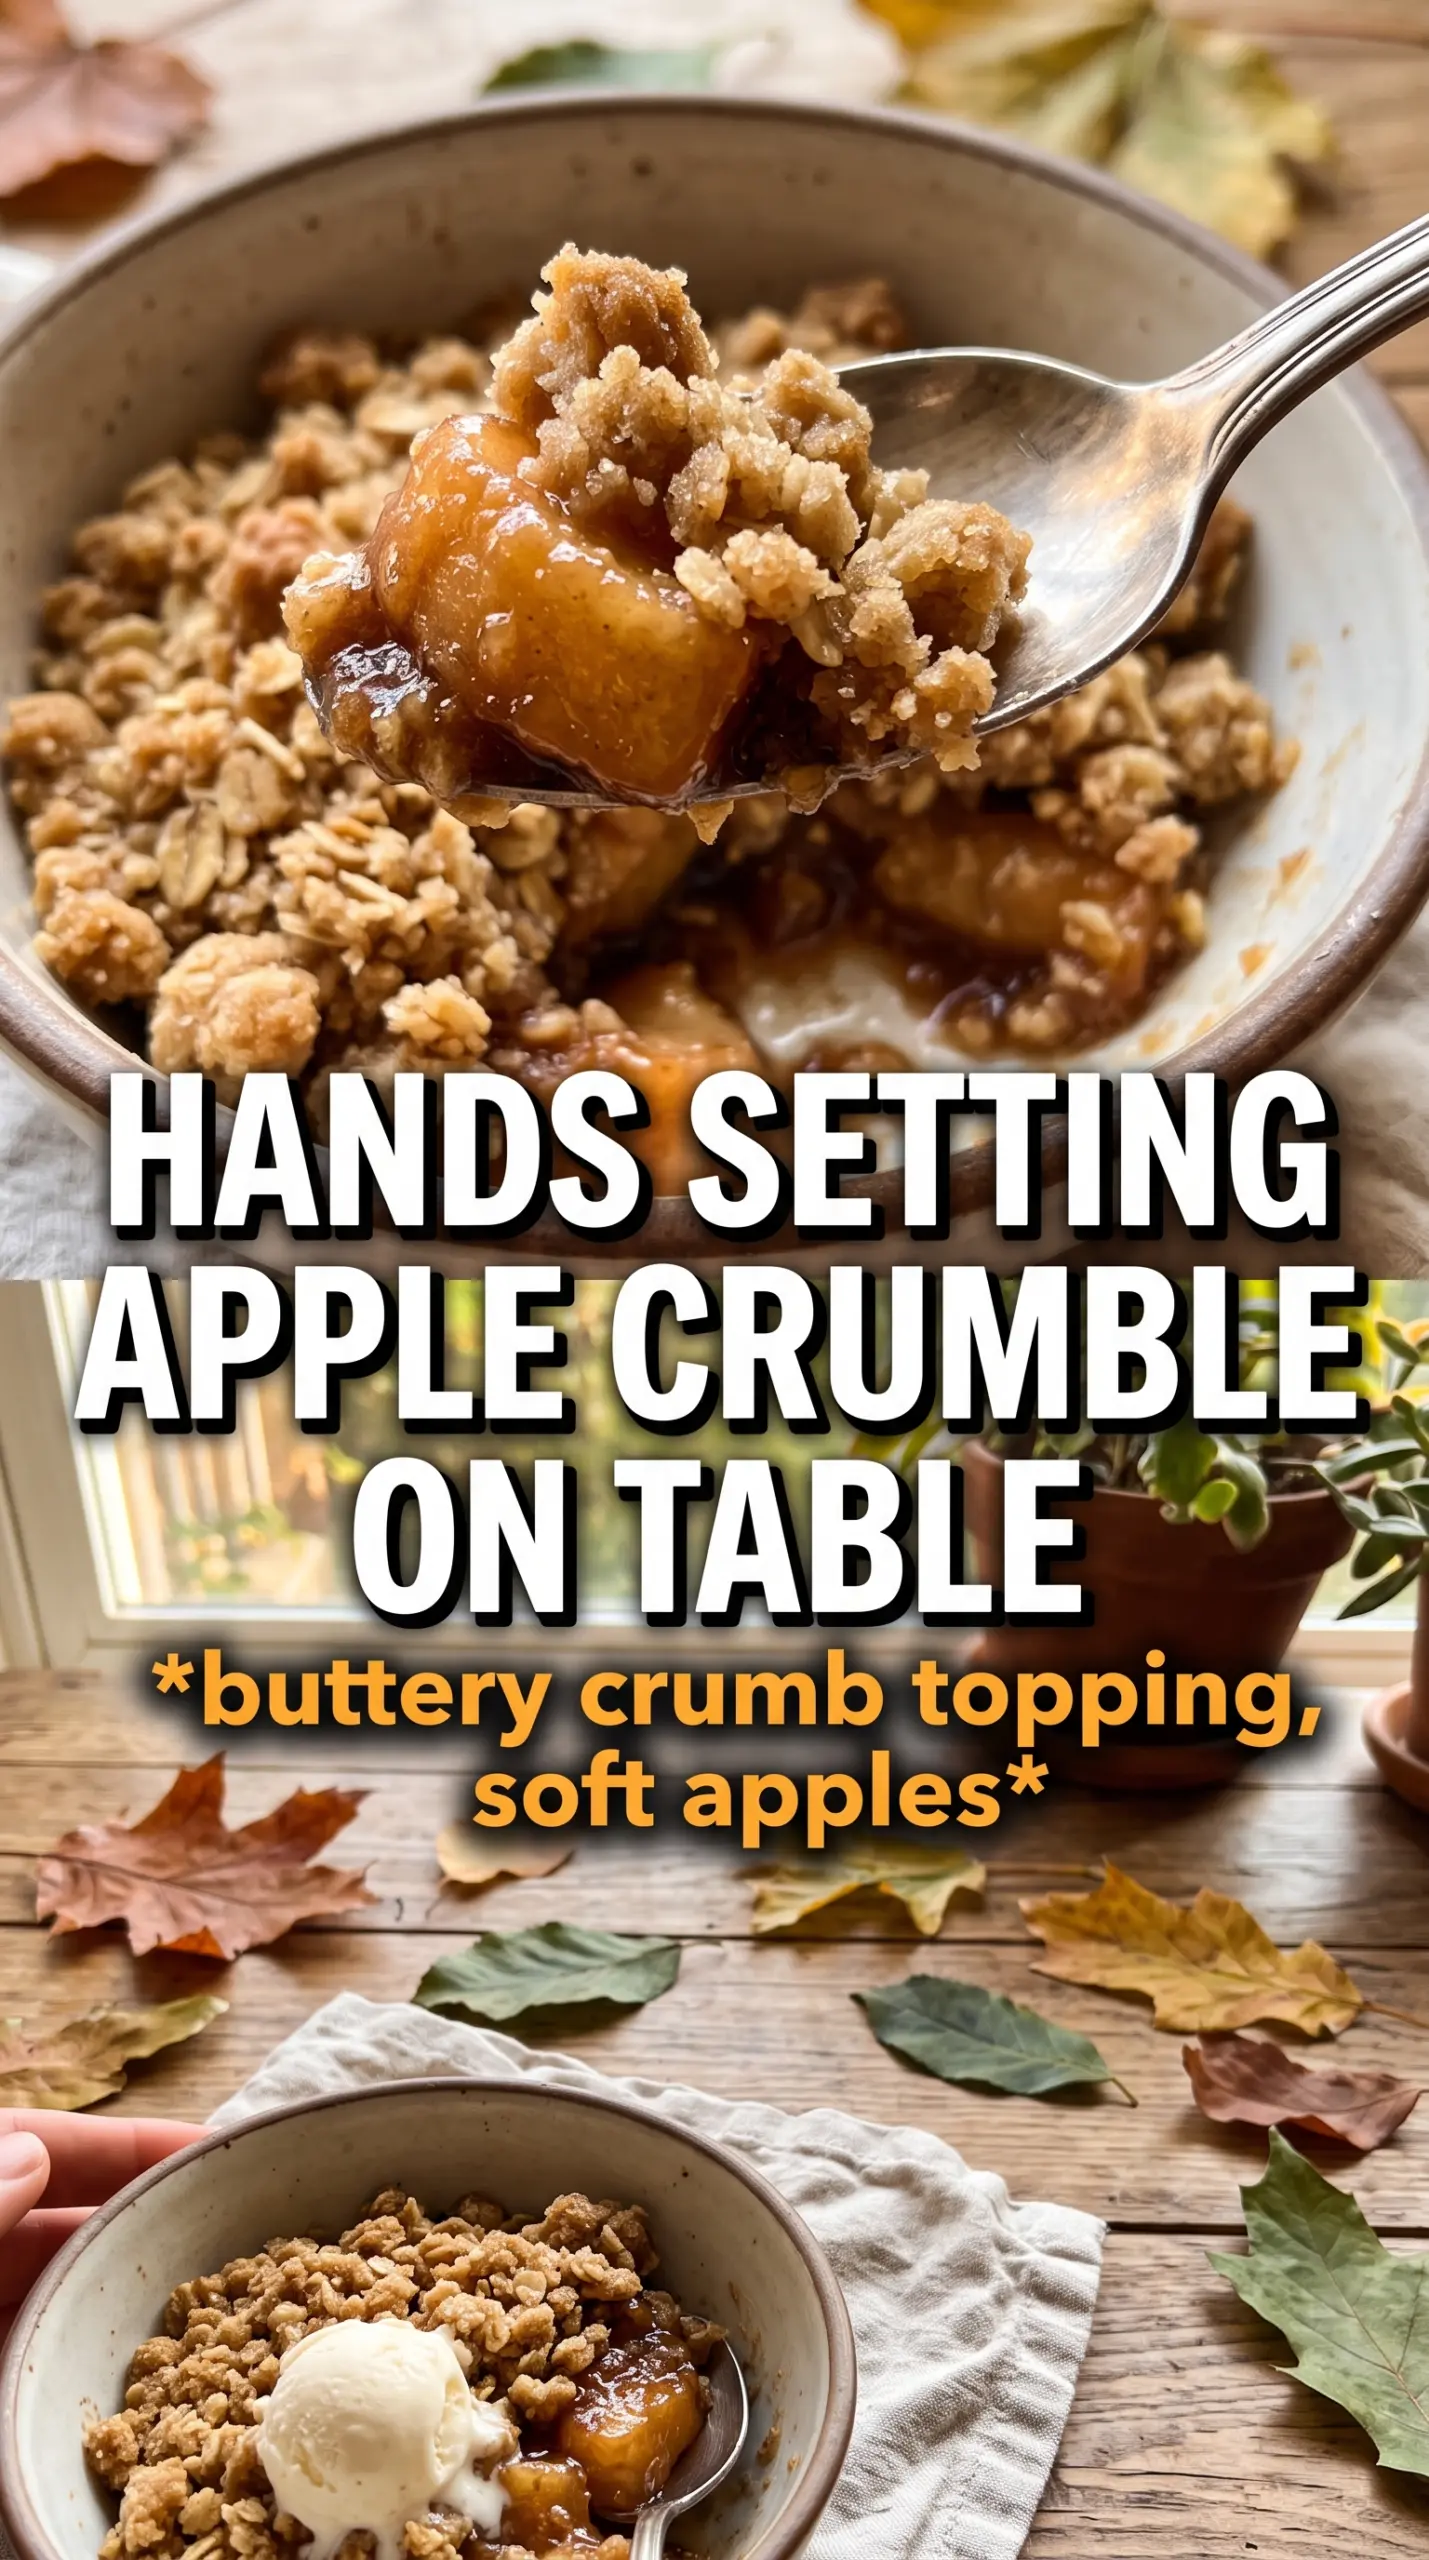
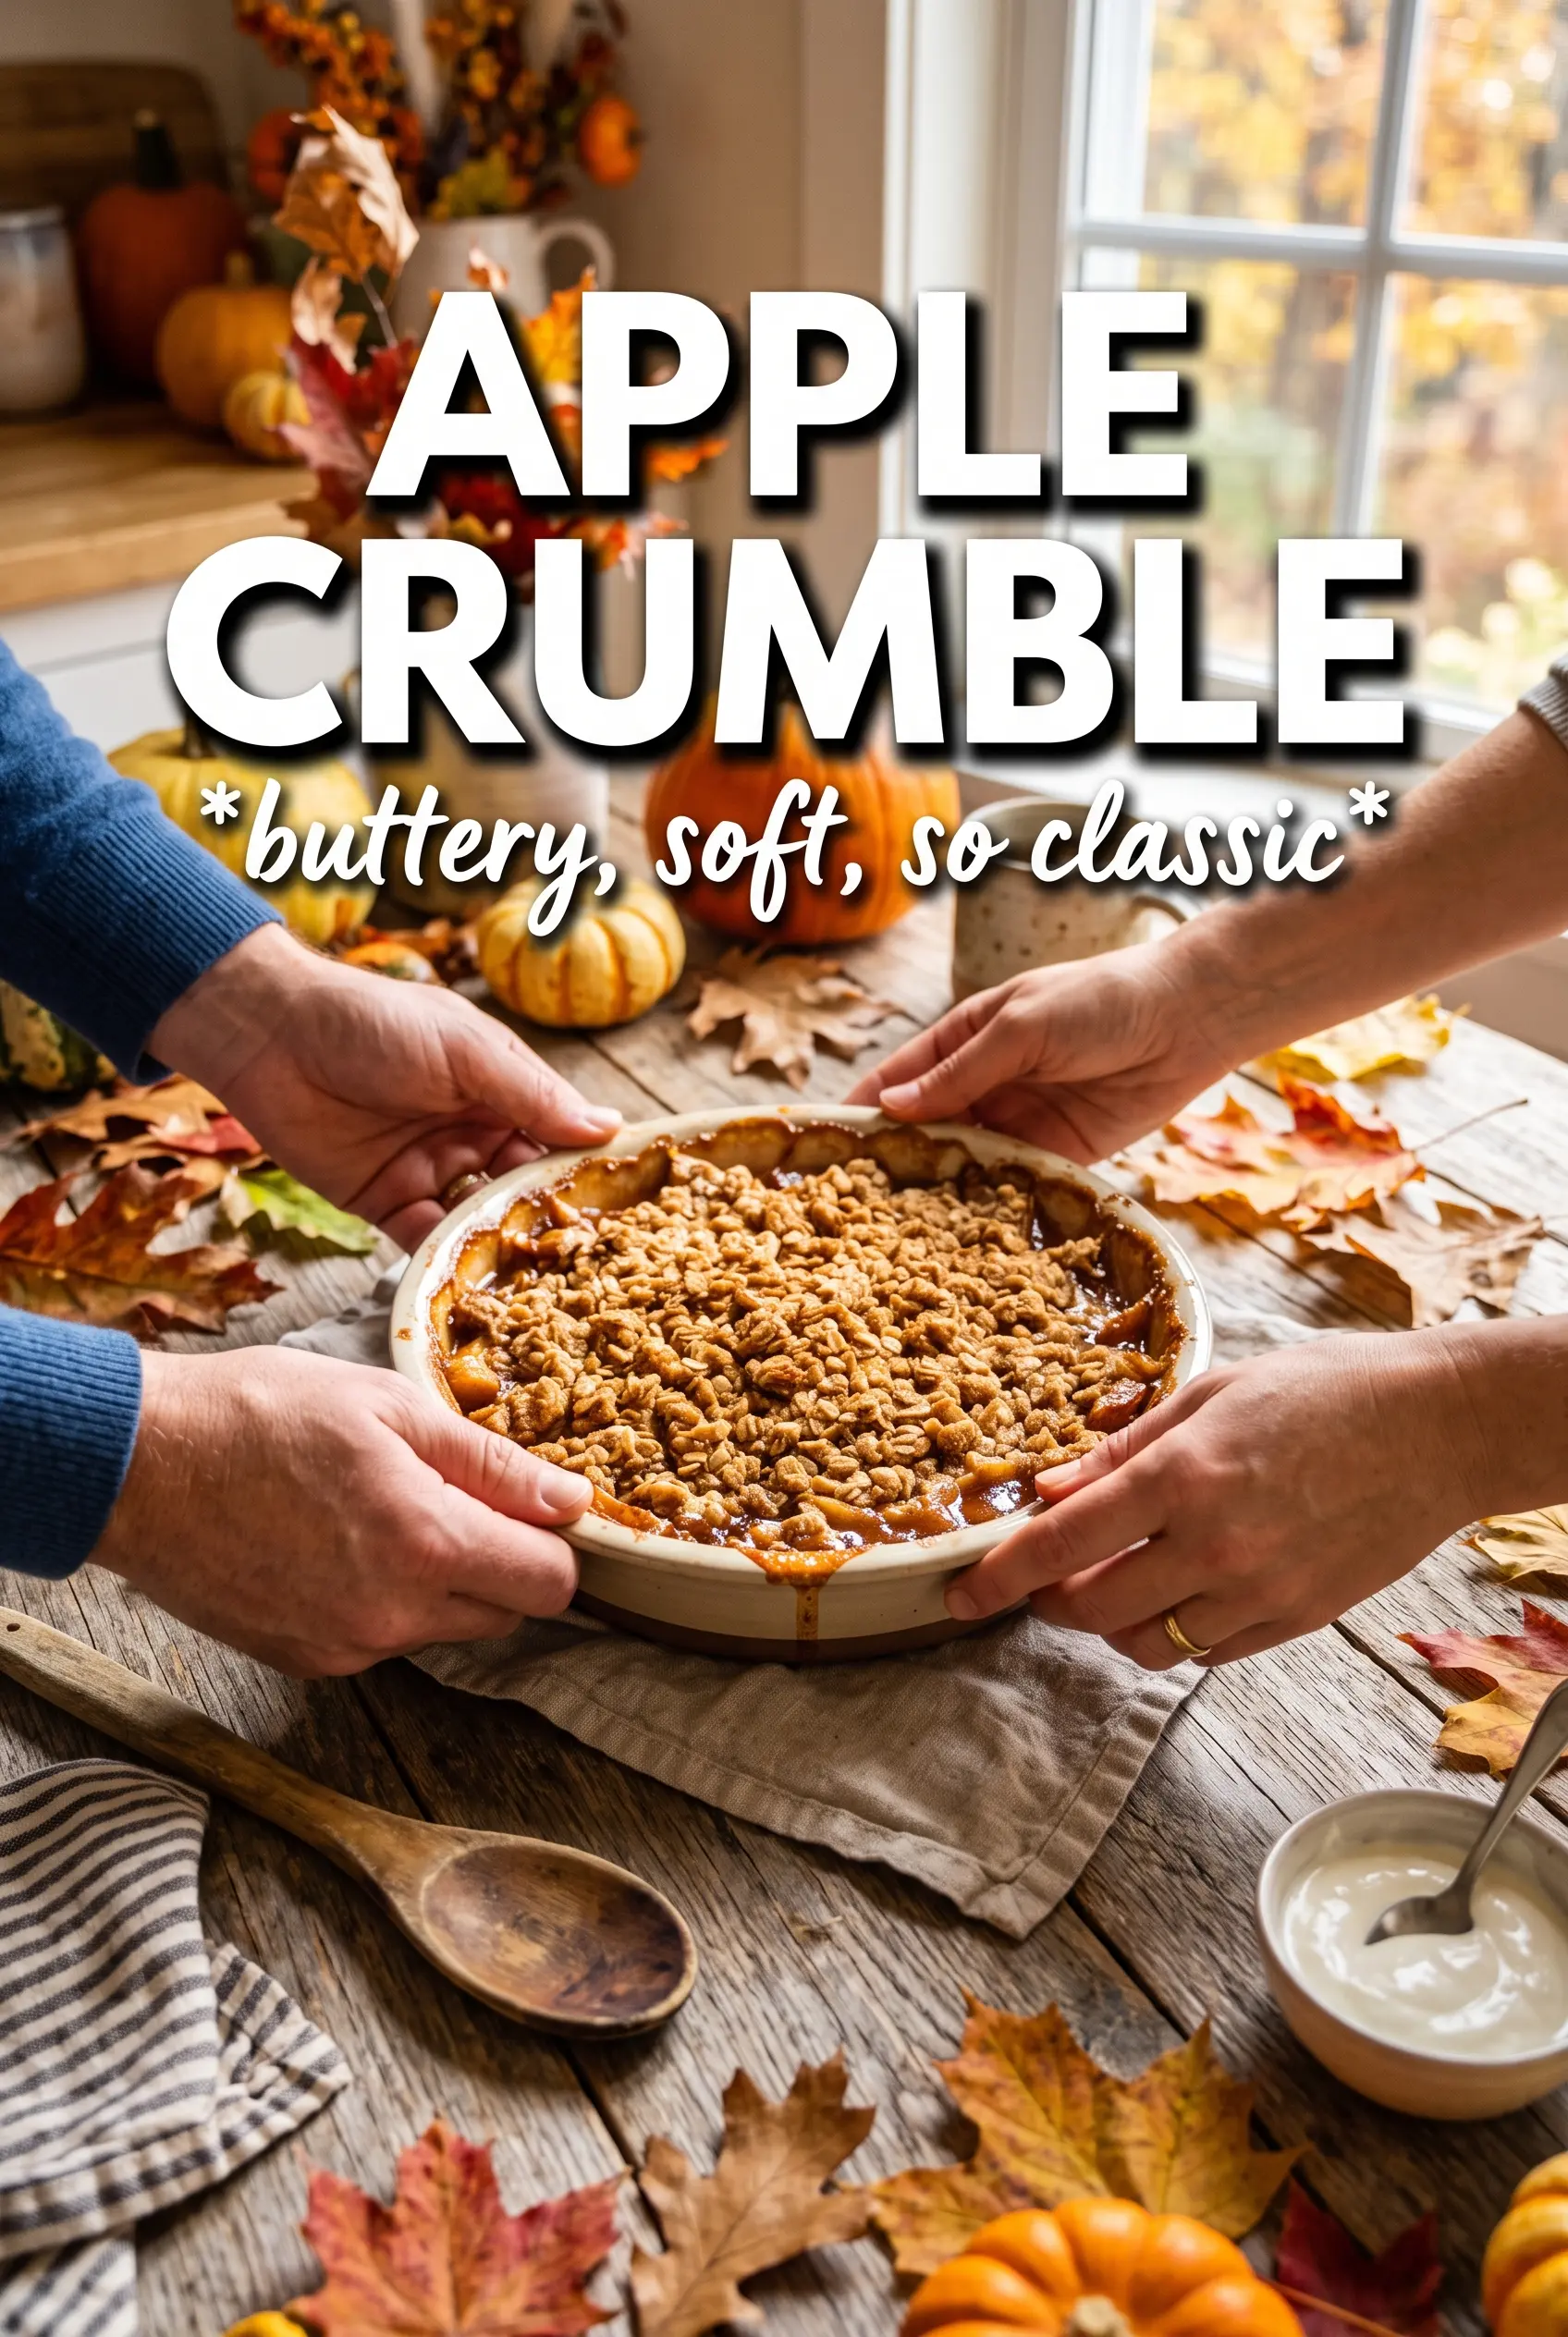
Apple crumble lands on the table with that perfect contrast everyone hopes for: soft, cinnamon-scented apples underneath a golden, sandy topping that turns crisp at the edges while staying tender in the middle. When it’s baked right, the fruit gives up just enough juice to form a glossy filling, and the crumble stays loose instead of collapsing into a paste. It’s one of those desserts that looks humble until the spoon hits the dish.
The difference here is in the topping and the fruit balance. Cold butter rubbed into the flour gives you those uneven crumbs that bake into crisp nooks and crunchy bits, while a mix of white and brown sugar adds both sweetness and a deeper caramel note. The apples are tossed with lemon juice before baking so they stay bright and don’t taste flat under all that sugar and cinnamon. Nothing complicated, just the right order and a few small details that matter.
Below, I’ve included the one thing that keeps the topping from turning heavy, plus a few useful swaps for changing the sweetness, richness, or make-ahead plan without losing what makes a crumble worth making.
The topping stayed sandy and crisp even after sitting for a bit, and the apples baked down into that soft, jammy layer without turning watery.
Save this apple crumble for the nights when you want crisp topping, bubbling apples, and a warm bowl that begs for custard.
The Trick to Keeping the Topping Crisp, Not Soggy
The biggest mistake with apple crumble is packing the topping down or overworking the butter. Once the butter melts in the oven, the little pockets of flour and sugar need space to dry out and crisp up. If you press the crumble into a layer, it steams itself into a dense lid instead of baking into those rough, crunchy crumbs that make the dessert worth serving.
The apples matter too. Cooking apples break down into a soft filling, but they still need enough structure to give you a spoonable layer rather than applesauce. If your fruit is very juicy, a little extra baking time helps the filling bubble at the edges, which is the sign that the juices have thickened. Pull it too early and the topping can look done while the fruit underneath is still thin and sharp.
What Each Ingredient Is Actually Doing in This Crumble
- Cooking apples — These are the backbone of the dish because they soften without disappearing completely. Bramley apples are ideal if you can get them, but any tart cooking apple works well. If you use a sweeter eating apple, the filling will stay firmer and taste less bright, so cut back a little on the sugar.
- Cold unsalted butter — Cold butter is what creates the crumble texture. It needs to stay in little pieces until the oven hits it, because those butter pockets melt and leave behind crisp, layered crumbs. If the butter warms up in the bowl, the mixture turns greasy and paste-like.
- Plain flour — This gives the topping structure without making it bready. Self-raising flour isn’t needed here and can make the topping puff oddly. Plain flour keeps the texture more traditional and lets the butter and sugar do the work.
- Light brown sugar — This adds a deeper, caramel-like note that white sugar can’t quite match. It also helps the topping color as it bakes. If you only have white sugar, the crumble will still work, but the flavor will be flatter and a bit more one-note.
- Lemon juice — This keeps the apple filling from tasting dull and helps balance the sweetness. It won’t make the crumble taste lemony; it just sharpens the apples. Don’t skip it unless your apples are already very tart.
Building the Crumble So It Bakes Up Light, Not Heavy
Preparing the Apples
Peel and slice the apples into even pieces so they cook at the same pace. Toss them with the sugar, cinnamon, and lemon juice until every slice looks lightly coated, then spread them in a greased baking dish. If the slices are cut unevenly, the smaller pieces disappear before the larger ones soften, and the filling loses that nice mix of tender fruit and shape.
Rubbing in the Butter
Work the cold butter into the flour with your fingertips until the mixture looks like coarse breadcrumbs with a few larger nuggets mixed in. Stop before it becomes smooth. Those irregular pieces are what create the best texture after baking, because they melt into crisp pockets instead of turning the topping into a uniform paste.
Finishing the Top and Baking
Stir in the sugars, cinnamon, and salt, then scatter the mixture evenly over the apples without pressing it down. Bake until the topping is pale golden and the filling is bubbling at the edges; that bubbling is the proof the fruit juices have thickened. If the top is browning too fast before the fruit bubbles, lay a loose piece of foil over the dish and give it a little more time.
Ways to Adjust the Sweetness, Richness, or Make-Ahead Plan
Gluten-Free Crumble
Use a good 1:1 gluten-free flour blend in place of the plain flour. The topping will still crisp well, though it may be a little more delicate and sandy. If your blend already contains xanthan gum, stick with it as written.
Dairy-Free Version
Swap the butter for a firm dairy-free baking block, not a soft spread. You need fat that stays cold long enough to rub into crumbs and bake up crisp. Coconut oil can work in a pinch, but it changes the flavor and can make the topping feel slightly richer and less buttery.
A Less Sweet Finish
Cut the granulated sugar in the filling by a tablespoon or two if your apples are naturally sweet, especially if you plan to serve it with ice cream or custard. The crumble will still brown because of the brown sugar on top, but the fruit will taste brighter and less syrupy.
Make-Ahead Assembly
You can assemble the apple layer and make the crumble topping separately a few hours ahead. Keep both chilled, then spoon the topping over the apples just before baking so it stays loose and crumbly. If you assemble the whole dish too early, the topping starts to absorb moisture and loses its crunch.
Storage and Reheating
- Refrigerator: Store covered for up to 4 days. The topping will soften a bit in the fridge, but the flavor holds well.
- Freezer: Freeze baked crumble in portions or as a full dish, tightly wrapped, for up to 2 months. Thaw overnight in the fridge before reheating.
- Reheating: Warm in a 180C (350F) oven until hot through and the topping has crisped back up. The mistake to avoid is microwaving it straight from the fridge, which turns the topping soft and the fruit watery.
Answers to the Questions Worth Asking
Apple Crumble
Ingredients
Equipment
Method
- Preheat the oven to 190C (375F) and grease a large baking dish.
- Toss the apple slices with granulated sugar, cinnamon, and lemon juice, then spread them in the prepared dish.
- Place plain all-purpose flour and cold cubed unsalted butter in a bowl and rub together with your fingertips until the mixture resembles coarse breadcrumbs with some larger pieces.
- Stir in granulated sugar, light brown sugar, cinnamon, and salt.
- Spread the crumble evenly over the apples without packing it down.
- Bake for 35-40 minutes until the topping is pale golden and the apple filling bubbles at the edges.
- Serve warm with custard, double cream, or vanilla ice cream.