Apple crisp without oats lands with a topping that’s sandy, buttery, and deeply golden instead of chewy or dense. The apples underneath turn soft and glossy, with just enough structure left so each spoonful tastes like real fruit, not pie filling. That contrast is what makes this version a keeper: crisp edges on top, tender cinnamon apples below, and no oats getting in the way of the crumble.
The trick is in the butter. Cold butter cut into the flour and sugar mixture creates those big clumps that bake into a proper crust, not a dusty layer. The cornstarch matters too, because apples release a lot of juice as they bake, and without it you can end up with a soupy bottom instead of a thick, spoonable filling. I also like a mix of tart and sweet apples when I have it, because the flavor stays balanced after baking.
Below you’ll find the texture cue I watch for so the crisp doesn’t underbake in the center, plus a few smart swaps if you want to use different apples or leave out the nuts.
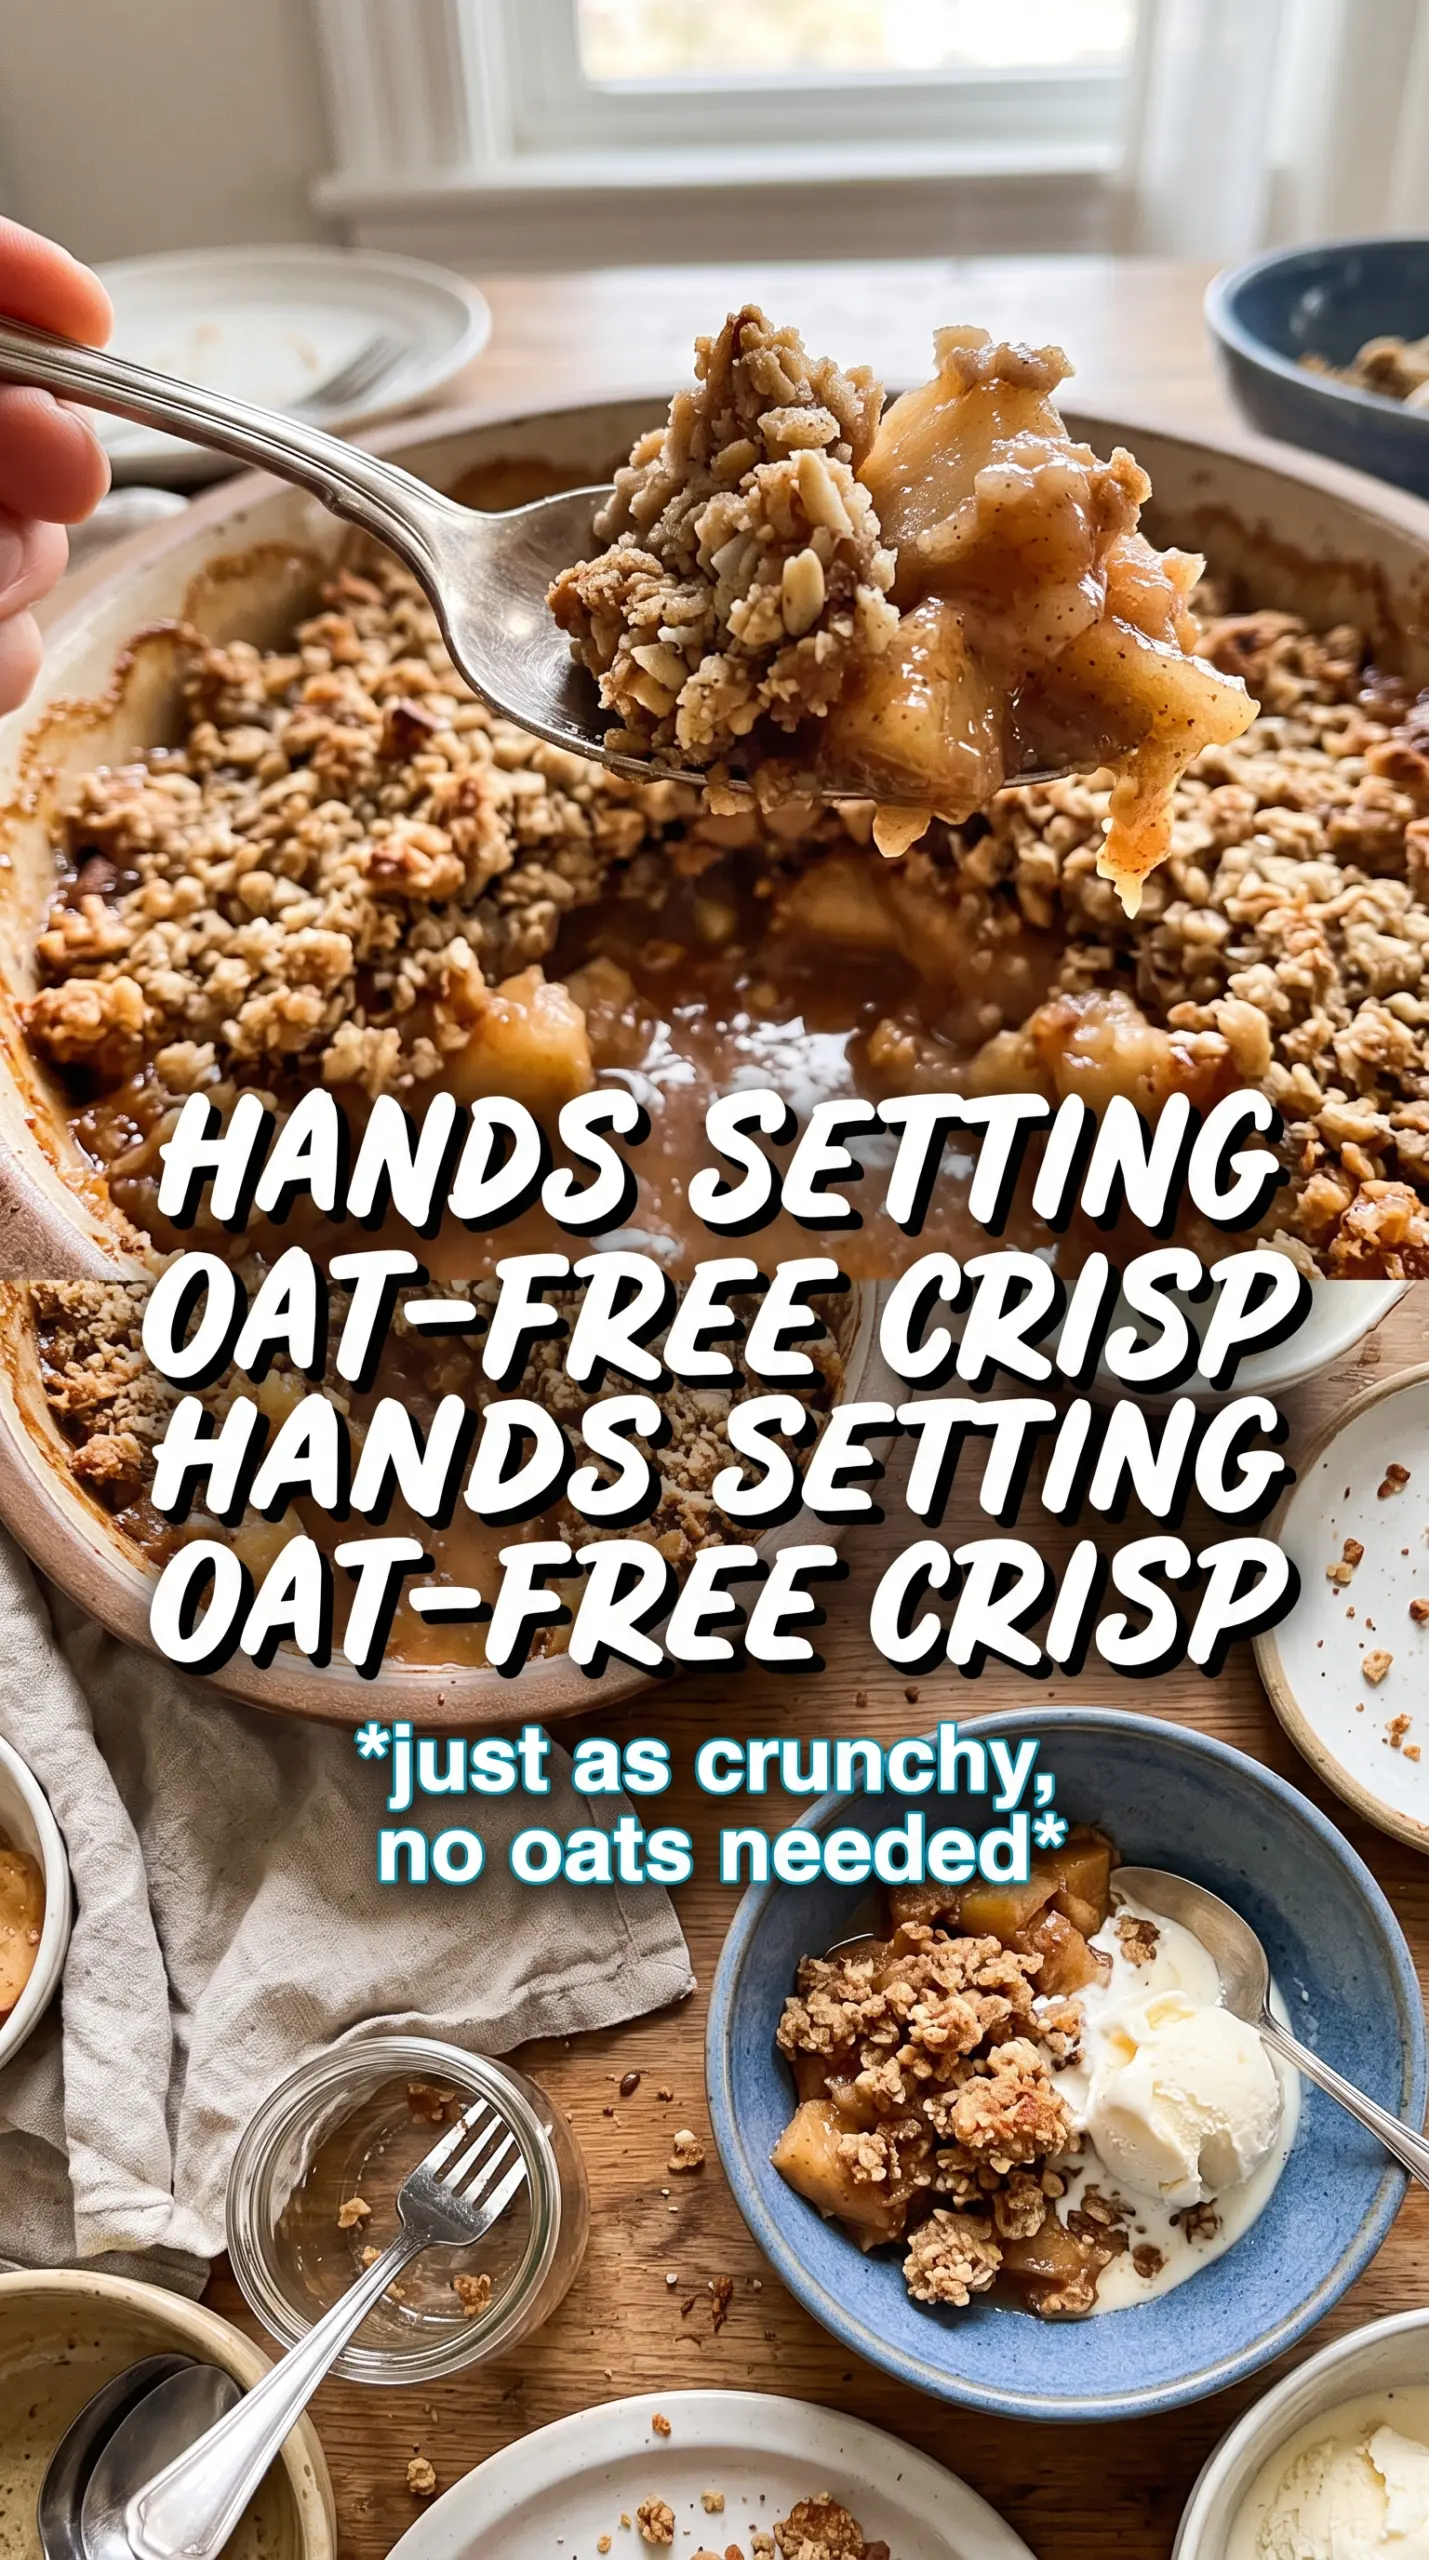
The topping baked up sandy and crisp all the way through, and the apples thickened instead of turning runny. I used a mix of Honeycrisp and Granny Smith, and the flavor was perfect with a scoop of vanilla ice cream.
Save this apple crisp without oats for a buttery, golden crumble that stays crisp over tender cinnamon apples.
The Part That Keeps the Crisp from Going Soggy
Apple crisp goes wrong fastest when the filling turns watery before the top has time to brown. Apples are full of juice, and once they hit the oven they start releasing it immediately. Cornstarch gives that juice somewhere to go by thickening it into a glossy sauce instead of letting it pool under the topping.
Another detail that matters here is the apple shape. Thin, even slices soften at the same rate, so you don’t end up with mush on one side and stubborn crunch on the other. If your apples are cut too thick, the crisp bakes longer and the topping can overbrown before the fruit is tender.
- Apples — A firm baking apple holds its shape best. Honeycrisp, Granny Smith, Braeburn, or a mix all work. Skip soft apples that collapse into applesauce.
- Cornstarch — This is what thickens the juices as the fruit bakes. Flour won’t do the job as cleanly here, and you’ll notice the difference when you spoon it out.
- Lemon juice — It keeps the apple flavor bright and helps the filling taste balanced instead of flat and sugary.
- Pecans or walnuts — Optional, but they add a little bite and nuttiness to the topping. If you leave them out, the crisp still works; the texture just stays more uniformly sandy.
What Each Ingredient Is Actually Doing in This Recipe
- Primary ingredient (the star) — Quality matters most. Choose the best you can find.
- Cooking medium (oil, butter, or broth) — This carries flavors and prevents dryness.
- Seasonings (salt, pepper, spices, herbs) — Layer flavors so nothing overpowers. Build depth gradually.
- Aromatics (garlic, onion, herbs) — Cook with fat to bloom flavors. Become the foundation.
- Supporting ingredients — Complement the main ingredient without overpowering it.
- Sauce or liquid (if applicable) — Brings flavors together. Balance richness with acid.
- Acid (lemon, vinegar, wine, or other) — Brightens and prevents flat-tasting results.
- Final finish (garnish, glaze, or sauce) — Prevents one-dimensional taste and adds visual appeal.
Building a Flour Crumble That Bakes Up Properly
The topping here isn’t meant to look like a streusel that melts into the fruit. It should stay in clumps, with dry-looking bits turning crisp and the larger pieces browning at the edges. Cold butter is what makes that happen. If the butter softens too much before baking, the topping spreads out and turns pasty instead of crisp.
Coating the Apples
Stir the sliced apples with sugar, spices, cornstarch, and lemon juice until every piece looks lightly coated. That coating should cling to the fruit, not sit in the bottom of the bowl. When you spread the apples into the dish, level them just enough to create an even layer so the topping bakes evenly from edge to center.
Cutting in the Butter
Work the butter into the flour and sugar mixture until you have a mix of fine crumbs and bigger sandy clumps. Those clumps are the good part; they bake into a craggy top with crunch in every bite. If the mixture starts to look wet or paste-like, the butter warmed up too much, and the topping will bake up dense instead of crisp.
Baking Until the Filling Bubbles
The crisp is done when the top is deep golden and you can see the filling bubbling at the edges. That bubbling matters more than the clock, because it tells you the cornstarch has activated and the apples are fully cooked. If the top is browning too fast before the filling bubbles, lay a loose piece of foil over the dish and keep baking until the juices thicken.
Make it nut-free
Leave out the pecans or walnuts and replace them with an extra handful of flour-based crumble if you want more topping in their place. The crisp will still bake up with plenty of texture; it just loses the deeper roasted flavor the nuts bring.
Gluten-free version
Use a cup-for-cup gluten-free flour blend in place of the all-purpose flour. The topping usually stays crisp, though it can bake a little more delicately, so let it cool before serving or it may seem crumbly when hot.
Less sweet, more tart
Cut the granulated sugar in the filling slightly if your apples are very sweet and use more Granny Smith than anything else. The crisp will taste sharper and more apple-forward, which works well if you always serve it with ice cream.
Storage and Reheating
- Refrigerator: Store covered for up to 4 days. The topping softens a bit in the fridge, but the flavor stays good.
- Freezer: Freeze baked or unbaked in a tightly wrapped dish for up to 2 months. If baking from frozen, add extra time and cover loosely at first so the top doesn’t burn before the apples soften.
- Reheating: Warm individual portions in the oven at 325F until heated through. The microwave works, but it softens the crumble fast, so the oven is the better choice if you want the topping to crisp back up.
Answers to the Questions Worth Asking
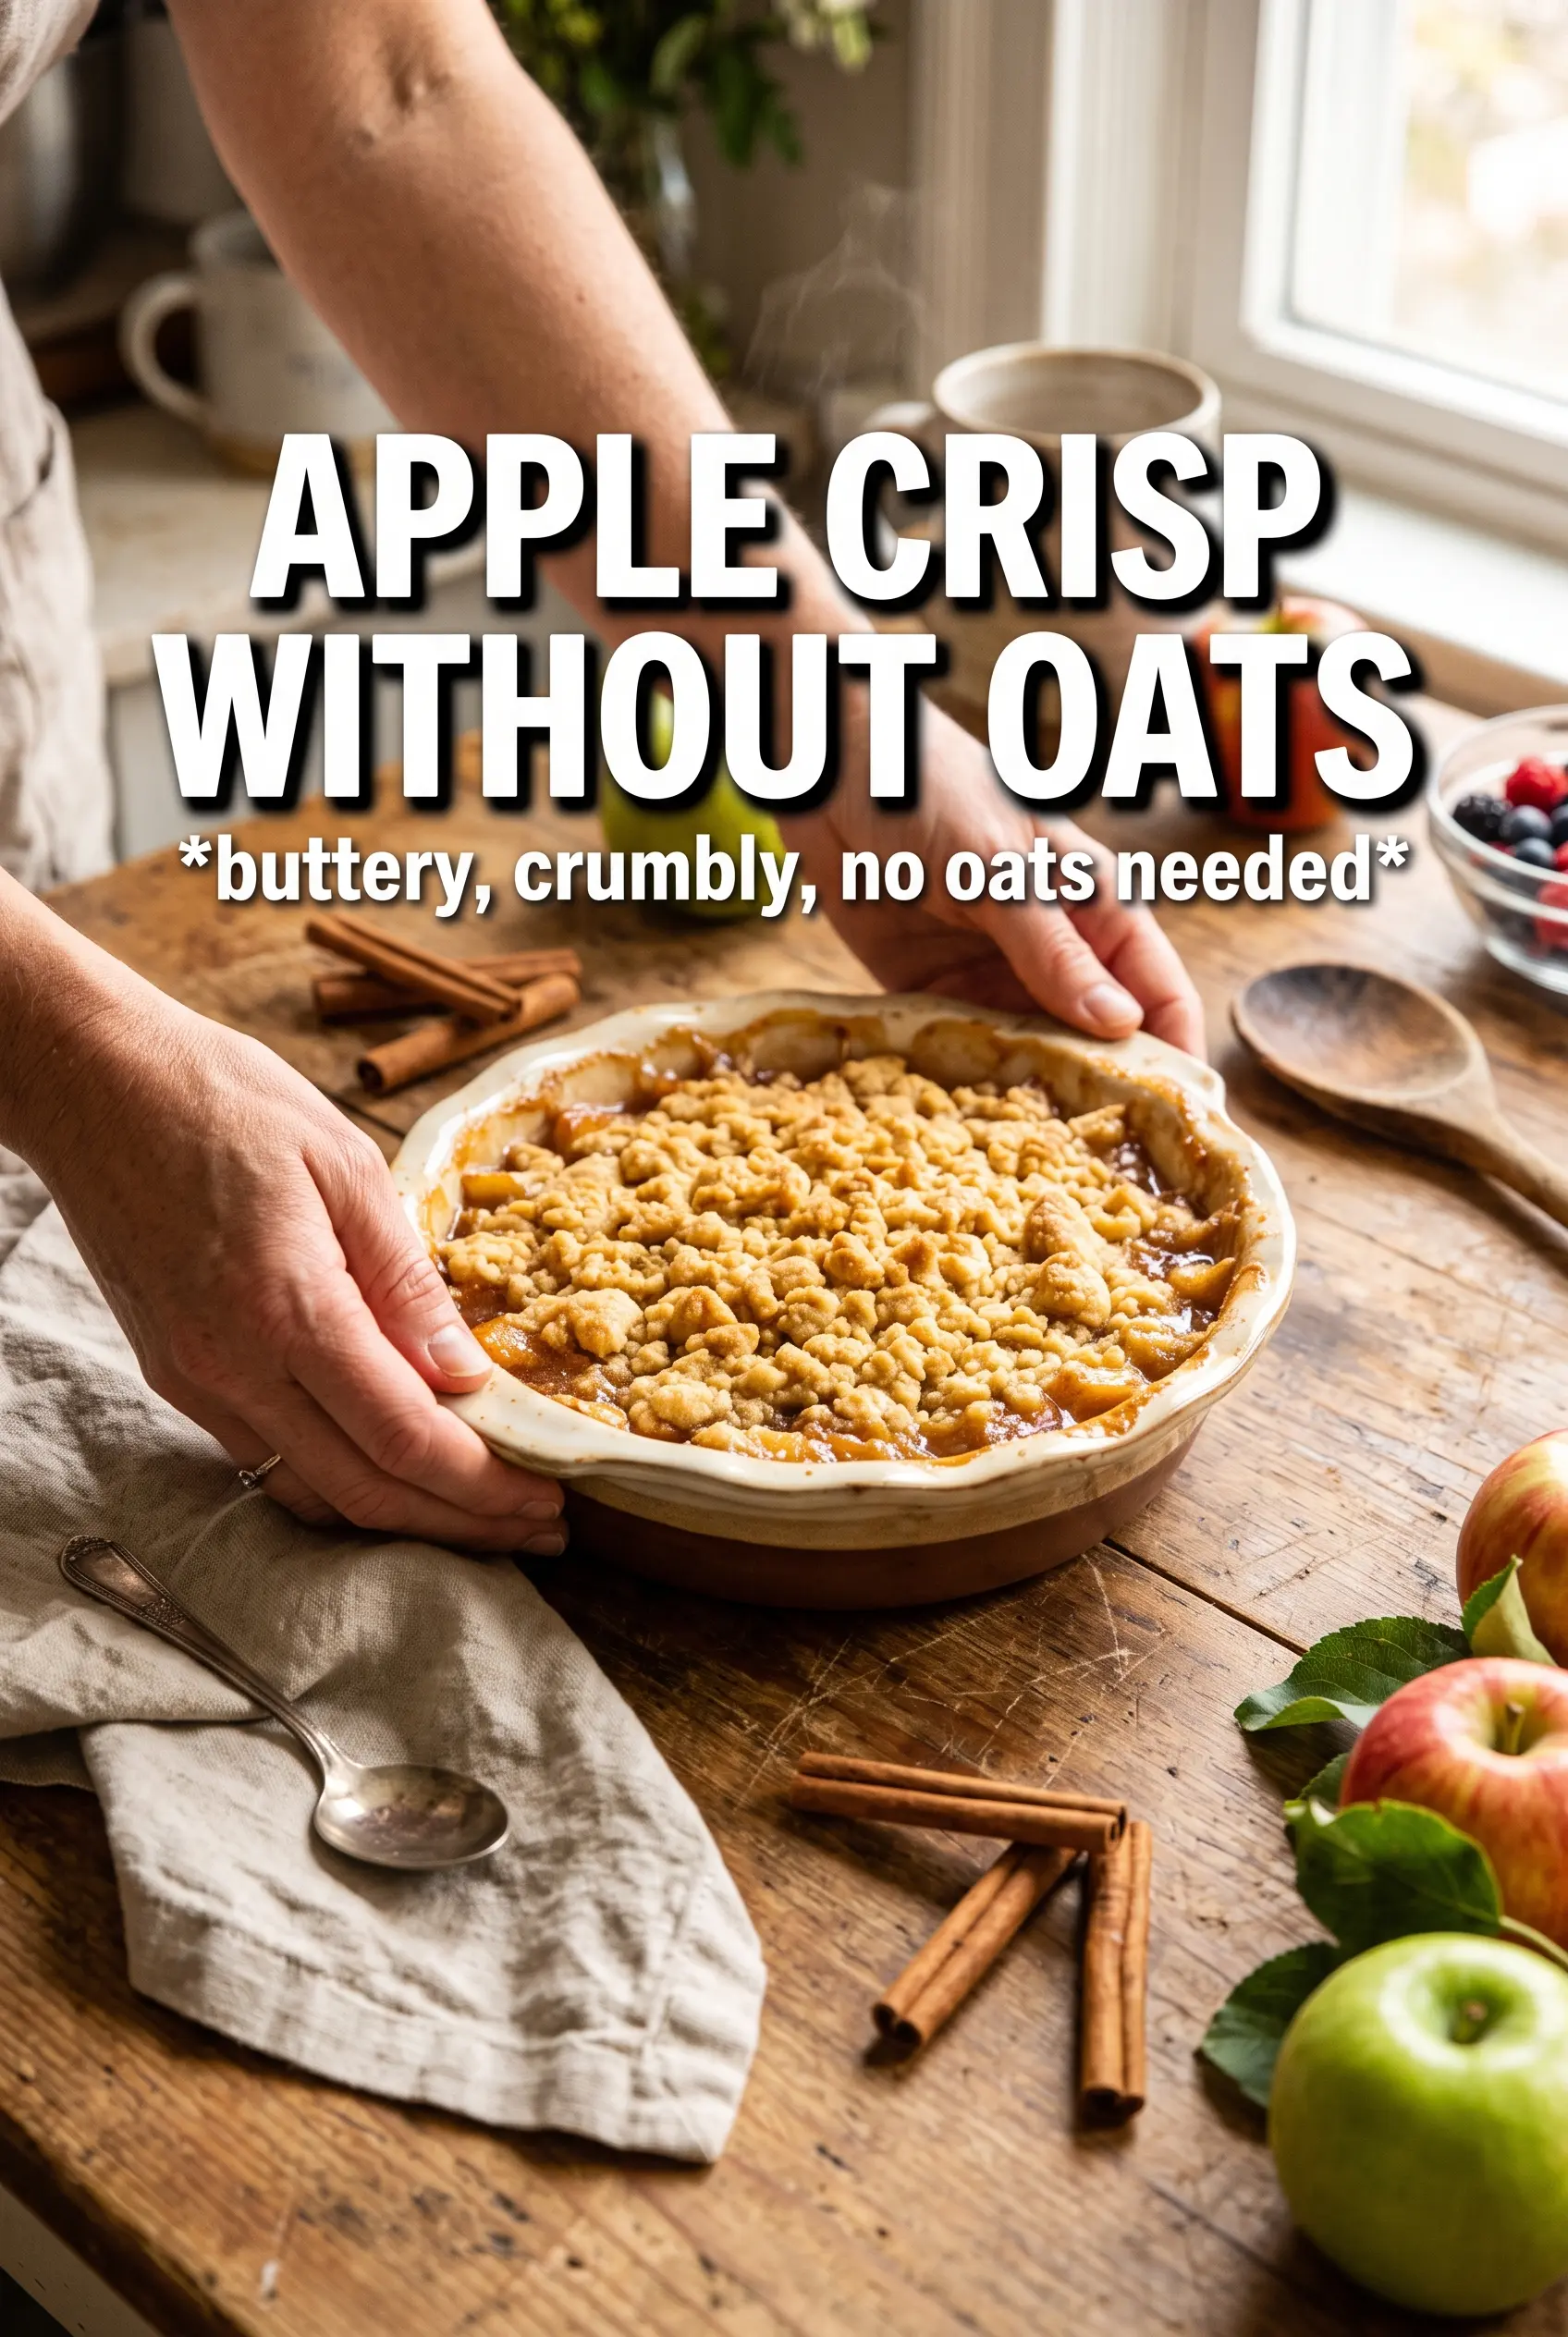
Apple Crisp Without Oats
Ingredients
Equipment
Method
- Preheat the oven to 375F and grease a 9x13 baking dish.
- Toss apple slices with granulated sugar, cinnamon, nutmeg, cornstarch, and lemon juice, then spread them evenly in the dish.
- In a bowl, combine all-purpose flour, brown sugar, granulated sugar, cinnamon, nutmeg, and salt.
- Cut cold cubed unsalted butter into the flour mixture until it forms large sandy clumps with visible butter bits.
- If using, stir in the chopped pecans or walnuts, then scatter the crumble evenly over the apples.
- Bake for 40-45 minutes at 375F until the topping is golden and the apple filling bubbles at the edges.
- Rest the apple crisp for 10 minutes so the filling thickens slightly, then serve warm with vanilla ice cream.