Apple crisp with oats lands right in that sweet spot between rustic and polished: tender cinnamon apples underneath, a thick oat topping that bakes into craggy clumps, and those golden edges that stay crisp even after the filling starts bubbling through. It’s the kind of dessert that disappears fast because it tastes like you spent a lot more effort than you actually did.
The trick is in the topping and the apples. Cold butter cut into the oat mixture gives you those big, crunchy clusters instead of a sandy layer, and the cornstarch keeps the fruit from turning watery while it bakes. A mix of tart and sweet apples gives the filling depth, so it tastes bright instead of flat or one-note.
Below you’ll find the simple method that keeps the topping crisp and the filling thick, plus a few swaps that help if you need to work with what’s in the pantry.
The topping baked up into those big buttery clumps I always hope for, and the apple filling was thick instead of runny. I served it warm with vanilla ice cream and my husband went back for a second bowl before it even cooled.
Save this apple crisp with oats for the nights when you want bubbling cinnamon apples and a thick, crunchy oat topping.
The Crisp Topping Needs Cold Butter, Not Just Patience
The difference between a crisp topping that bakes into sandy crumbs and one that turns into the big crunchy clusters people fight over comes down to the butter. Cold butter stays in pieces long enough to create pockets as it melts, and those pockets become the crisp edges and clumps that make this dessert worth serving warm.
If you work the butter in too finely, the topping bakes into a flat layer. That isn’t bad, but it isn’t crisp in the way most people want. The goal is a mix that looks shaggy, with some pea-sized bits and some larger chunks still visible before it goes into the oven.
What Each Ingredient Is Actually Doing in This Apple Crisp
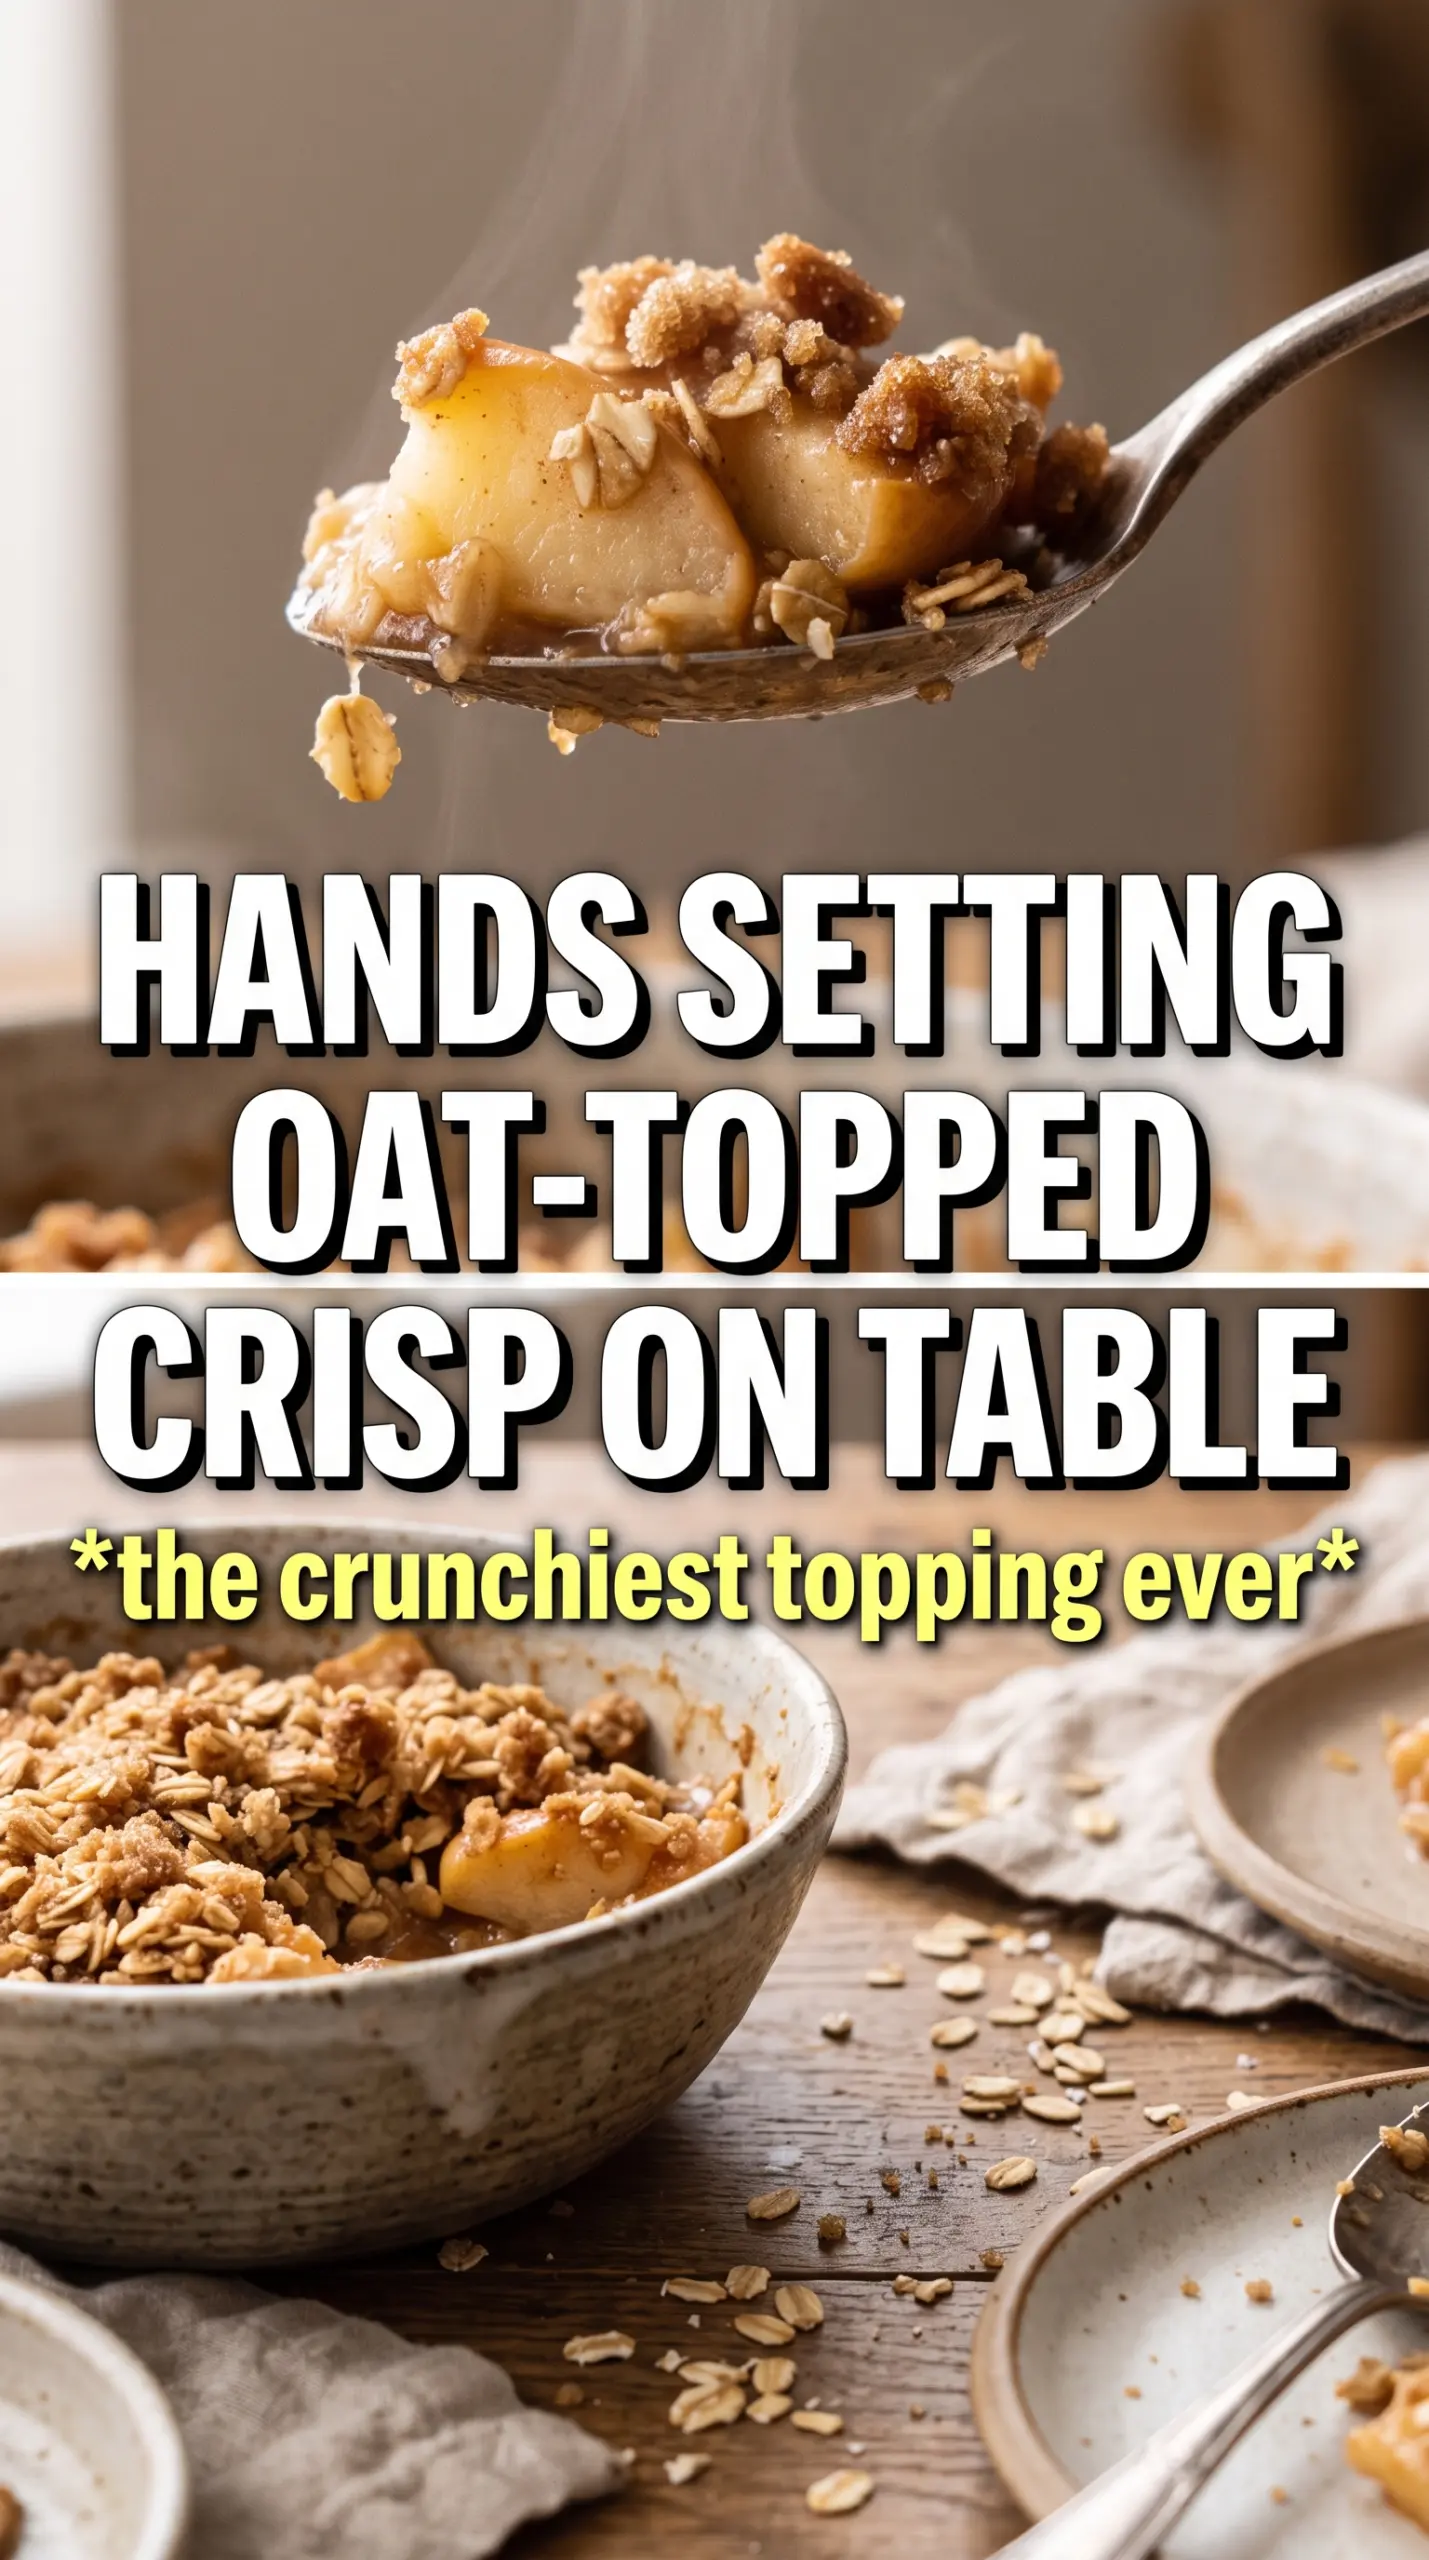
- Mixed apples — Using both tart and sweet apples gives the filling more balance. Tart apples hold their shape and keep the dessert from tasting flat, while sweeter apples soften into the juices and help the filling taste round and cozy.
- Cornstarch — This is what thickens the juices as the apples bake. Without it, the filling can pool at the bottom of the dish instead of turning glossy and spoonable.
- Old-fashioned rolled oats — These give the topping its nubby texture and keep it from feeling like plain streusel. Quick oats can work in a pinch, but they break down more and won’t give you the same rugged crunch.
- Brown sugar — Brown sugar belongs in both the filling and the topping because it brings a deeper caramel note than white sugar alone. In the topping, it also helps the oats clump and crisp.
- Cold unsalted butter — Unsalted butter lets you control the salt level, and the cold temperature matters more than the brand. If the butter starts softening before the dish goes into the oven, the topping loses those crisp craggy pockets.
How to Build the Layers So the Bottom Stays Thick and the Top Stays Crunchy
Coating the Apples Evenly
Toss the sliced apples with the sugars, spices, cornstarch, and lemon juice until every piece looks lightly coated. The cornstarch needs contact with the juices from the apples to thicken properly, so don’t dump the dry ingredients on top and leave streaks behind. Spread the filling in an even layer in the pan so it bakes at the same rate across the dish.
Making the Oat Crumble
Combine the oats, flour, brown sugar, cinnamon, and salt first, then cut in the cold butter with your fingertips until the mixture holds together in rough clumps. Stop before it turns into a paste. You want pieces that range from sandy to chunky, because those uneven bits are what bake into the best texture.
Baking Until the Filling Bubbling Shows Through
Scatter the crumble all the way to the edges so every bit of fruit gets covered, then bake until the top is deeply golden and you can see the filling bubbling up at the corners. That bubbling is the signal that the cornstarch has thickened the juices. If the top looks done but the edges aren’t bubbling yet, give it a few more minutes; pulling it too early leaves you with loose filling.
Letting It Set Before Serving
Give the crisp about 10 minutes to cool before serving. That short rest lets the juices settle and thicken a little more, which keeps the first scoop from running all over the plate. It should still be warm, with soft apples underneath and a topping that stays crunchy when you dig through it.
How to Adapt This for What’s in Your Pantry
Make It Gluten-Free
Swap the all-purpose flour for a 1:1 gluten-free baking blend. The topping will still clump and crisp, but the texture may be a little more delicate, so let it cool before serving if you want clean scoops.
Use All Tart Apples for a Brighter Filling
If you like a sharper apple flavor, use all Granny Smith or another tart variety. The filling will taste less sweet and a little more structured, which works well if you plan to serve it with ice cream.
Dairy-Free Crumble
Use a firm plant-based butter that’s meant for baking. The topping won’t taste exactly the same, but you’ll still get the same clumpy texture if the substitute stays cold and is worked in just until it forms chunky crumbs.
Make It Ahead
You can mix the crumble a day ahead and keep it chilled, then assemble and bake when you’re ready. That keeps the butter cold and actually improves the topping, which is handy when you want dessert ready without last-minute measuring.
Storage and Reheating
- Refrigerator: Store covered for up to 4 days. The topping softens a little in the fridge, but the flavor stays great.
- Freezer: Freeze the baked crisp tightly wrapped for up to 2 months. Thaw overnight in the refrigerator before reheating.
- Reheating: Warm in a 325F oven until the center is hot and the topping crisps back up, about 15 to 20 minutes. The microwave will heat the apples, but it turns the topping soft, which is the main mistake to avoid.
Answers to the Questions Worth Asking
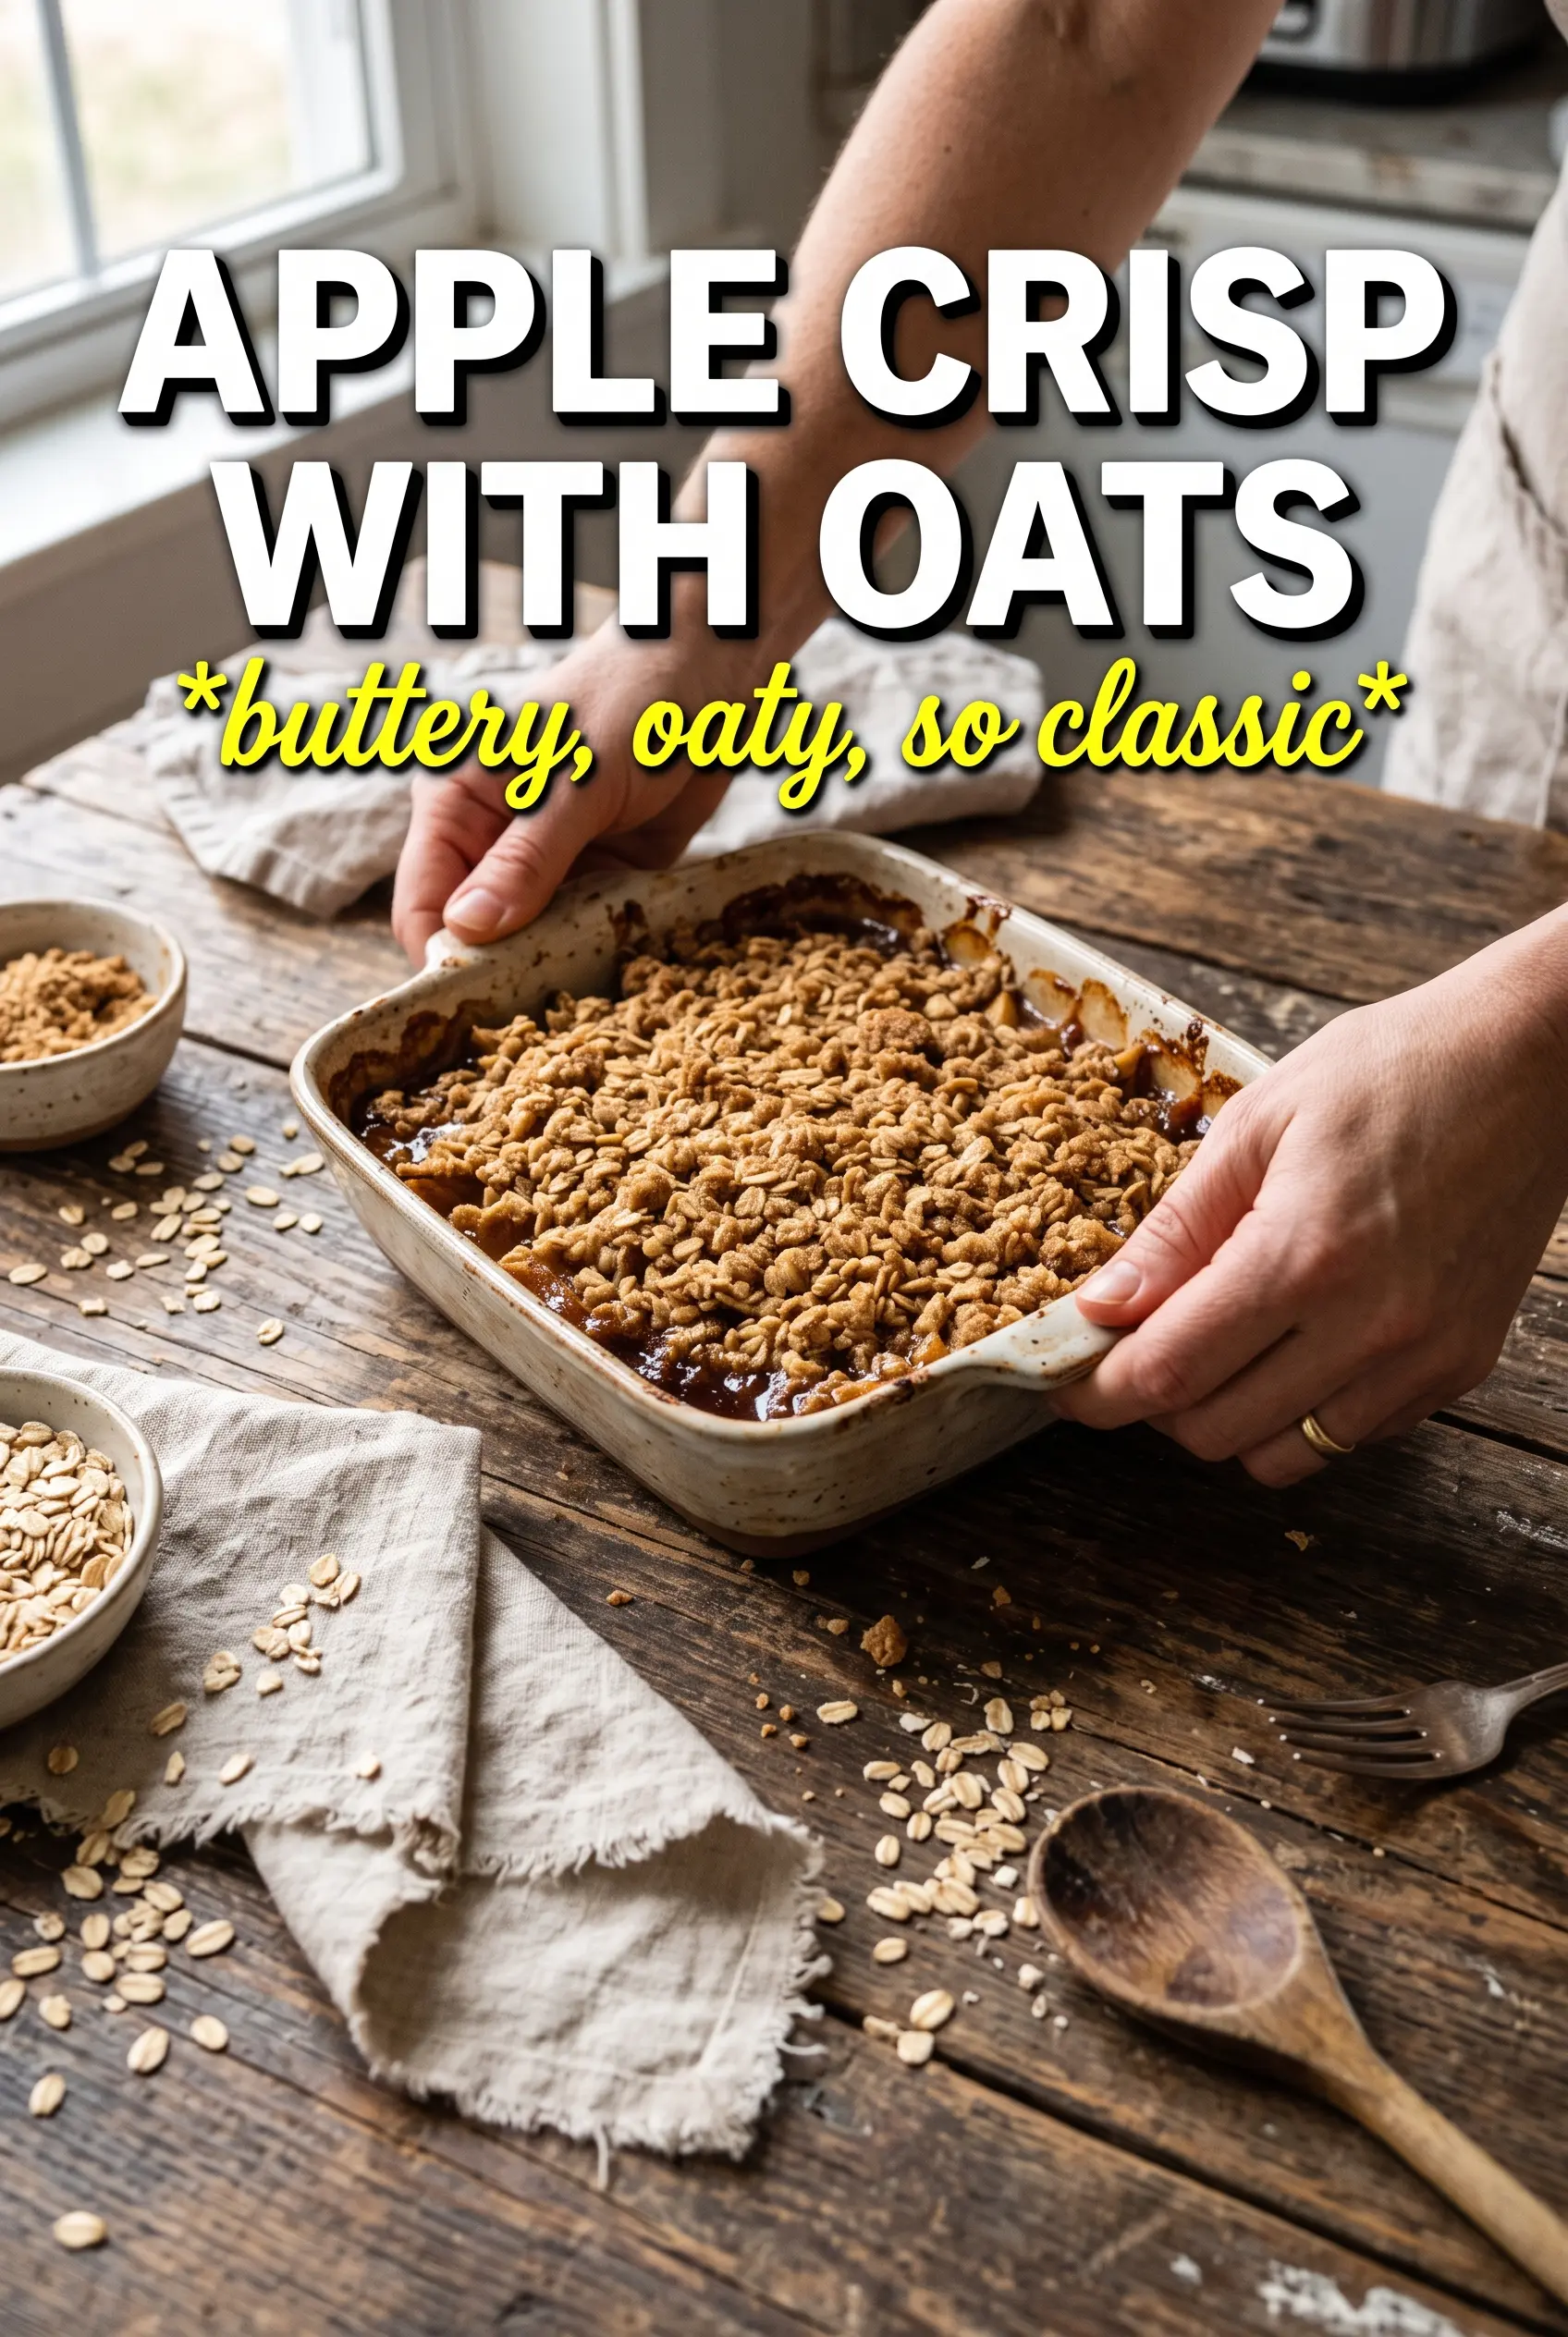
Apple Crisp With Oats
Ingredients
Equipment
Method
- Preheat the oven to 375F and grease a 9x13 baking dish.
- Toss the apple slices with granulated sugar, brown sugar, cinnamon, nutmeg, allspice, cornstarch, and lemon juice, then spread them in the prepared dish.
- Combine old-fashioned rolled oats, all-purpose flour, brown sugar, cinnamon, and salt in a bowl.
- Cut the cold unsalted butter into the oat mixture with your fingertips until large chunks and clumps form.
- Scatter the crumble evenly over the apples so every surface is covered.
- Bake for 40-45 minutes at 375F until the oat topping is deeply golden and the apple filling is bubbling at the corners.
- Cool for 10 minutes, then serve warm with vanilla ice cream or whipped cream.