Golden oat crumble over bubbling apple filling is the kind of dessert that disappears fast because it hits all the right notes: soft, jammy fruit underneath and a buttery, crisp topping on top. Using canned apple pie filling keeps the process quick, but the result still tastes like something you made on purpose, not something you rushed. The topping bakes into crunchy clusters with caramelized edges, and that contrast is what makes a good apple crisp worth repeating.
A little cinnamon, nutmeg, allspice, and lemon juice wake up the canned filling so it tastes brighter and less one-dimensional. The topping works because the butter stays cold long enough to create those nubbly crumbles instead of melting into a paste. Don’t overmix it. You want some fine crumbs and some bigger chunks so the finished crisp has different textures in every spoonful.
Below, I’ll walk through the small details that keep the topping crisp and the filling from tasting flat. There’s also a simple way to adjust the sweetness if your pie filling is on the sugary side.
The topping baked up crisp all across the top, and the filling bubbled at the edges just like you said. I served it with vanilla ice cream and there were zero leftovers.
Save this apple crisp with canned apple filling for the nights when you want a bubbling fruit dessert with a crunchy oat topping in under an hour.
The Fix for Canned Filling That Tastes Too Sweet
Canned apple pie filling gives you a head start, but it usually needs help before it goes into the oven. The biggest mistake is treating it like fresh fruit and leaving it alone. It’s already soft and sweet, which means it needs acid and spice to keep the dessert from tasting one-note.
The lemon juice does more than brighten the flavor. It cuts through the syrupy edge of the filling and keeps the apples from tasting flat after baking. The added cinnamon, nutmeg, and allspice deepen the apple flavor enough that the filling tastes more homemade, even though you started with a shortcut.
- Apple pie filling — Two cans give you enough fruit and syrup to fill a 9×13 dish. If your brand is especially syrupy, don’t drain it completely; the liquid bubbles up and helps the crisp bake underneath.
- Lemon juice — This is the smallest ingredient with the biggest payoff. It sharpens the flavor and keeps the filling from reading as canned.
- Spices — The mix of cinnamon, nutmeg, and allspice gives the filling depth. If you only have cinnamon, use it, but the extra spices make the dessert taste more balanced.
What Makes the Oat Crumble Stay Crunchy
The topping is where this dessert wins or loses. If the butter melts in too early, you get a sandy layer instead of a real crumble. Cold butter creates little pockets that steam in the oven, which is what turns the topping into crisp clusters.
Rolled oats give the crumble structure, while flour helps bind it into those chunky bits that brown well. Brown sugar adds a light caramel note, but too much mixing will make the topping dense. Stop when you can squeeze a handful and it holds together without looking paste-like.
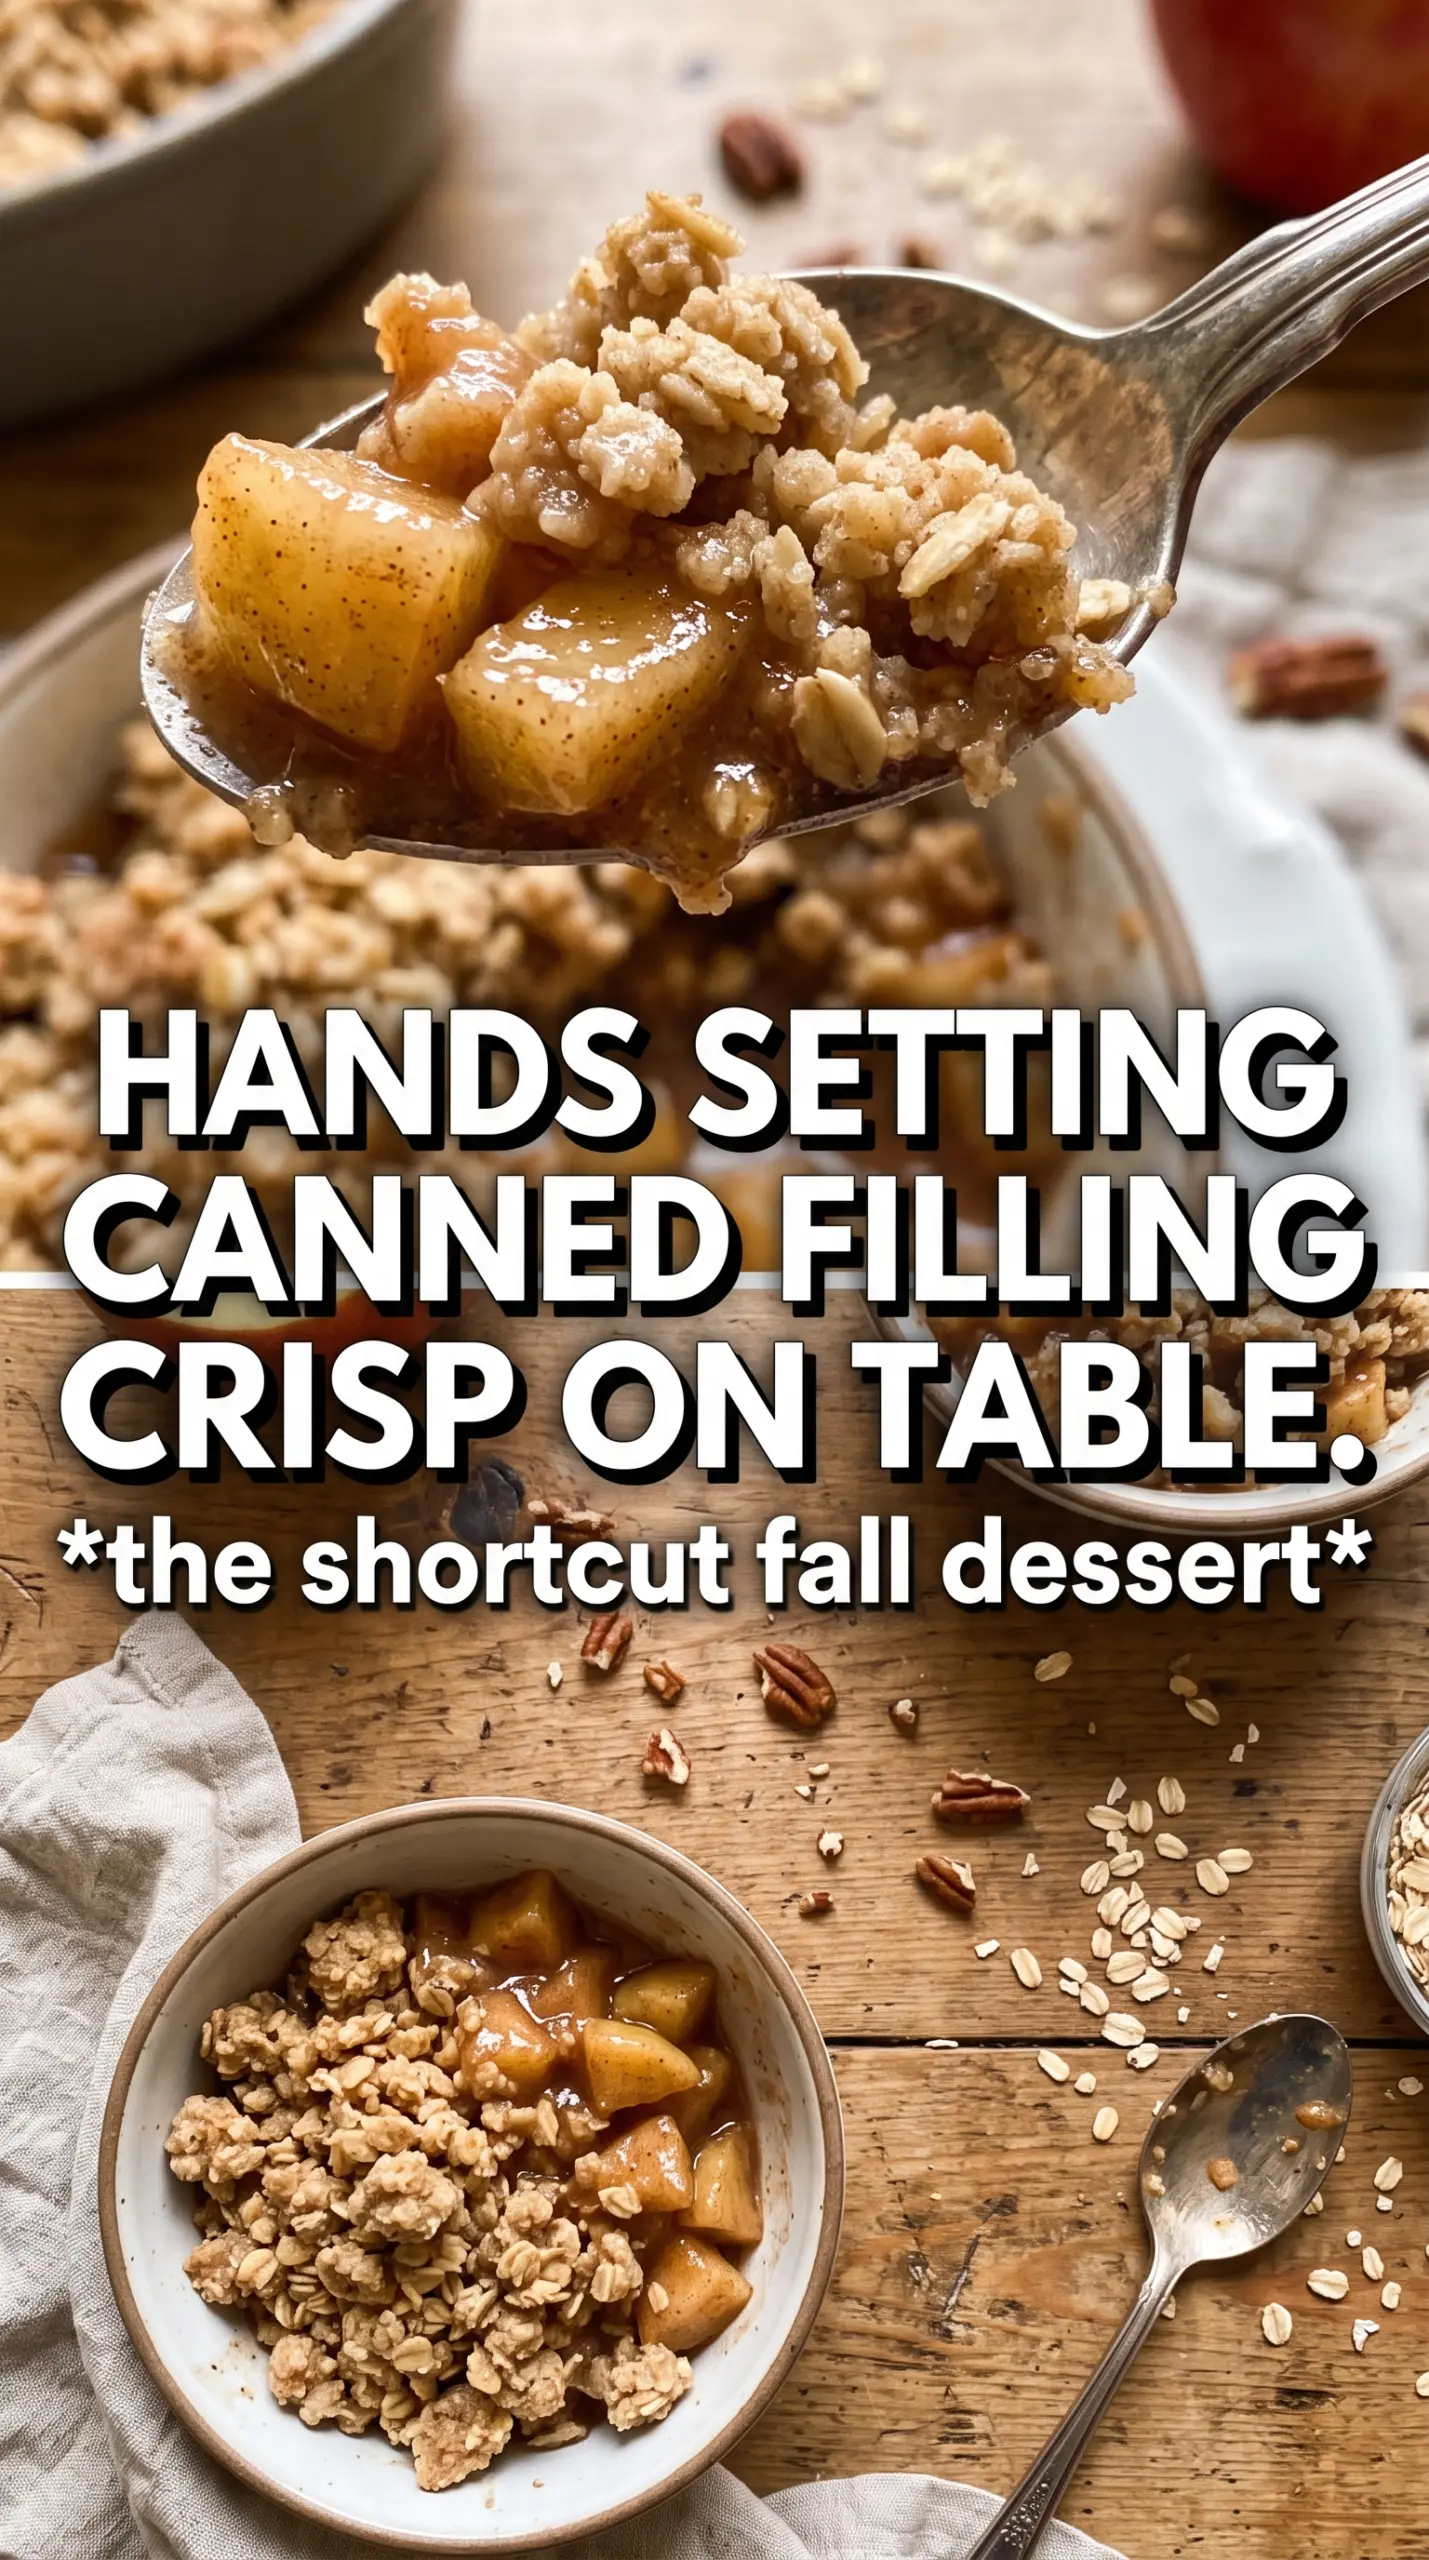
- Rolled oats — Old-fashioned oats are best here because they keep their shape and bake into crisp, chewy bits. Quick oats soften too much and turn the topping finer and less textured.
- Cold butter — This is non-negotiable for a good crumble. Cube it cold and cut it in quickly so you end up with pea-sized pieces and shaggy clumps.
- Brown sugar — Packed brown sugar gives the topping moisture and caramel flavor. White sugar works in a pinch, but you lose some of the depth that makes crisp topping taste bakery-worthy.
- Flour — Flour helps the oats and butter hold together and brown evenly. If you need a gluten-free version, use a 1:1 gluten-free flour blend and keep the oats certified gluten-free.
Building the Crisp So the Bottom Stays Juicy and the Top Stays Crisp
Season the filling first
Stir the cinnamon, nutmeg, allspice, and lemon juice directly into the canned filling before it goes into the dish. That way the seasoning coats every spoonful instead of sitting on top. Spread it into the greased pan in an even layer so the topping bakes consistently and the edges don’t dry out before the center starts bubbling.
Cut in the butter while it stays cold
Combine the oats, flour, brown sugar, cinnamon, and salt, then work in the butter until the mixture looks clumpy and uneven. You should see pieces the size of peas and small pebbles, not a smooth dough. If the butter softens too much, chill the bowl for a few minutes before topping the fruit; warm butter is the fastest way to lose that crisp, crumbly texture.
Bake until the edges bubble
Scatter the topping generously over the filling and bake until the top is deep golden and the filling is bubbling around the edges. That bubbling matters. It tells you the fruit filling has heated through and the flour in the topping has finished setting. Pull it too early and the topping can taste floury, even if it looks browned.
Let it rest before serving
Give the crisp about 5 minutes on the counter before spooning it out. That short rest helps the filling thicken slightly so it doesn’t run everywhere when you serve it. It should still be warm and loose, not fully set like pie.
How to Adapt This Crisp When You Need a Shortcut or a Swap
Gluten-Free Crisp
Use a good 1:1 gluten-free flour blend in the topping and keep the oats certified gluten-free. The texture stays very close to the original, though the crumble may be a little more delicate once it cools.
Dairy-Free Version
Swap the butter for a solid plant-based butter stick, not a tub spread. You’ll still get a crisp topping, but the flavor will be a little less rich and the crumble may brown a bit faster, so watch the last 5 minutes closely.
Less-Sweet Version
If your canned filling is very sweet, add an extra squeeze of lemon juice and reduce the brown sugar in the topping by 2 to 3 tablespoons. That keeps the dessert balanced without changing the texture of the crumble.
Storage and Reheating
- Refrigerator: Store covered for up to 4 days. The topping softens a little as it sits, but the flavor holds up well.
- Freezer: Freeze baked crisp in an airtight container for up to 2 months. Thaw overnight in the refrigerator before reheating.
- Reheating: Warm in a 350°F oven until the filling is hot and the topping re-crisps, about 15 to 20 minutes. The oven is better than the microwave here because it brings the crumble back instead of turning it soggy.
Answers to the Questions Worth Asking
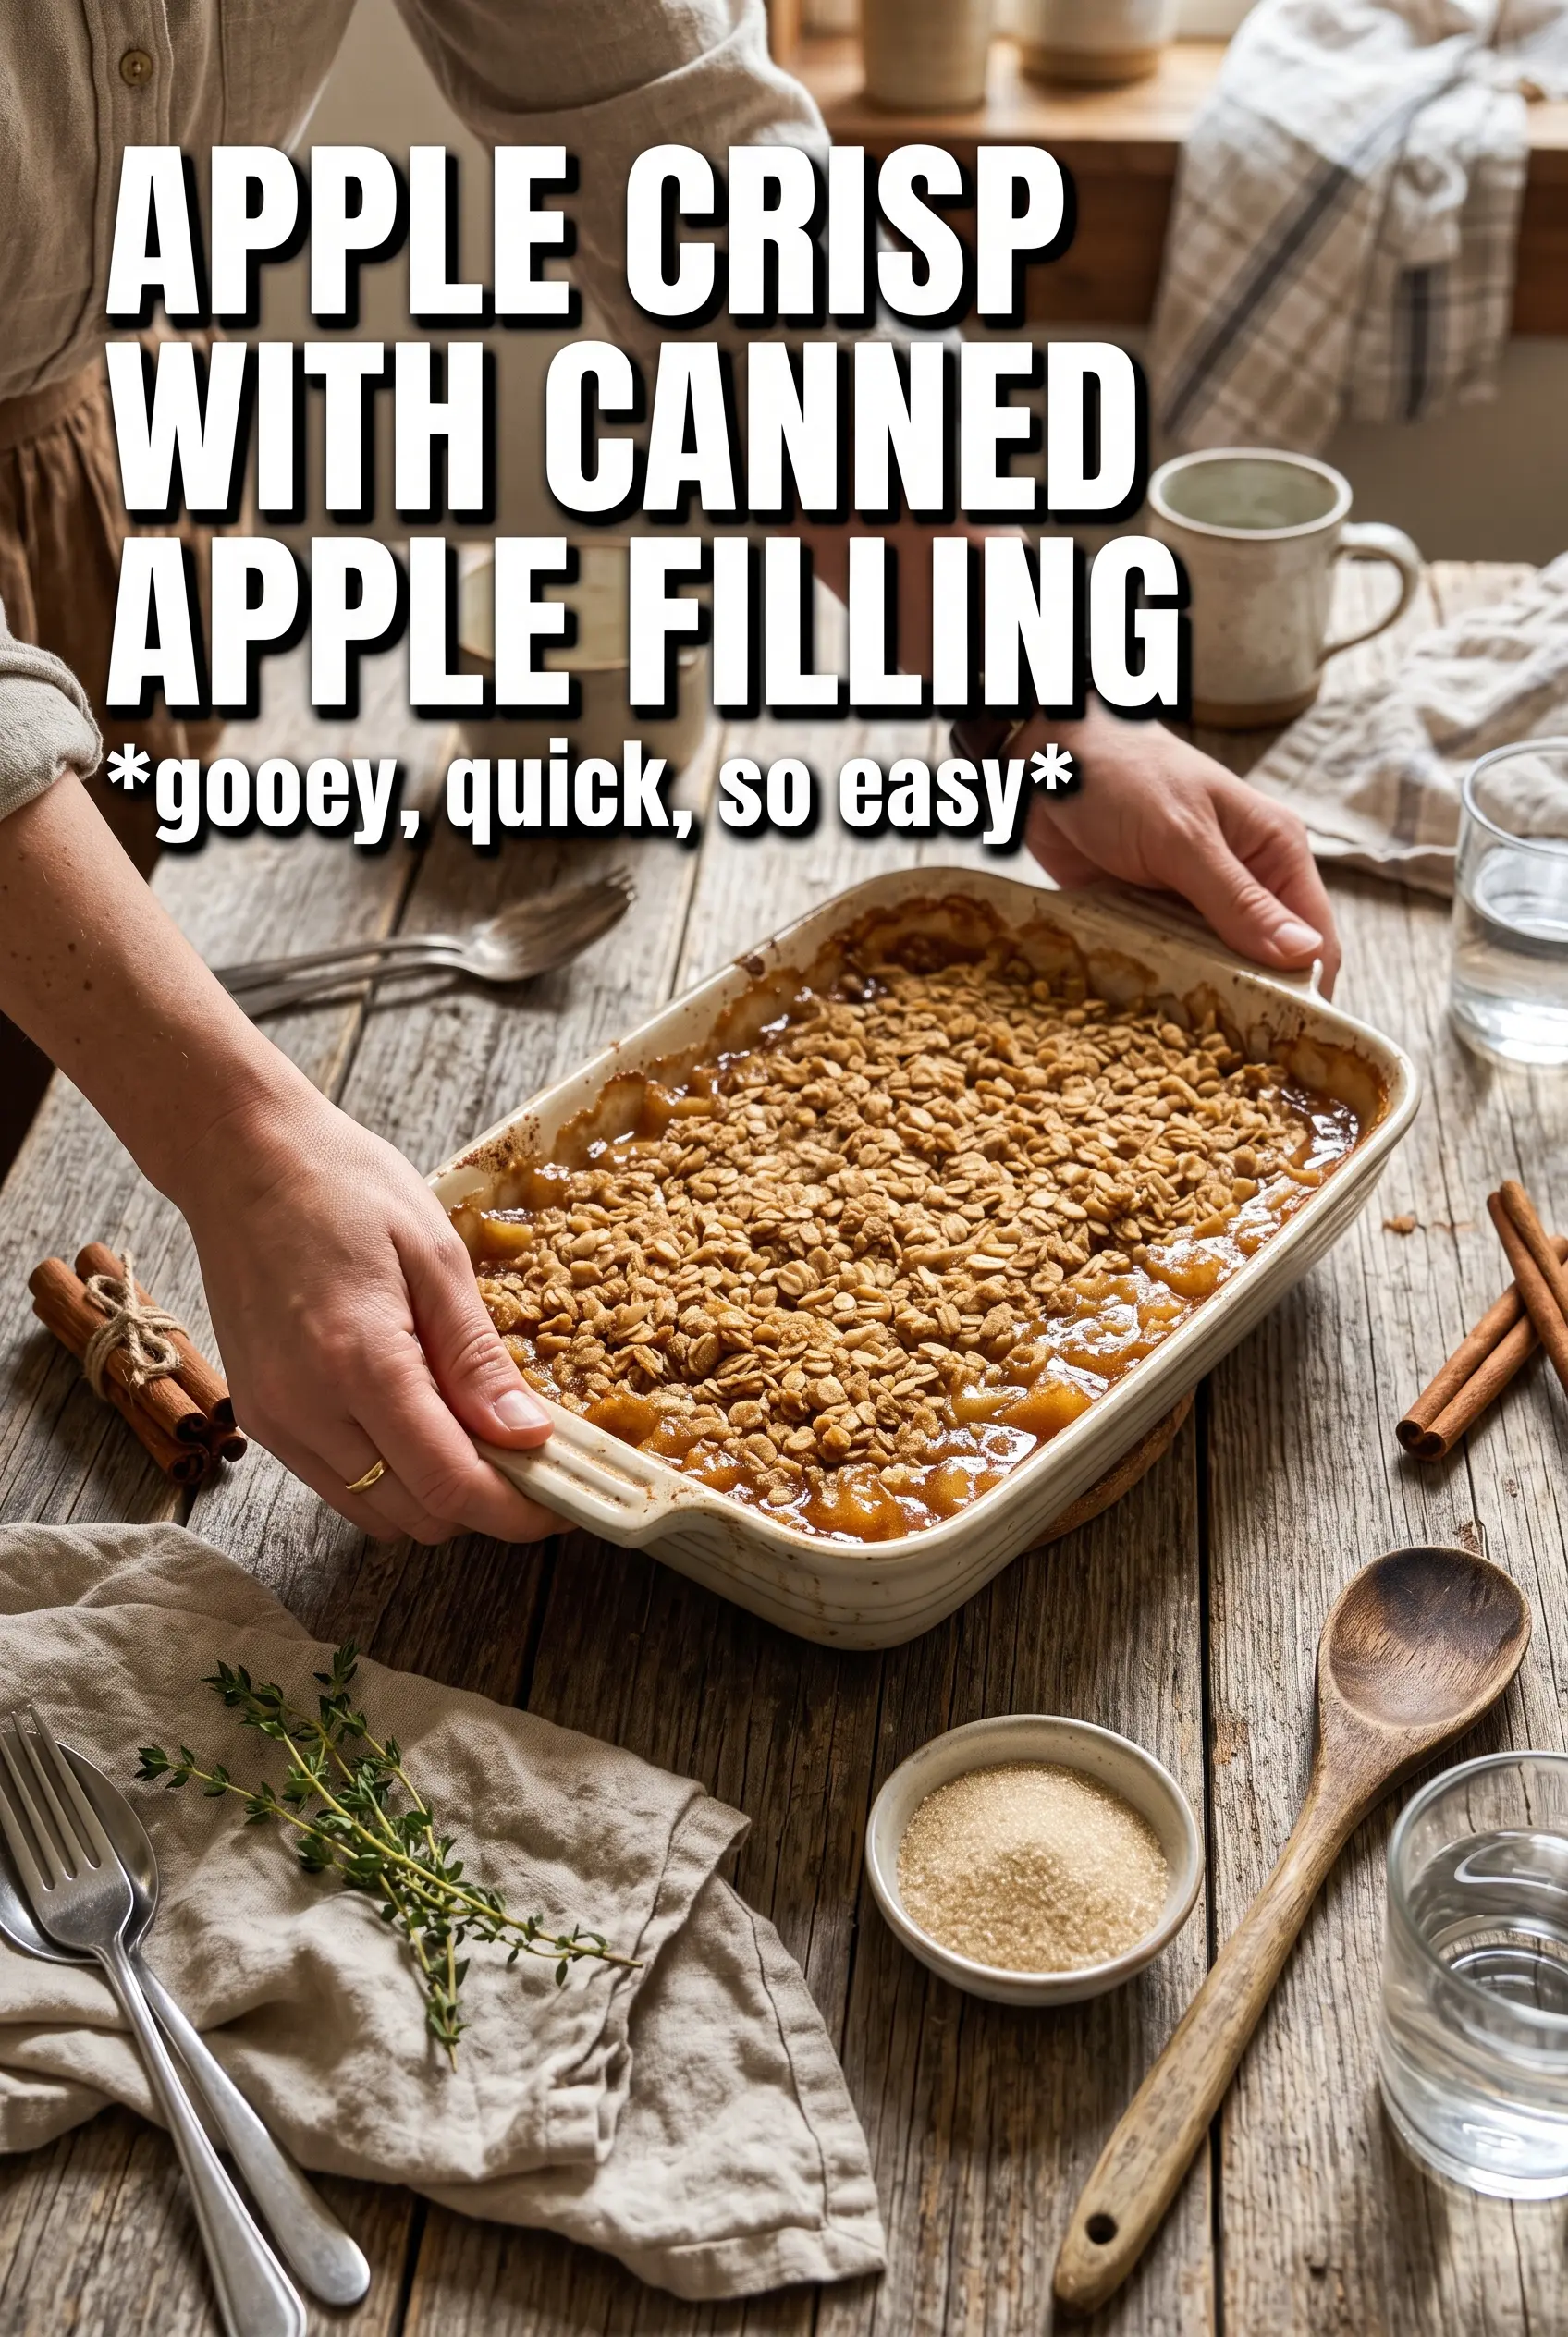
Apple Crisp With Canned Apple Filling
Ingredients
Equipment
Method
- Preheat the oven to 375°F and grease a 9x13 baking dish.
- Stir cinnamon, nutmeg, allspice, and lemon juice into the canned apple pie filling, then spread it in the prepared dish.
- Combine rolled oats, all-purpose flour, brown sugar, cinnamon, and salt until evenly mixed.
- Cut the cold unsalted butter into the oat mixture until chunky clumps form.
- Scatter the crumble generously over the apple filling.
- Bake for 30-35 minutes, until the topping is golden and the filling is bubbling around the edges.
- Rest for 5 minutes before serving warm.
- Serve with vanilla ice cream.