Buttery shortbread, tender cinnamon apples, and a golden oat crumble make these apple crisp shortbread bars the kind of dessert that disappears fast at room temperature or straight from the pan. The base stays sturdy enough to slice cleanly, but it still melts the second it hits your mouth, and the spiced apple layer gives every bite that soft, jammy middle you want from a good fruit bar.
What makes this version work is the double duty dough. The same mixture builds the crust and the topping, which keeps the texture cohesive instead of muddy. Cold butter matters here. It leaves little pockets that bake into a crumbly, crisp top instead of turning into a dense layer. The apples are tossed with cornstarch before they go on the hot crust, so the filling sets instead of running all over the pan.
Below you’ll find the small details that keep the bars neat, the best apples to use, and a few swaps for when you want to tweak the filling without losing that crisp-shortbread contrast.
The filling set up perfectly and the crust held together when I sliced it after cooling. I drizzled caramel on top and my kids kept sneaking pieces all afternoon.
Save these apple crisp shortbread bars for the caramel-drizzled dessert that slices cleanly and still tastes like warm apple crisp.
The Trick Is Keeping the Crust Cold and the Filling Thirsty
The part that trips people up here is assuming the crust should look smooth before it goes in the oven. It shouldn’t. You want a crumbly mixture that packs together when pressed, with visible bits of butter still in it. That contrast is what gives the base its shortbread texture and the topping its crisp, nubby finish.
The filling needs help from the cornstarch and the hot crust. If you spread the apples onto a raw base, the bottom can turn soft before the bars finish baking. Prebaking the crust for 12 minutes sets the structure and starts the browning, so the apples sit on something sturdy instead of sinking into a soggy layer.
- Cold butter — This is what creates the sandy, crumbly texture. If the butter warms up too much, the mixture turns pasty and the finished bars bake up dense instead of crisp.
- Rolled oats — They add chew and make the topping feel more like apple crisp than plain streusel. Quick oats will work in a pinch, but the texture comes out finer and less rustic.
- Cornstarch — It thickens the apple juices so the bars slice cleanly. Flour won’t give the same clear set here; it tends to make the filling a little heavier.
- Lemon juice — It brightens the apples and keeps the filling from tasting flat. You don’t taste lemon, but you do notice when it’s missing.
What Each Layer Needs Before It Goes Into the Pan
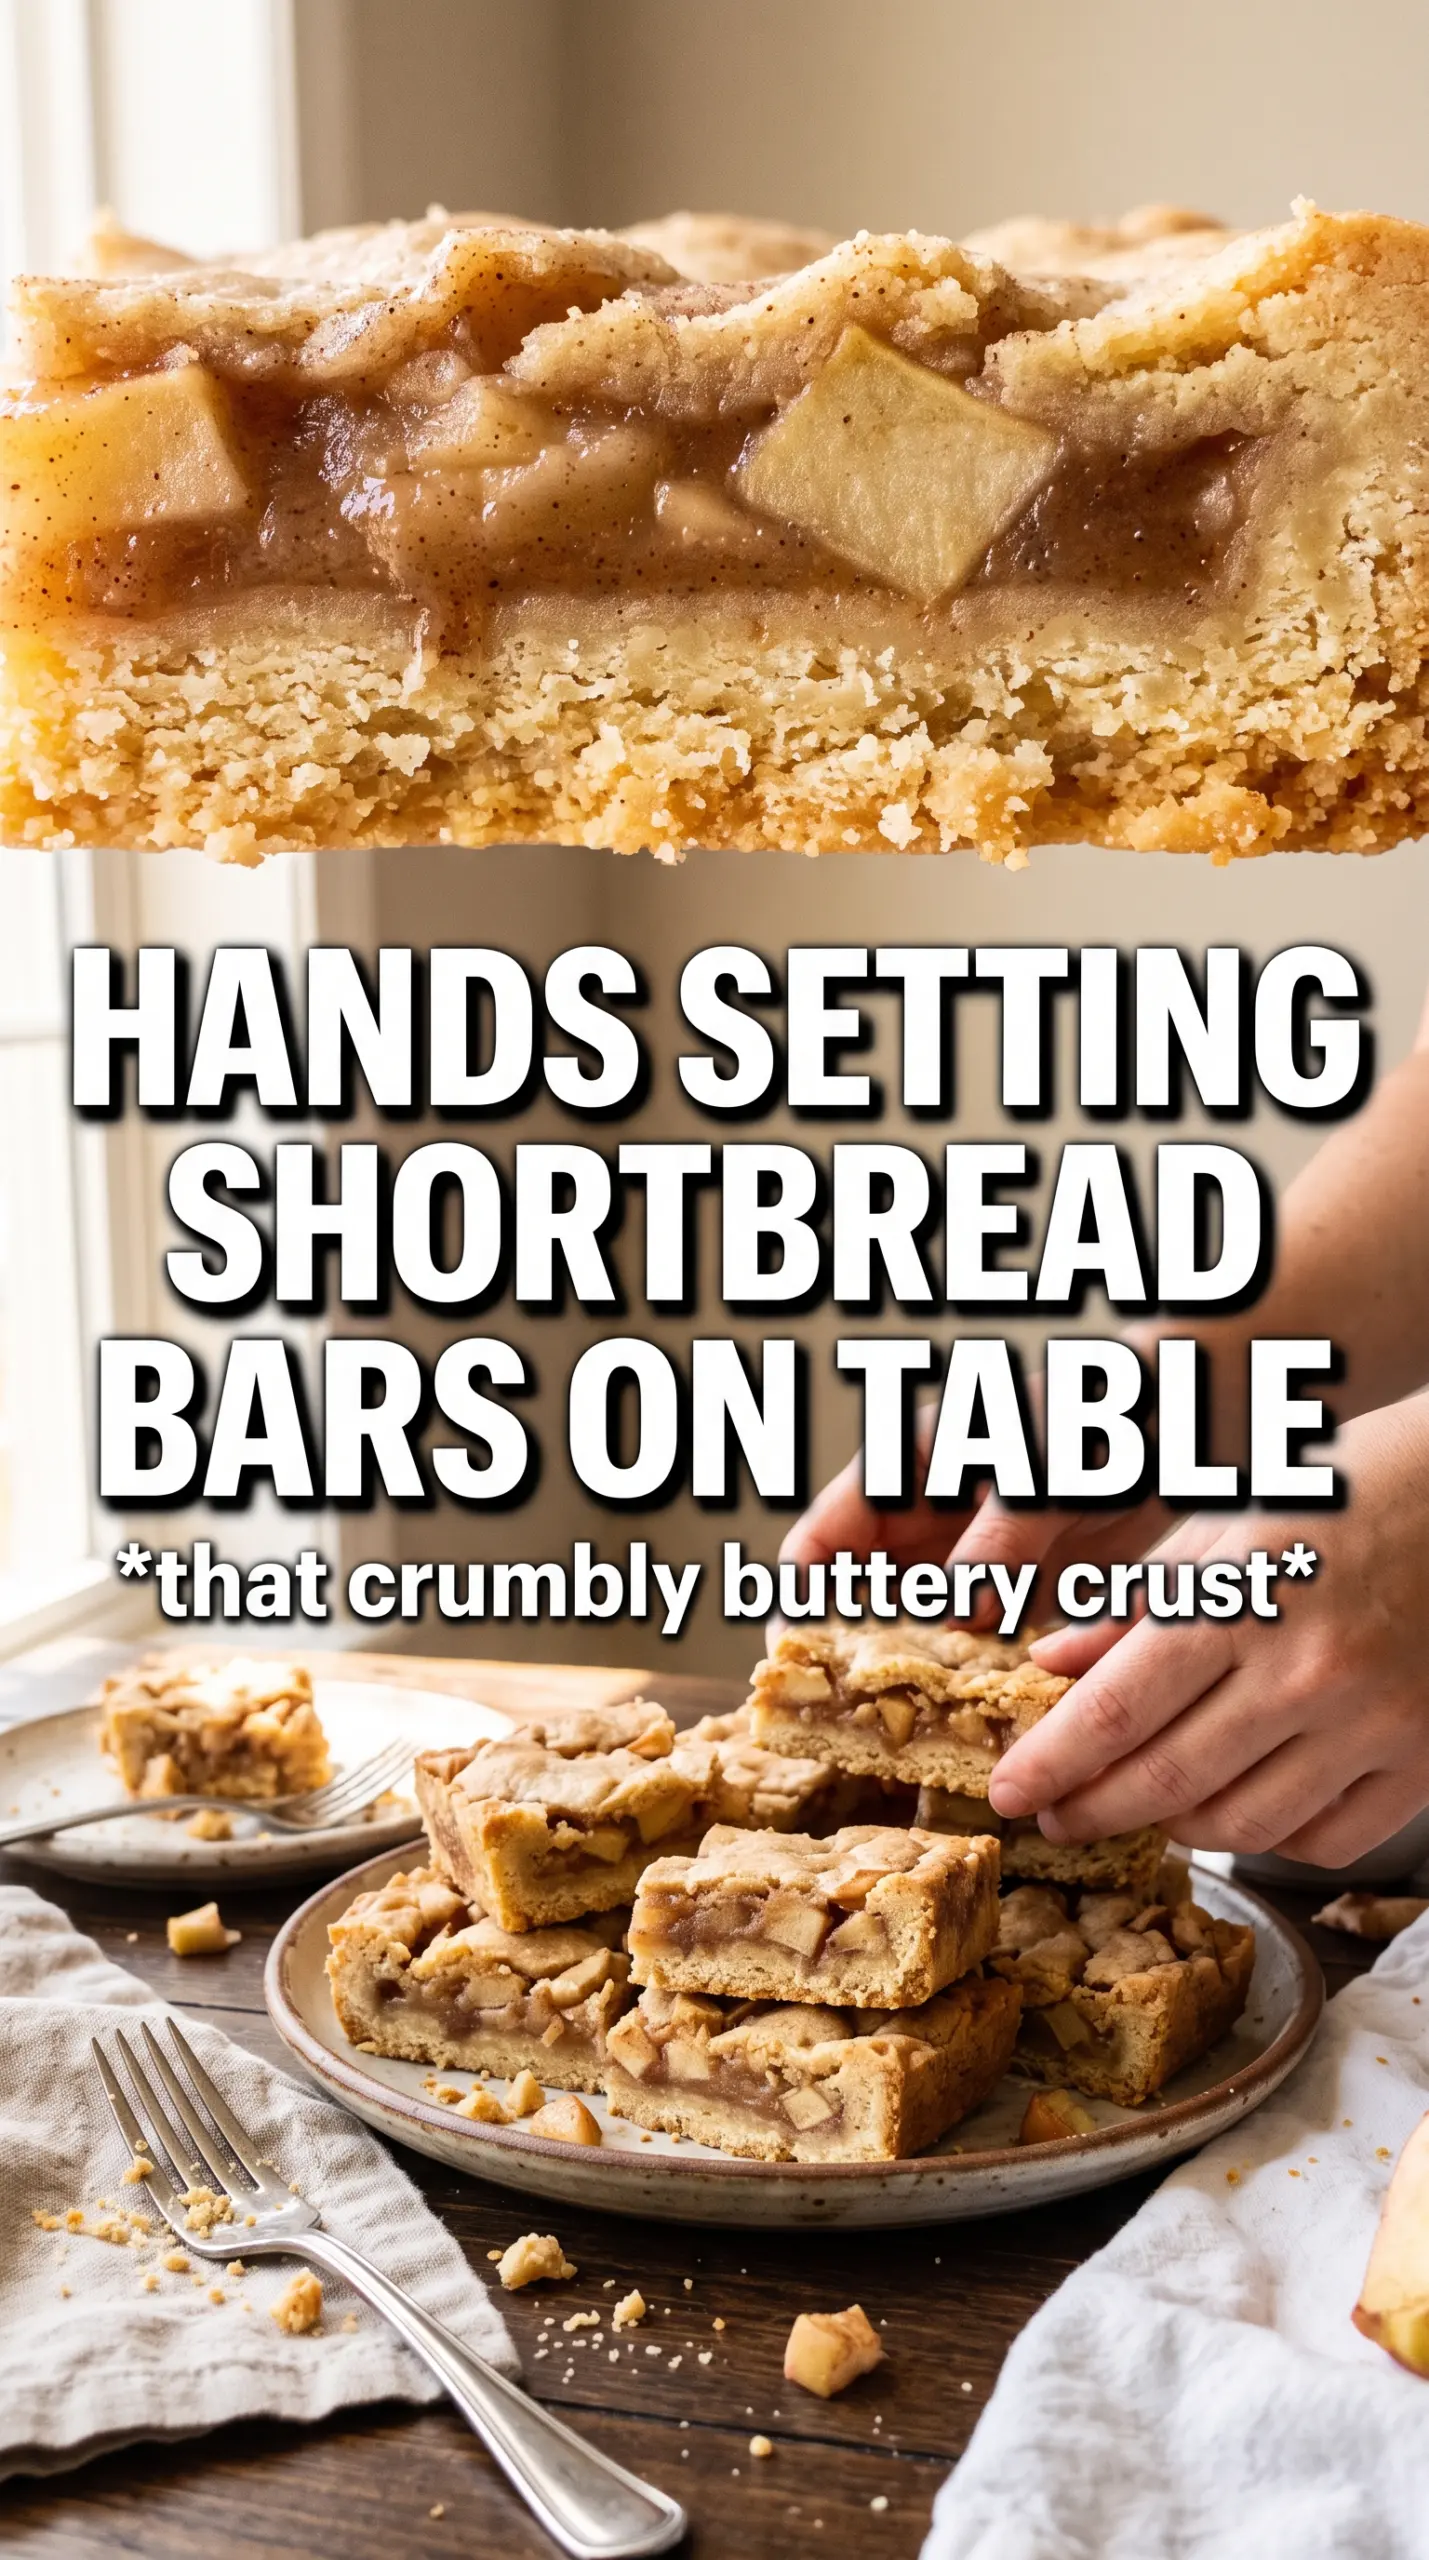
- Apples — Use apples that hold their shape, like Granny Smith, Honeycrisp, Braeburn, or a mix. Soft apples turn mushy before the topping browns. Slice them thin and evenly so they cook at the same pace.
- Brown sugar — This does more than sweeten the crust. It brings molasses depth and helps the base bake into that deep, almost cookie-like edge.
- Cinnamon and nutmeg — Cinnamon carries the apple flavor, and nutmeg adds a little warmth underneath it. You don’t need much nutmeg; too much makes the filling taste dusty instead of bright.
- Caramel sauce — It’s optional, but it’s the finish that makes these bars feel complete. Drizzle it after the bars cool so it sits on top instead of soaking in and making the crumble soft.
Building the Layers So the Bars Slice Cleanly
Mix the Crumble Without Overworking It
Stir the flour, oats, brown sugar, cinnamon, and salt together first, then cut in the cold butter until the mixture looks like rough, uneven crumbs with some larger clumps. Those clumps are good; they bake into the best craggy topping. If you mix until everything looks uniform and sandy, the texture gets too tight. Reserve one cup for the topping, then press the rest firmly into the pan so the crust bakes into an even layer.
Prebake the Base Until It Starts to Set
Thirteen minutes or so can matter a lot here, but this crust only needs 12 minutes in the oven. You’re looking for the surface to look matte and just barely set, not fully browned. That head start keeps the bottom from turning soft once the apples go on top. If the crust still looks loose in the center, give it another minute before adding the fruit.
Cook the Apples in the Pan, Not in a Bowl
Toss the sliced apples with the sugar, cinnamon, nutmeg, cornstarch, and lemon juice until every piece looks lightly coated and a little glossy. Spread them over the hot crust in an even layer, then scatter the reserved crumble over the top. Don’t pile the apples too high in the center or the middle bars will stay wetter than the edges. The topping should cover most of the fruit, but it doesn’t need to seal it completely.
Let the Bars Cool All the Way
The hardest part is waiting, because the smell is incredible, but the filling needs time to set. Pulling them too early gives you a soft mess instead of neat squares. Cool the pan completely before cutting, then use a sharp knife wiped clean between slices if you want tidy edges. The caramel goes on right before serving so the topping stays crisp.
How to Adjust These Bars Without Losing the Texture
Make Them Gluten-Free
Swap the all-purpose flour for a 1:1 gluten-free baking blend and use certified gluten-free oats. The bars stay crisp and sliceable, but the crumble may be a little more delicate, so let them cool completely before lifting them from the pan.
Turn the Filling Dairy-Free Without Changing the Flavor
The base is already dairy-free if you use a butter substitute made for baking, but the flavor will be a little less rich and the crumble may brown faster. Choose a solid stick-style plant butter, not a soft tub spread, or the texture can turn greasy instead of crumbly.
Use Pears for a Softer, Sweeter Bar
Pears work well if you want a gentler, more floral filling. Use firm pears and keep the cornstarch amount the same, because ripe pears release more juice than apples and need help setting. The bars will taste softer and sweeter, with less tart contrast.
Storage and Reheating
- Refrigerator: Store covered for up to 5 days. The crumble softens a bit after day two, but the bars still hold their shape well.
- Freezer: They freeze well. Wrap individual bars tightly and freeze for up to 2 months, then thaw in the refrigerator overnight.
- Reheating: Warm a bar in a 300F oven for 8 to 10 minutes if you want the topping crisp again. The microwave makes the crust soft, so use it only if you don’t mind losing that shortbread snap.
Questions I Get Asked About This Recipe
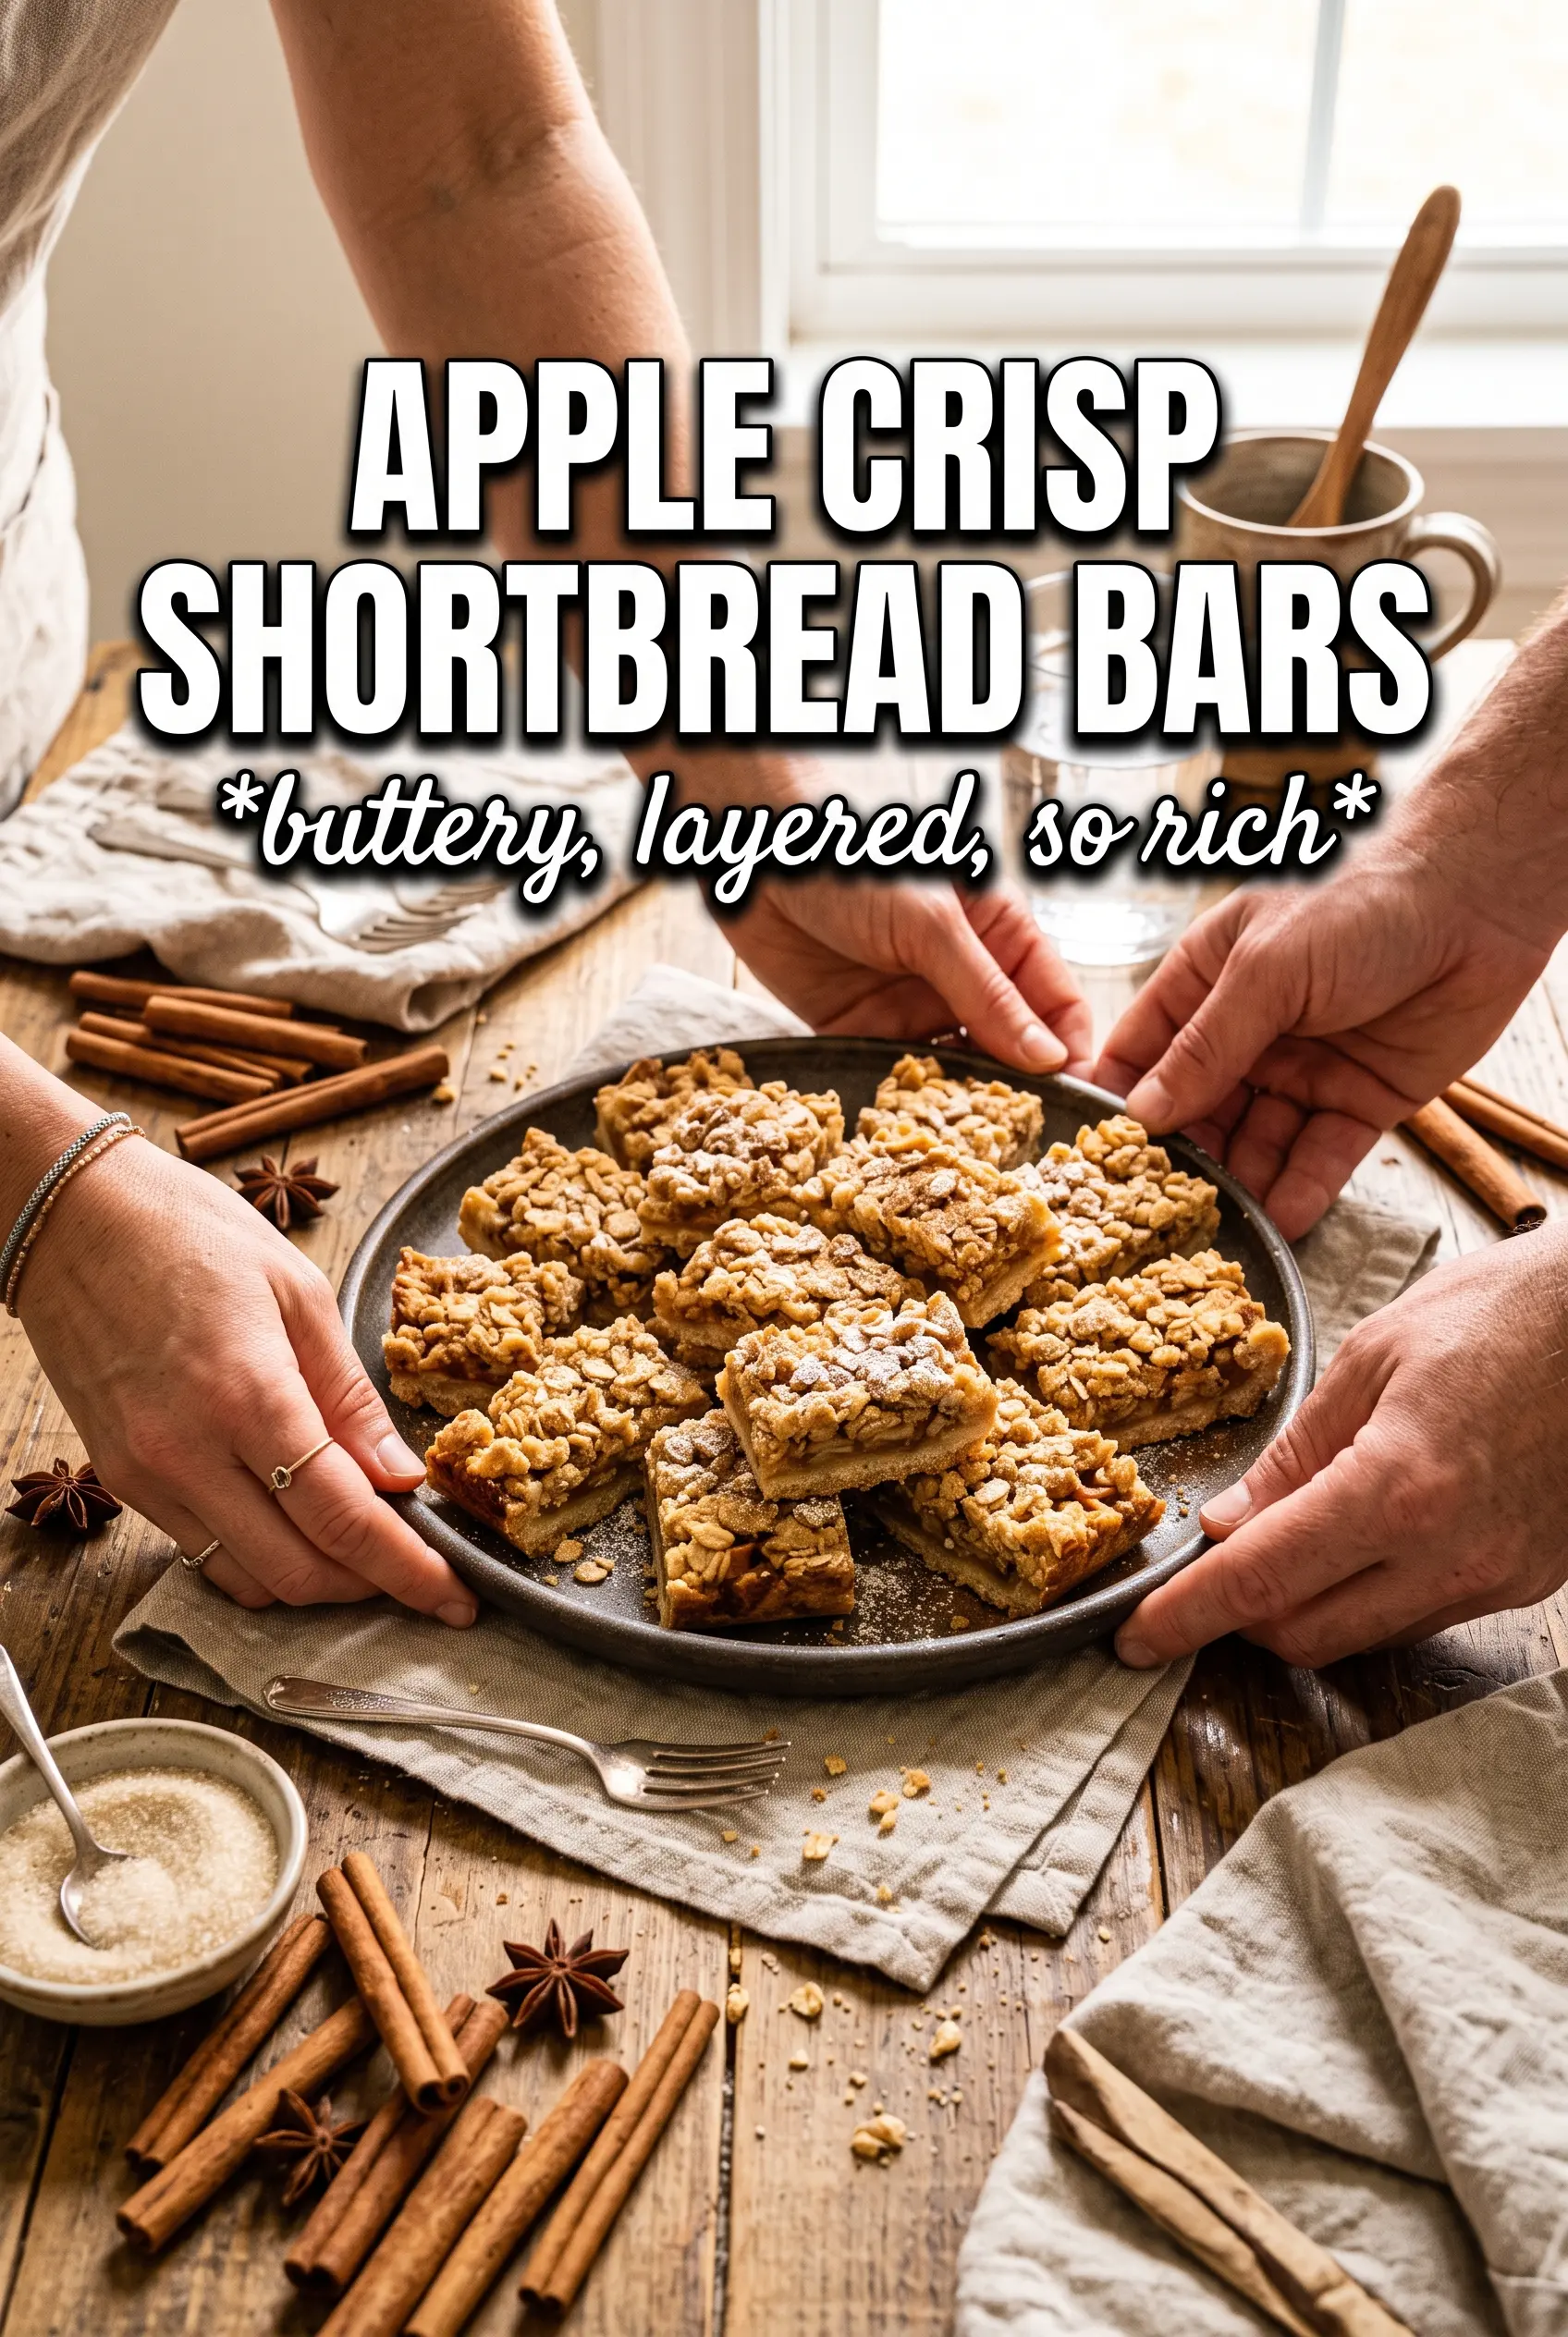
Apple Crisp Shortbread Bars
Ingredients
Equipment
Method
- Preheat the oven to 375F and line a 9x13 pan with parchment.
- Mix all-purpose flour, rolled oats, brown sugar, cinnamon, and salt, then cut in cold unsalted butter until the mixture turns crumbly.
- Reserve 1 cup of the mixture for the topping.
- Press the remaining mixture firmly into the prepared pan and bake for 12 minutes.
- Toss apples with granulated sugar, cinnamon, nutmeg, cornstarch, and lemon juice until evenly coated.
- Layer the apple mixture over the hot baked base.
- Scatter the reserved crumble over the apples.
- Bake for 30-35 minutes, until the topping is golden and the apples are bubbling.
- Cool completely before slicing so the bars hold their shape.
- Drizzle with caramel sauce to serve.