Apple crisp cheesecake brings three desserts into one slice without tasting busy. The crust stays sturdy, the filling bakes up smooth and tangy, and the apple layer gives you that soft, spiced fruit texture before the oat crumble finishes everything with a buttery crunch. When it’s chilled and sliced cleanly, each bite hits in layers instead of blending into one heavy block.
The trick is keeping each part distinct. The apples are cooked first so they soften enough to sit neatly between the cheesecake and the topping without leaking extra liquid into the filling. The cheesecake itself stays creamy because the eggs and sour cream are mixed in just until combined, and the water bath keeps the edges from overbaking before the center sets. The oat topping is added in clumps, not a sandy blanket, so it actually bakes into a crisp crown.
Below, I’ve included the small details that matter most here: how to keep the crust from going soggy, what tells you the cheesecake is done, and which substitutions work without changing the whole dessert.
The apple layer stayed put, the crumble actually crisped up, and the cheesecake slice held its shape after chilling overnight. My husband went back for a second piece before dinner was even over.
Save this apple crisp cheesecake for the dessert nights when you want a clean cheesecake slice with a buttery oat topping.
The Water Bath Is What Keeps the Middle Creamy, Not Wet
A cheesecake this thick needs gentle heat. The water bath isn’t there for drama; it steadies the oven temperature around the pan so the edges don’t set hard before the center has a chance to catch up. Without it, you’ll usually get a puffed rim, a cracked top, and a filling that bakes drier than it should.
The other mistake people make is overbaking because they’re waiting for the center to look fully firm in the oven. That’s too far. Pull it when the outer few inches are set and the middle still has a slight jiggle, like firm Jell-O. It finishes setting as it cools, then firms up completely in the fridge.
- Press the crust firmly enough that it holds together when sliced, but don’t pack it so hard that it turns dense and hard.
- Cook the apples first so they soften and release a little moisture before they go on the cheesecake.
- Let the cheesecake cool gradually before chilling, or the sudden temperature drop can pull the top apart.
What Each Layer Is Actually Doing Here
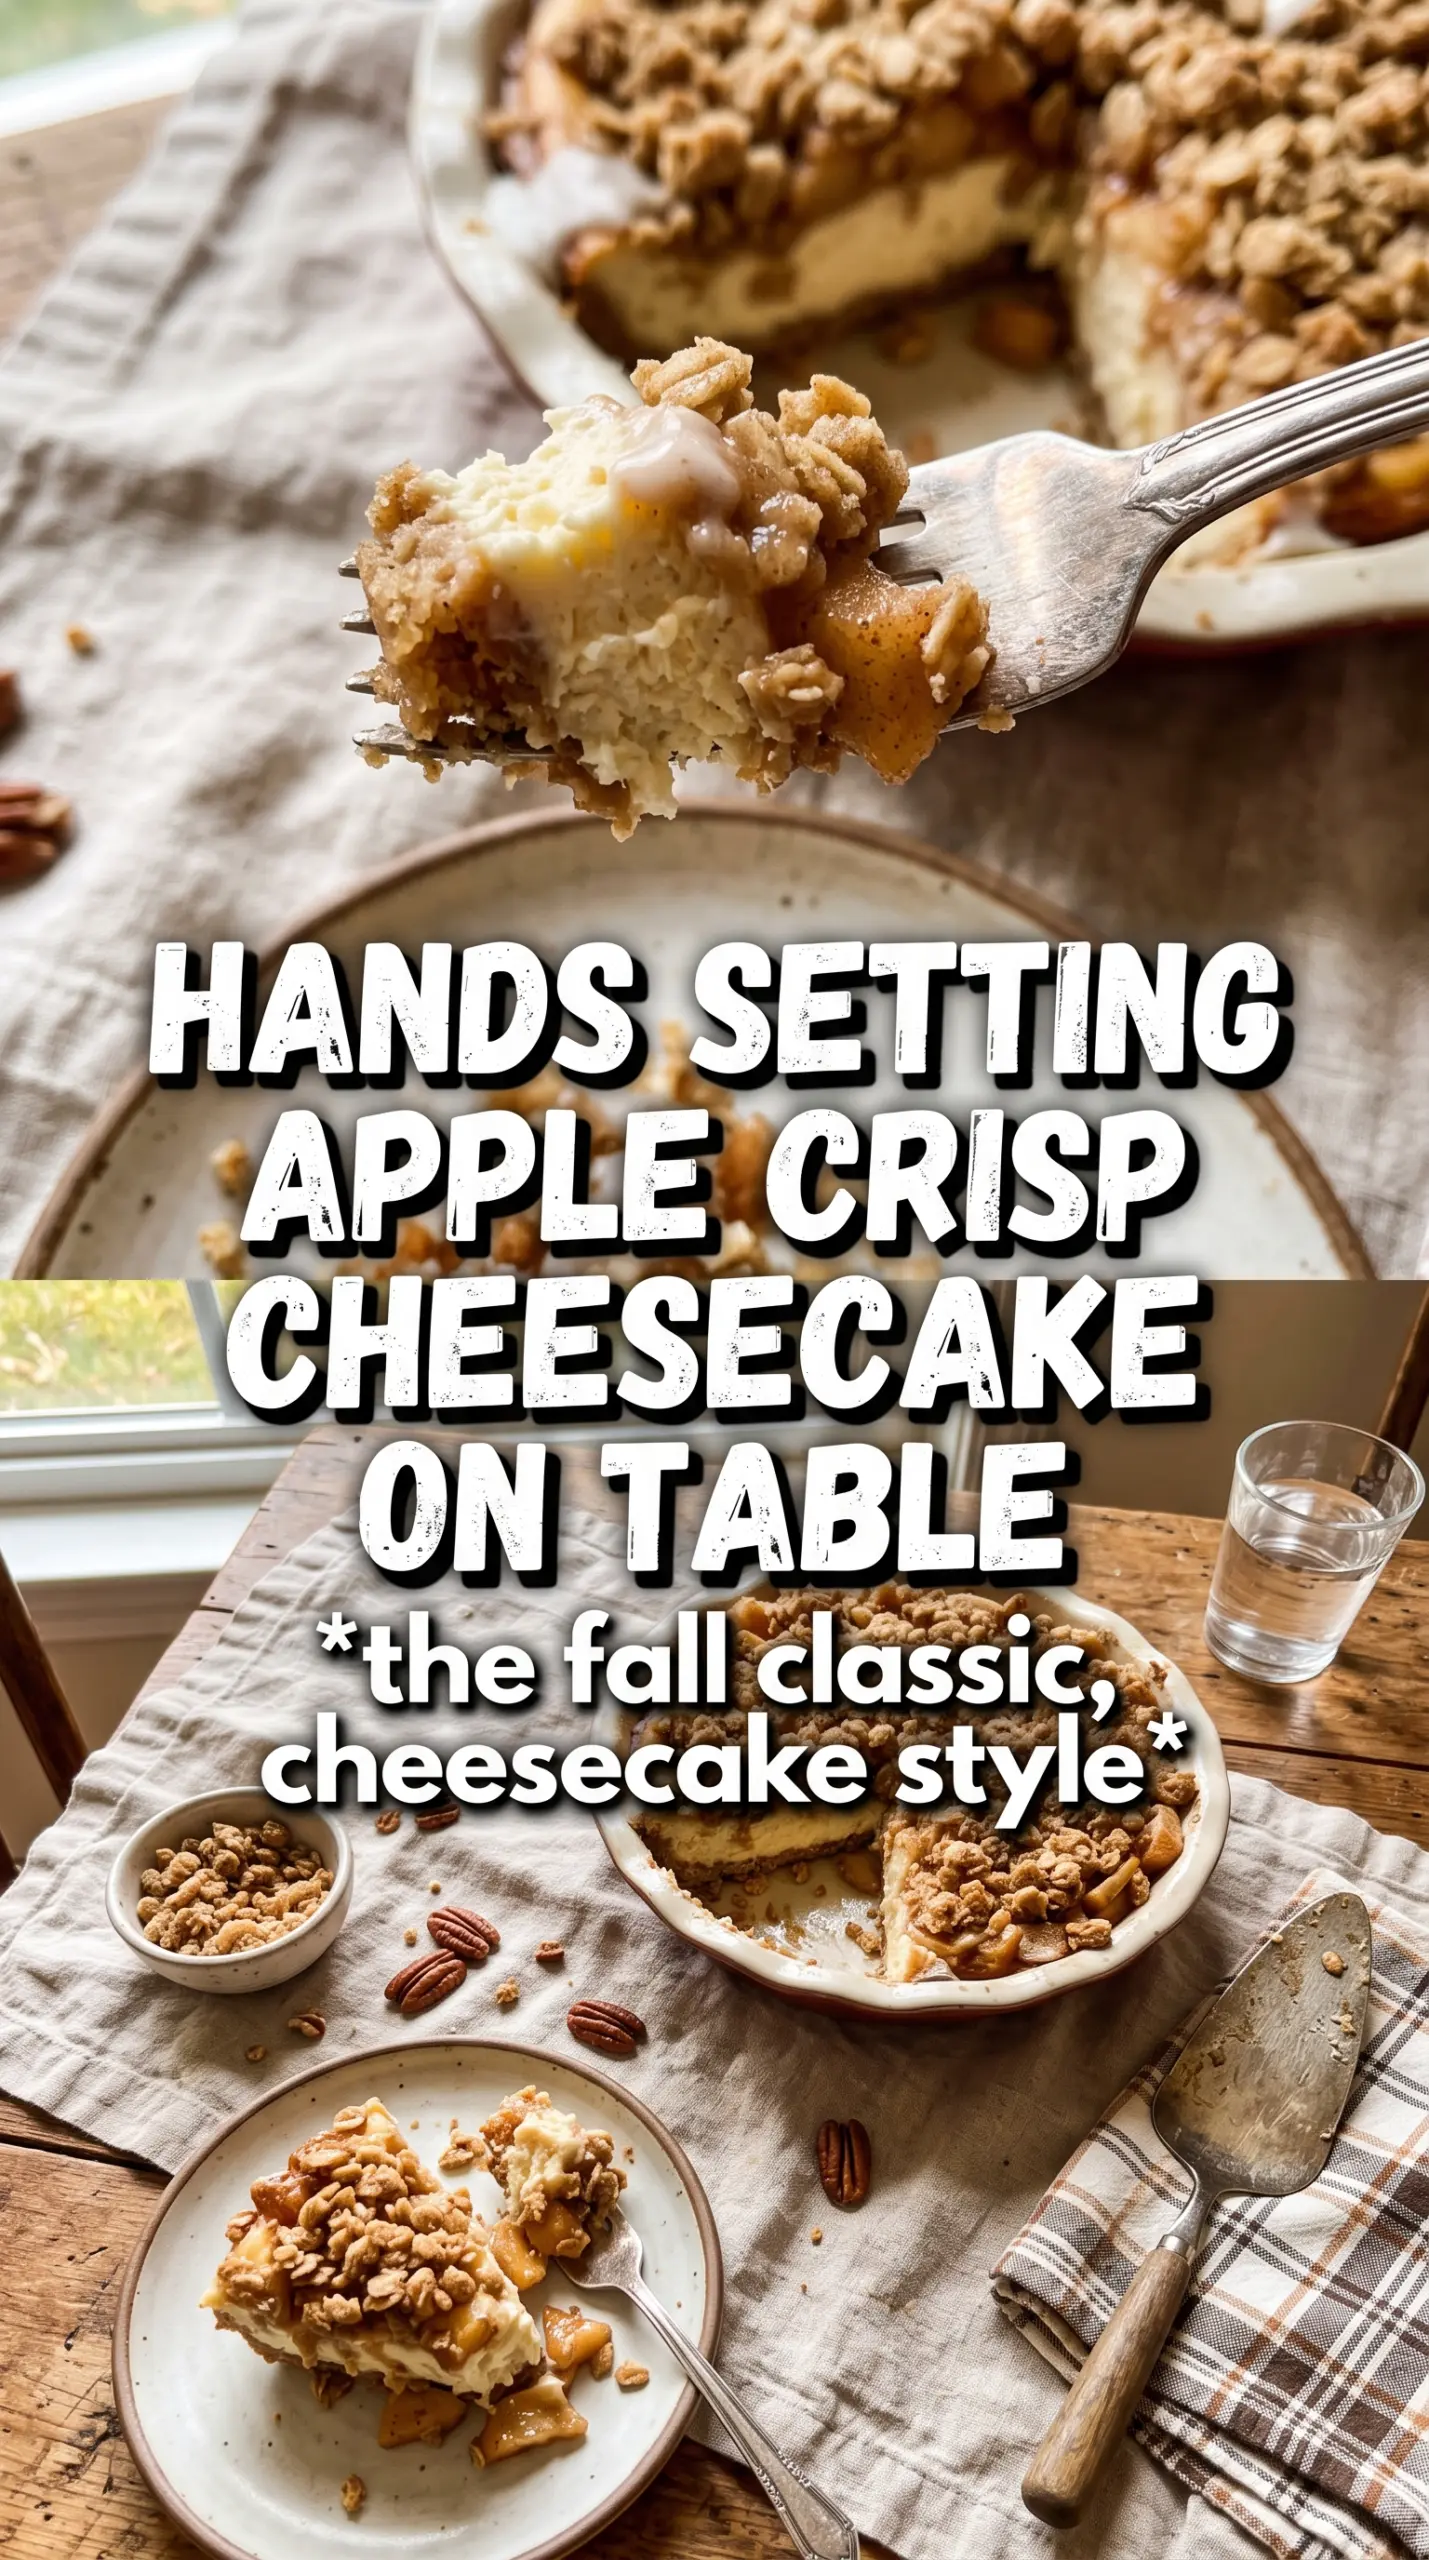
- Graham cracker crumbs — These give the base its familiar cheesecake flavor and enough structure to stand up to the creamy filling. Fresh crumbs from a box work fine, and pre-crushed crumbs are a good shortcut if they’re fine and even. The crust holds together best when the butter is mixed in until every crumb looks damp, not greasy.
- Cream cheese — This is the backbone of the dessert, so softness matters. Cold cream cheese leaves little lumps that never fully beat out, even after baking. Let it come to room temperature until it dents easily when pressed.
- Sour cream — This adds tang and a softer, silkier finish than cream cheese alone. Greek yogurt can work in a pinch, but it tastes a little sharper and sets a bit tighter. Use full-fat sour cream if you want the filling to bake up rich instead of lean.
- Apples — A firm baking apple keeps some texture after cooking, which matters here because the layer sits between two soft components. Tart apples bring balance; sweeter apples make the whole dessert read more candy-like. Dice them evenly so they soften at the same rate.
- Rolled oats — These give the topping its crisp, nubbly texture. Quick oats work if that’s what you have, but the crumble will be finer and less rustic. Keep the butter cold and cut it in just until you see clumps forming.
Building the Layers So They Bake Cleanly
Press and Prebake the Crust
Mix the graham crumbs, sugar, and melted butter until the texture feels like damp sand, then press it into the springform pan in an even layer. Bake it just until it smells toasty and looks set around the edges. This short bake helps the crust stay crisp under the filling instead of turning soft and pasty once the cheesecake goes in.
Cook the Apples Before They Go On Top
Stir the diced apples with butter, brown sugar, and cinnamon in a skillet until they’ve softened slightly and picked up a glossy coating. You’re not cooking them to applesauce; they should still hold their shape. If you skip this step, the apples release too much liquid in the oven and can make the center loose.
Beat the Filling Until Smooth, Then Stop
Beat the cream cheese and sugar first until the mixture is completely smooth and lightened. Add the eggs one at a time, mixing just until each one disappears, then mix in the sour cream, vanilla, and cinnamon. Overmixing at this stage adds too much air, and that extra air is what often leads to cracks as the cheesecake cools.
Finish With the Oat Crumble
Stir the oats, flour, brown sugar, and cinnamon together, then cut in the cold butter until the mixture forms uneven clumps. Scatter it over the apples instead of pressing it down. Those irregular pieces are what bake into a crisp topping; if you flatten it, you lose the craggy texture and end up with a more solid lid.
Brown Butter Apple Crisp Cheesecake
Swap the melted butter in the crust or the cold butter in the crumble for browned butter if you want a deeper, nutty note. It gives the whole dessert a toasted edge that works especially well with the cinnamon apples, but you’ll lose a little of the fresh, buttery sweetness that plain butter brings.
Gluten-Free Version
Use gluten-free graham crackers for the crust and a 1:1 gluten-free flour blend in the crumble. The texture stays close to the original, though the topping can bake a little more delicate, so let it cool fully before slicing or serving.
Dairy-Free Adaptation
Use plant-based cream cheese, a thick dairy-free sour cream, and a vegan butter substitute. The cheesecake will still set, but it usually bakes a little softer, so chill it overnight for the cleanest slices.
More Apple, Less Cheesecake
If you want a heavier fruit layer, add another diced apple and cook it down a little longer before layering. The dessert will taste brighter and more like apple crisp, but the slices will be softer and less sharply defined when cut.
Storage and Reheating
- Refrigerator: Store covered for up to 5 days. The crumble softens a bit after day one, but the flavor stays excellent.
- Freezer: Freeze individual slices wrapped tightly and then placed in an airtight container for up to 2 months. Thaw in the refrigerator overnight for the best texture.
- Reheating: Cheesecake is best served chilled, not reheated. If you want to take the chill off, let a slice sit at room temperature for 15 to 20 minutes; microwaving makes the filling loose and the topping soggy.
Questions I Get Asked About This Recipe
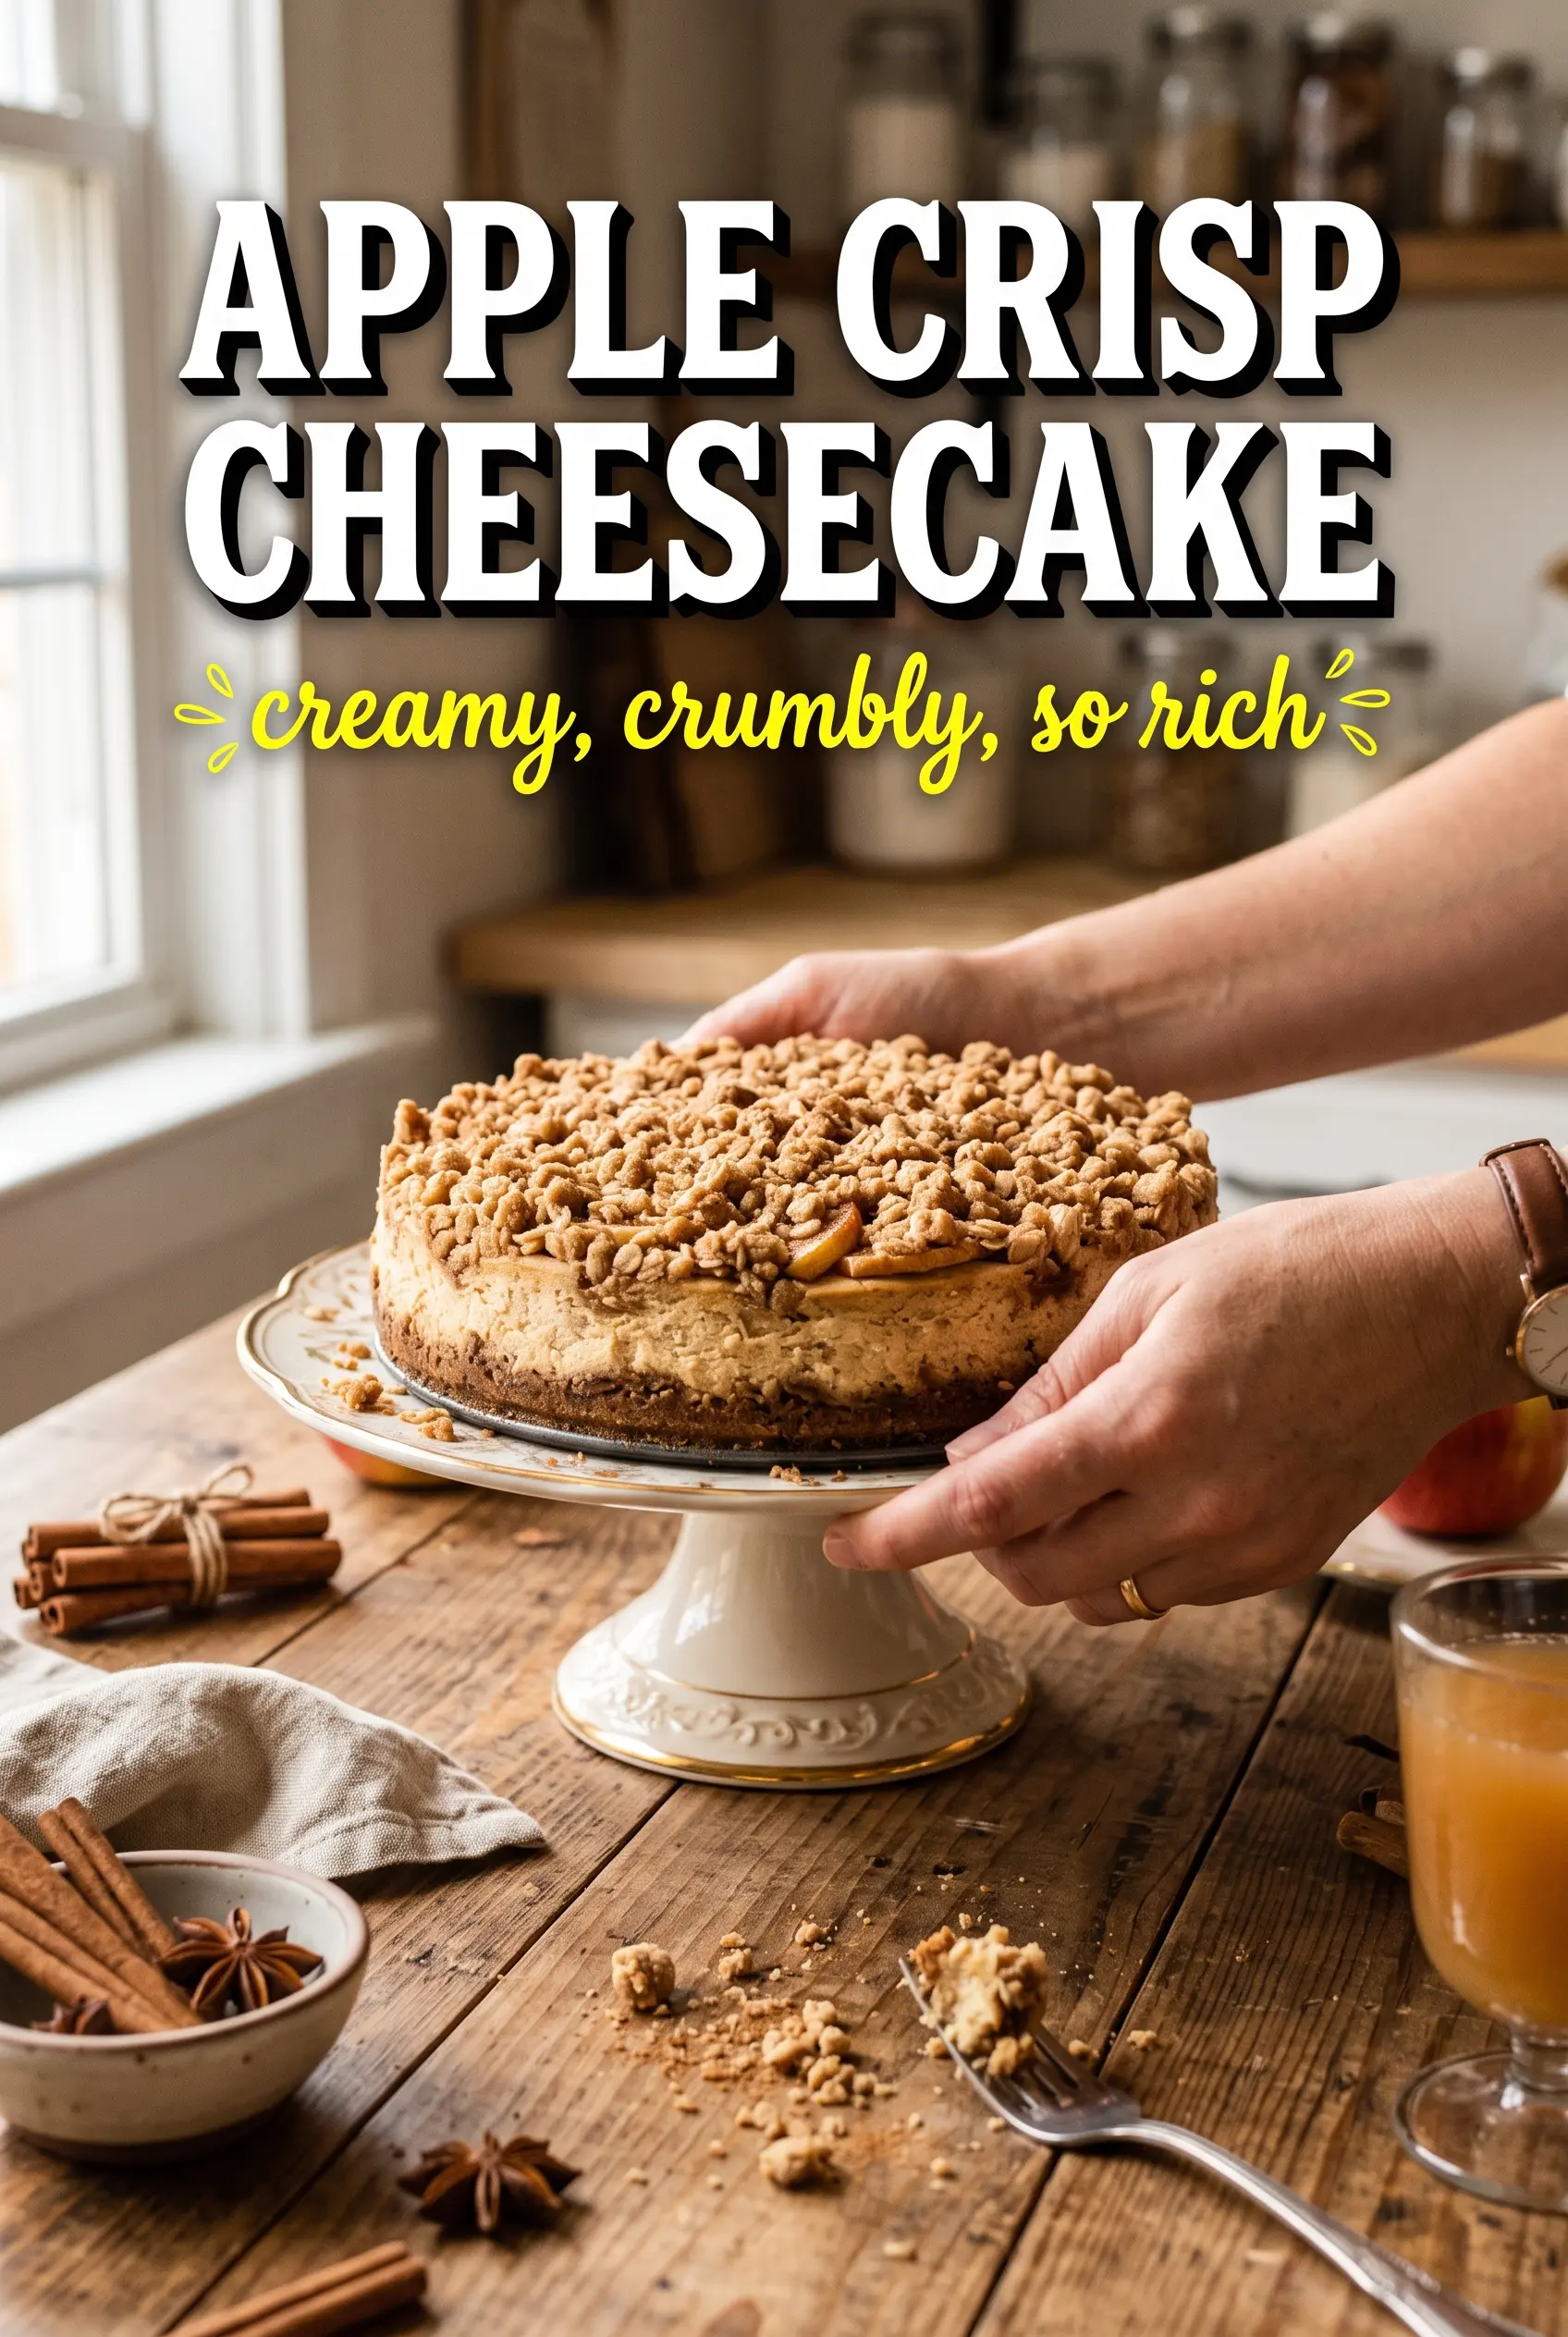
Apple Crisp Cheesecake
Ingredients
Equipment
Method
- Preheat oven to 325°F and press graham cracker crumbs, sugar, and melted unsalted butter into a 9-inch springform pan, smoothing into an even layer.
- Bake the crust for 8 minutes, then remove and let it cool slightly.
- Cook diced apples with butter, brown sugar, and cinnamon for 5 minutes until softened.
- Cool the cooked apples completely before layering.
- Beat cream cheese and granulated sugar until smooth, then add eggs one at a time.
- Beat in sour cream, vanilla, and cinnamon until fully combined and glossy.
- Pour cheesecake filling over the baked crust, then top with the cooled cooked apples.
- Make the oat topping by combining rolled oats, flour, brown sugar, and cinnamon, then cut in cold cubed butter until clumpy.
- Scatter the oat crisp topping over the apples so the crumble crown covers the surface.
- Bake in a water bath at 325°F for 60-65 minutes, until the center is just set and the edges look lightly firm.
- Cool the cheesecake completely at room temperature before chilling.
- Refrigerate for 6 hours, then release from the springform pan and slice.