Apple Crisp Baked Apples hit that sweet spot between a baked apple and a proper crisp: tender fruit, a cinnamon-scented center, and a buttery oat topping that turns golden and crunchy in the oven. Each apple keeps its shape, so you get a built-in dessert bowl with soft, caramelized edges and just enough structure to hold a scoop of vanilla ice cream.
The trick is keeping the bottom of the apple intact and using cold butter in the crumble. That gives the filling time to soften without collapsing, while the topping stays sandy at first and bakes into clumps instead of melting into a paste. A little cider in the pan also keeps the apples juicy and catches all the sugar that drips down as they bake.
Below, I’ve included the small details that matter: which apples hold up best, how to pack the crumble so it stays on top, and what to do if you want to make these ahead for company.
The apples stayed tender without turning mushy, and the oat topping got crisp around the edges while staying crumbly on top. I served them with vanilla ice cream and everyone wanted the caramel pooling in the bottom of the dish.
Like these Apple Crisp Baked Apples? Save them to Pinterest for the nights when you want warm baked fruit, a buttery oat crumble, and ice cream melting into the pan.
The Key to Keeping the Apples Whole
The biggest mistake with baked apples is coring them too aggressively. If you cut through the bottom, the filling leaks out, the juices run into the dish, and you end up with apples that slump before the topping has a chance to brown. Leave about half an inch at the base so the apple acts like a little bowl.
Honeycrisp and Braeburn both work well because they hold their shape under heat instead of turning mealy. Honeycrisp gives you a juicier bite, while Braeburn stays a little firmer and more structured. If your apples are large, add a few extra minutes in the oven; if they’re smaller, start checking early so the crumble doesn’t darken before the fruit is tender.
- Apples — Choose fruit that feels firm and heavy. Softer apples can collapse before the center is cooked through.
- Apple cider or water — Cider adds a light, built-in sauce in the bottom of the pan. Water works fine, but you lose some depth in the final spoonfuls.
- Cold butter — This is what gives the topping those crumbly clusters. Soft butter will smear into the flour and oats instead of baking into crisp bits.
What Each Ingredient Is Doing in the Crumble
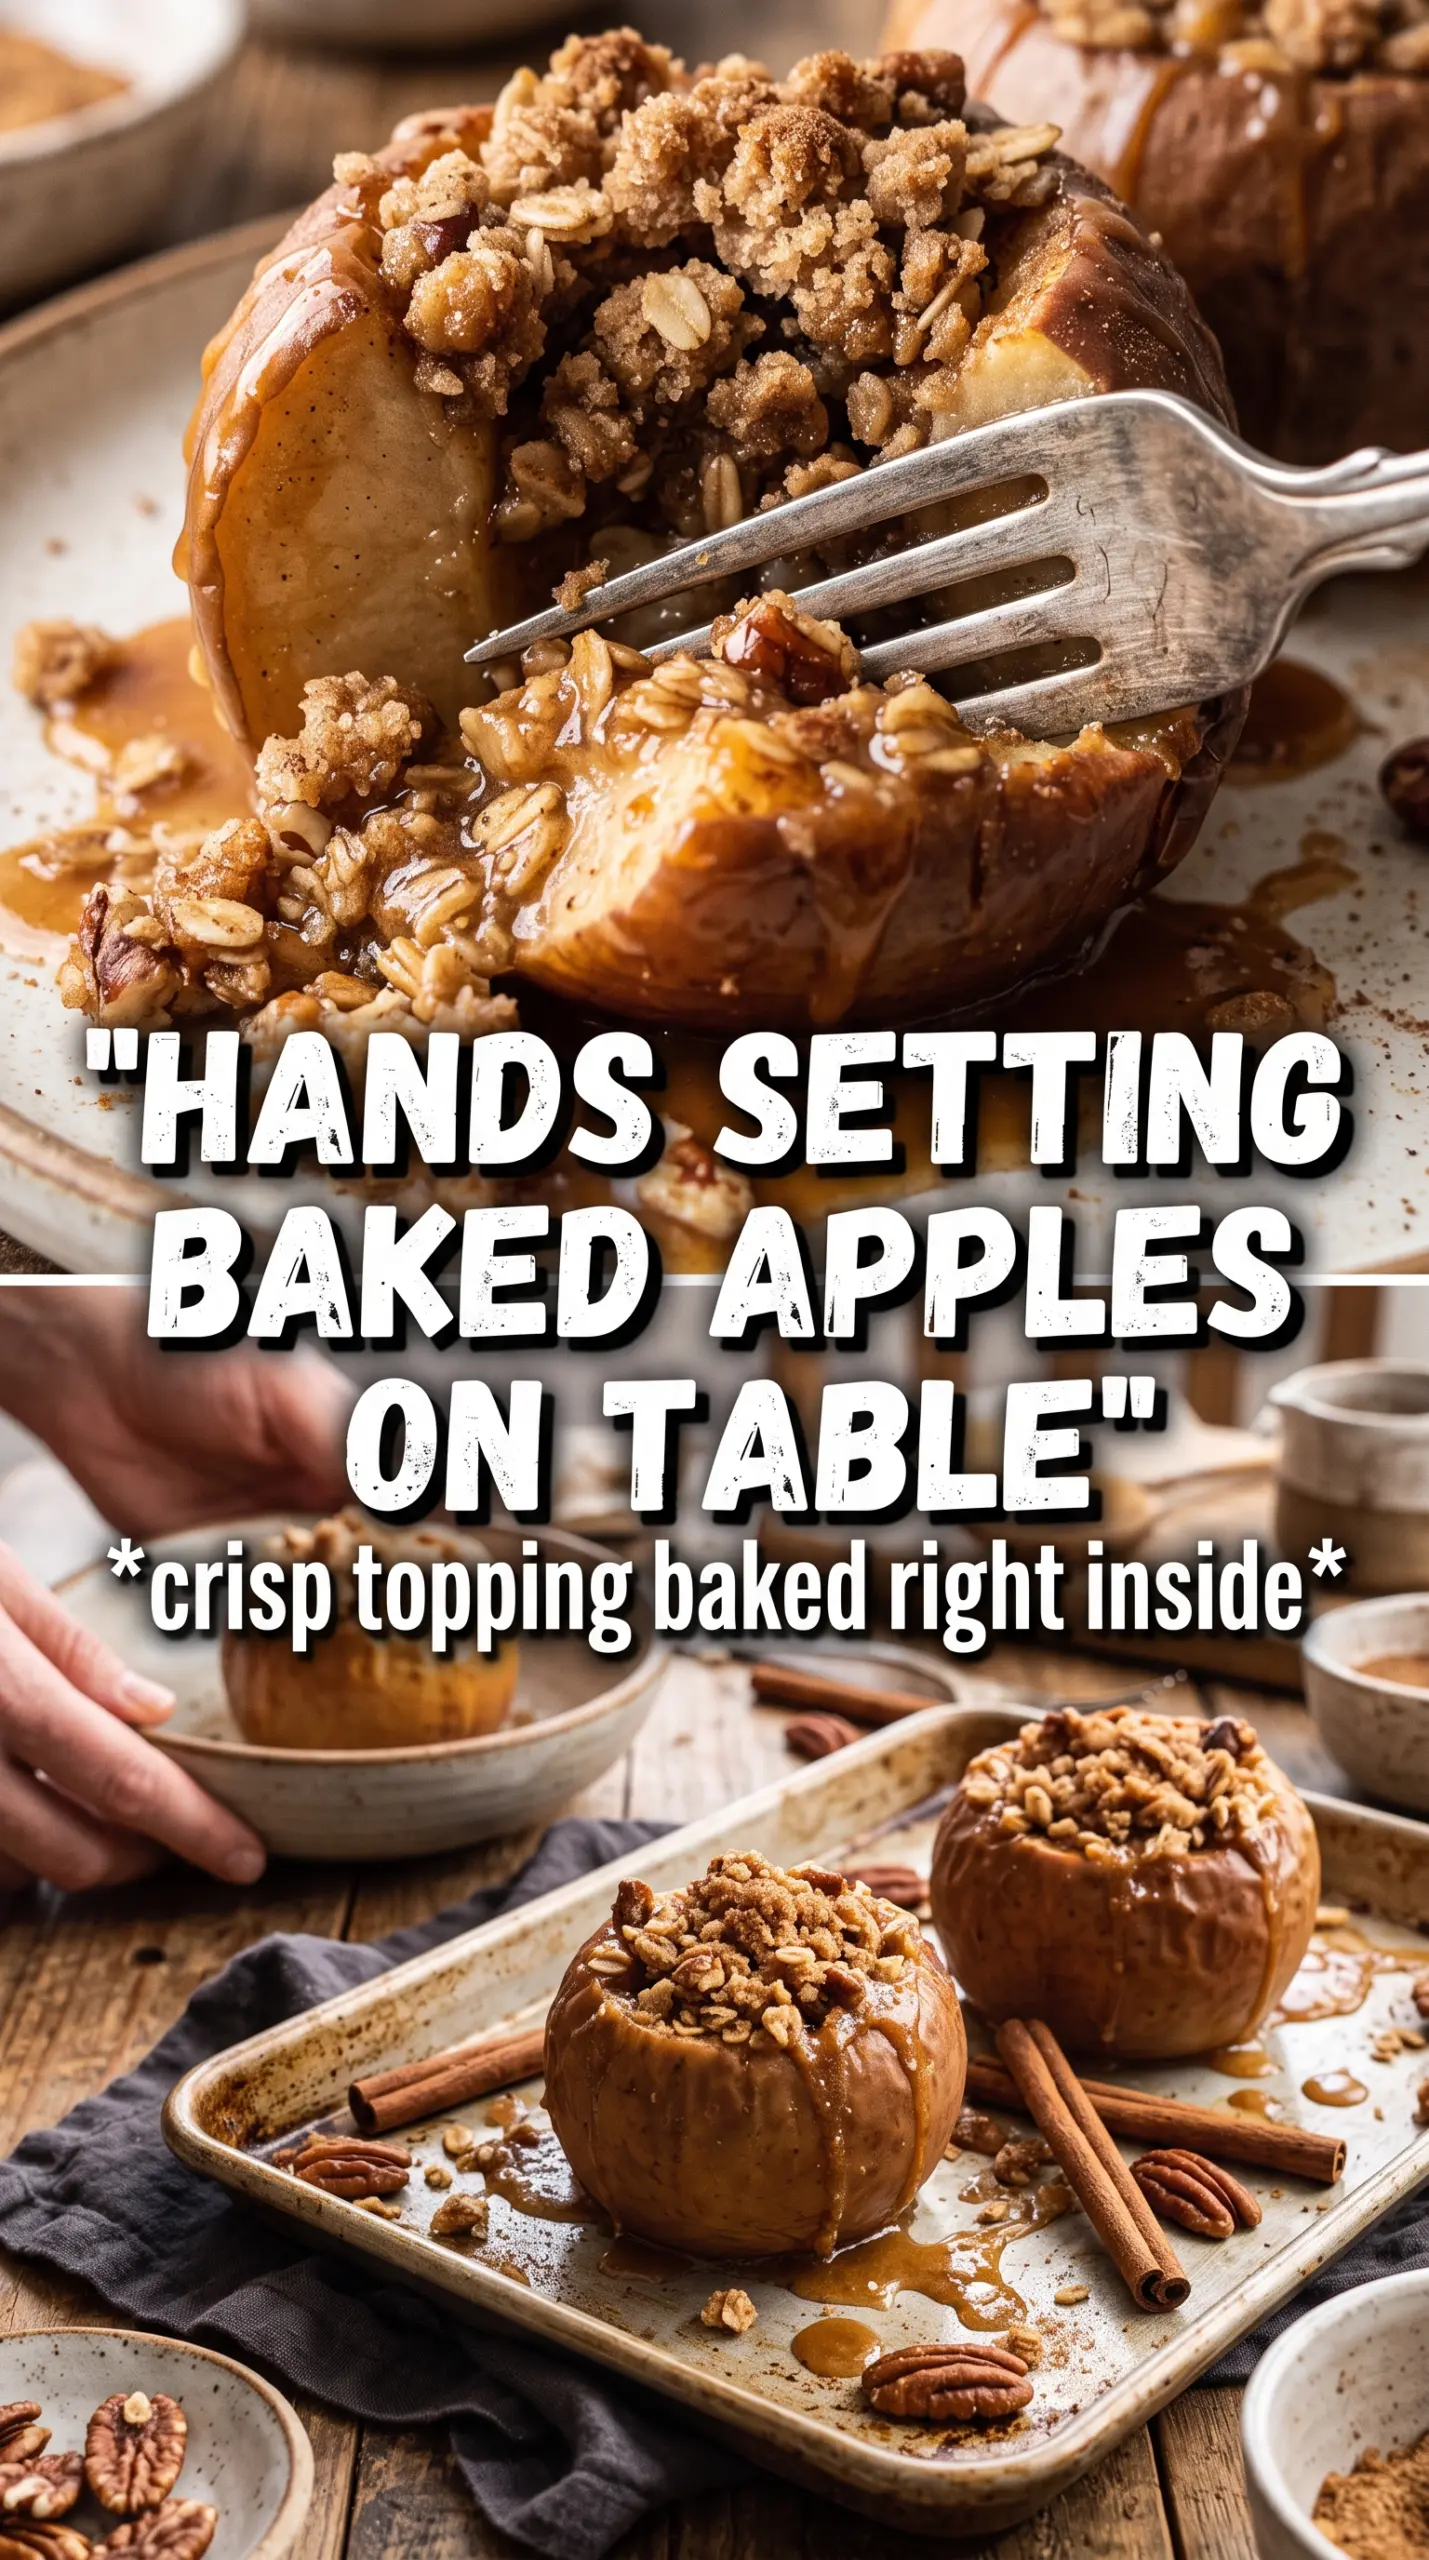
- Rolled oats — These give the topping its crisp, rustic texture. Quick oats can work in a pinch, but they make a denser, softer crumble.
- All-purpose flour — Just enough to bind the oats and sugar into clumps. Too much flour makes the topping pasty, so measure it lightly.
- Brown sugar — Brown sugar melts into the apples and the topping at the same time, which is why the dessert tastes caramel-like without needing a separate sauce.
- Cinnamon and nutmeg — Cinnamon does most of the work. Nutmeg stays in the background and makes the whole dish taste warmer and rounder.
- Butter for the cavities — Those little pieces melt into the center of each apple and keep the filling from drying out while the fruit bakes.
Getting the Crumble Golden Without Drying Out the Fruit
Build the apple cups first
Preheat the oven and pour the cider or water into the baking dish before you do anything else. That liquid starts steaming right away once the apples go in, which helps the fruit soften evenly. Core the apples from the top, but stop before you reach the bottom so each one holds its filling. If the cavity is too wide, the apple can split open while baking, so keep the walls thick enough to stand up on their own.
Pack the center and the topping
Mix the brown sugar and cinnamon for the cavities, then drop a pinch into each apple before adding the butter. That little center melts into a syrup as the apples bake. When you make the crumble, cut the butter in until you have clumps the size of peas and rough crumbs; that uneven texture is what bakes into a crisp topping. Spoon some crumble into each cavity, then pile the rest on top and press it lightly so it stays put without compacting.
Bake until the fruit gives way
The apples are done when a knife slips into the side with little resistance and the topping is deeply golden. If the crumble browns too fast, tent the dish loosely with foil for the last few minutes. Let them sit for a minute or two before serving so the juices settle. Serve them hot, because the topping softens as they cool and the ice cream melts best into a warm apple.
How to Adapt These Baked Apples for Different Kitchens
Gluten-Free Swap
Replace the all-purpose flour with a 1:1 gluten-free baking flour. The topping still clumps well and bakes crisp, though the texture is a little more delicate than the original.
Dairy-Free Version
Use a plant-based butter that bakes well, not a soft spread from a tub. You’ll still get a crisp topping and a tender center, but the flavor will be a little less rich and more oat-forward.
Extra-Caramel Finish
Drizzle caramel sauce over the apples right before serving instead of before baking. If you add it too early, it can burn and turn bitter in the hot oven.
Storage and Reheating
- Refrigerator: Store leftovers covered for up to 3 days. The topping softens, but the flavor stays good.
- Freezer: Freeze baked apples only if you don’t mind a softer texture after thawing. Wrap them individually and freeze in a single layer before transferring to a container.
- Reheating: Warm in a 325°F oven until heated through. The oven brings the topping back better than the microwave, which turns the crumble soggy.
Answers to the Questions Worth Asking
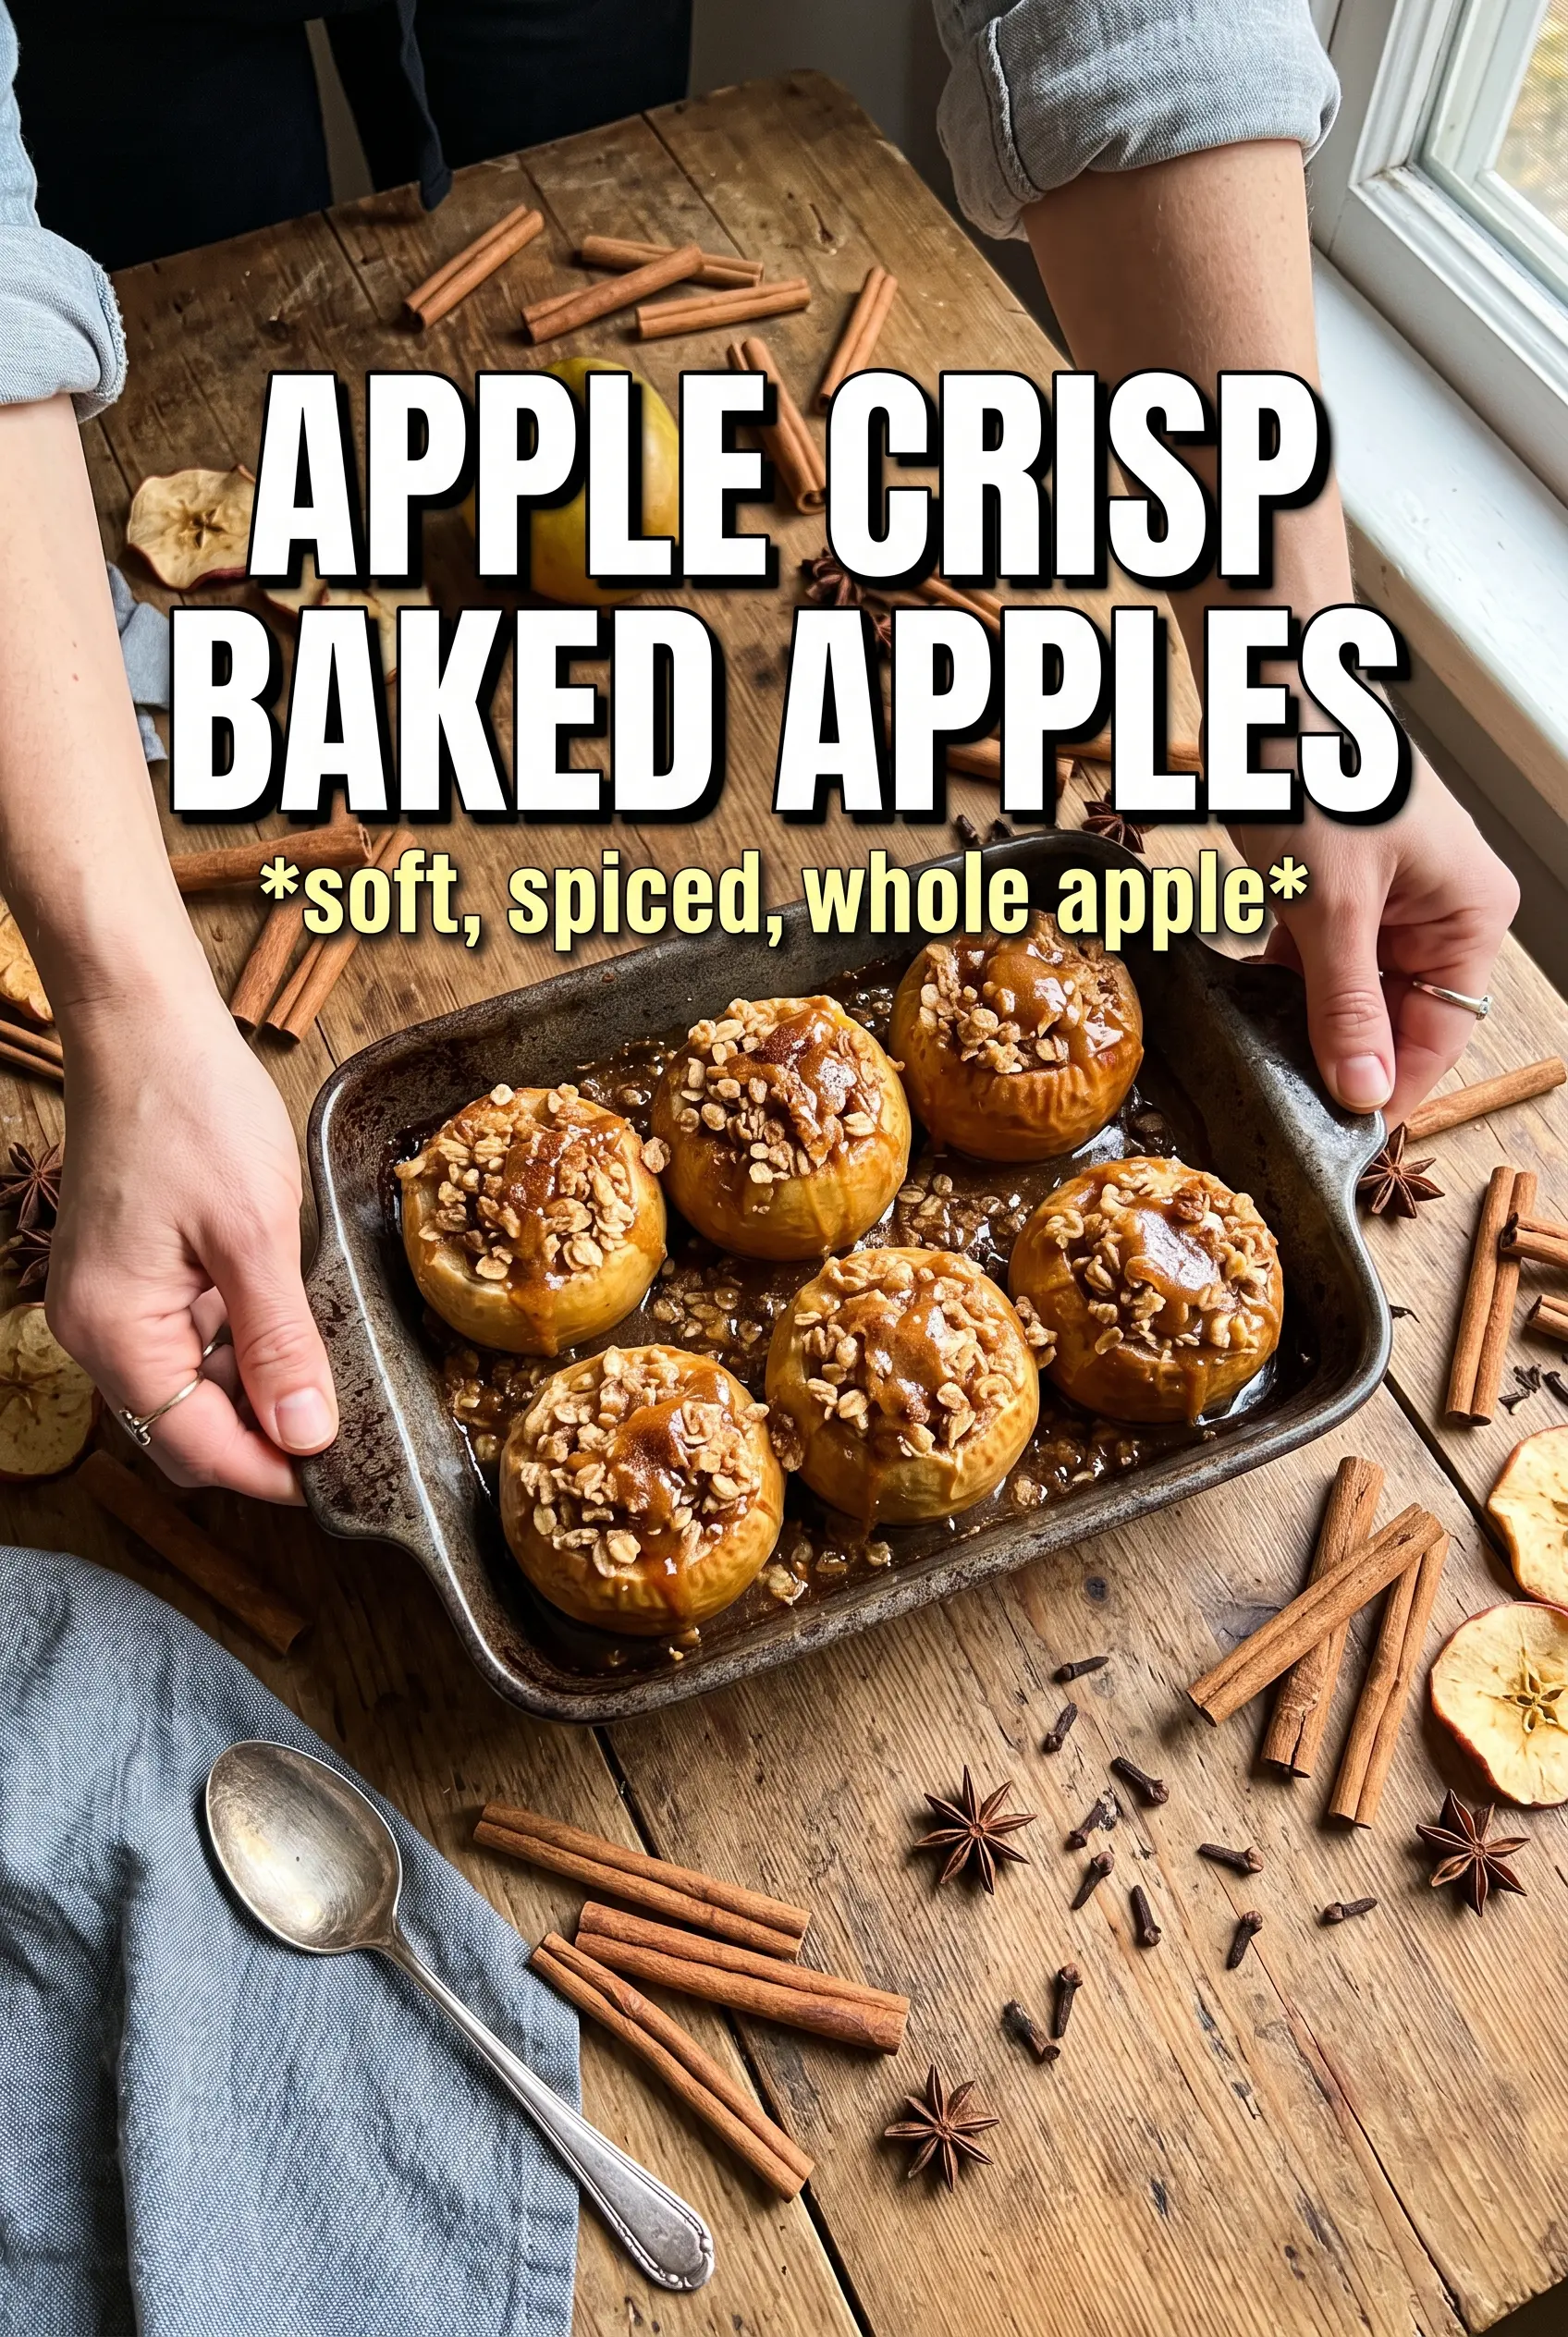
Apple Crisp Baked Apples
Ingredients
Equipment
Method
- Preheat oven to 375F, then pour apple cider into the bottom of a baking dish.
- Core apples from the top, leaving the bottom intact, creating a cavity about 1-1/2 inches wide.
- Mix brown sugar and cinnamon for the cavity filling, then place a pinch into each apple cavity.
- Add a piece of butter into each cavity after the sugar mixture.
- Combine rolled oats, flour, brown sugar, cinnamon, nutmeg, and salt, then cut in the cold butter until clumpy.
- Pack the crumble into and over the top of each apple.
- Bake 35-40 minutes at 375F until the apples are tender and the crumble is golden.
- Serve immediately with vanilla ice cream and caramel sauce.