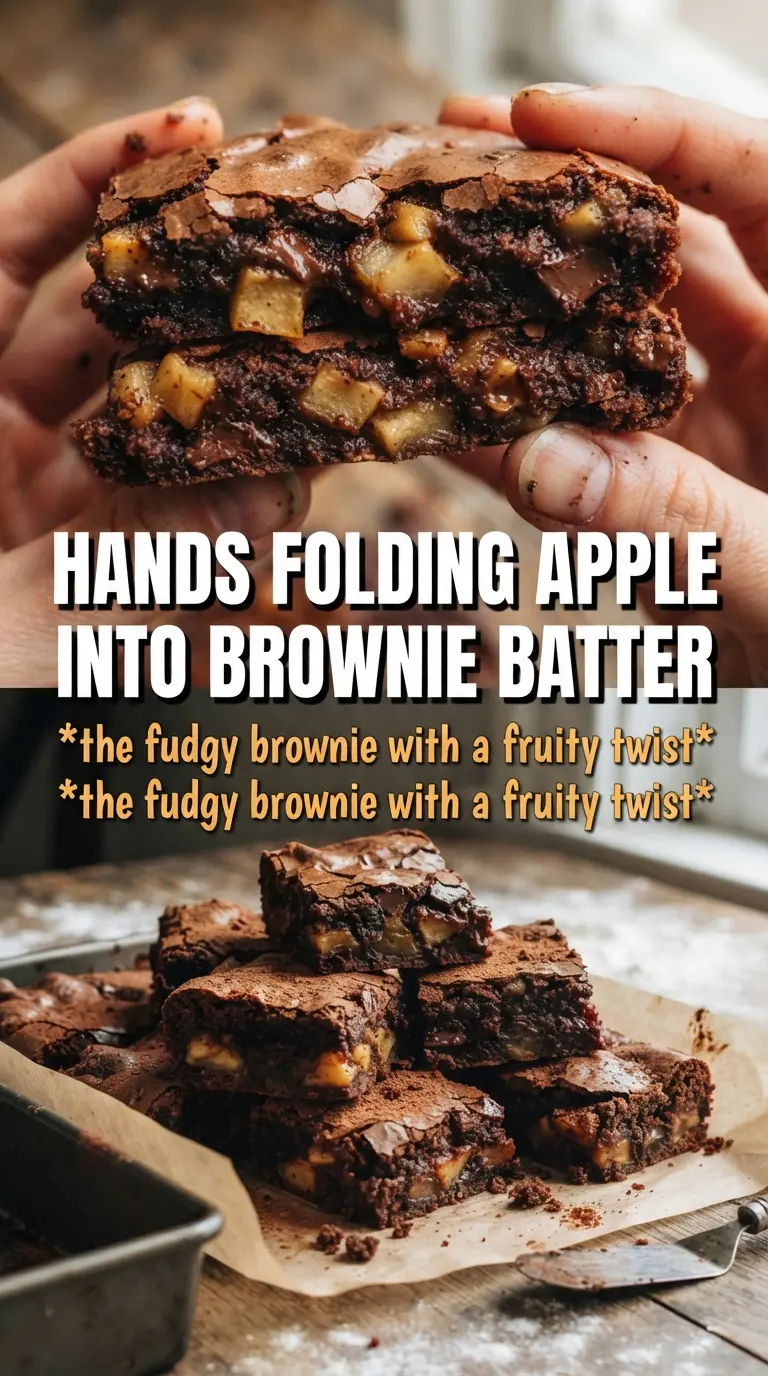
Apple brownies bake up with the best kind of contradiction: a chewy, fudgy bar with soft apple pieces tucked through the middle and a warm cinnamon finish that tastes like fall without leaning cakey. The top sets into a thin, crackly layer while the center stays dense and moist, which is exactly what you want when you slice these into neat squares and drizzle on caramel.
The trick is keeping the batter just barely mixed once the flour goes in. Overmixing turns these from brownie-like bars into a tougher, breadier pan dessert, and nobody wants that here. Finely diced apples matter too because they soften enough in the oven to blend into the crumb without disappearing completely. A handful of walnuts or pecans adds a little crunch, but the bars hold their own even without them.
Below, I’ve included the one thing that keeps these from turning soggy and the small details that make the texture land right every time. If you’ve ever had apple bars that baked up gummy in the middle or dry around the edges, this version fixes both.
The center stayed dense and fudgy, and the finely diced apples baked down just enough to keep every bite moist without making the bars gummy. I drizzled on extra caramel and my kids kept sneaking squares off the plate.
These apple brownies stay fudgy in the middle and slice cleanly after cooling, so they’re a great one to make ahead for caramel-drizzled dessert squares.
The Secret to Keeping Apple Brownies Fudgy, Not Cake-Like
The biggest mistake with apple bars is treating them like a quick bread. That extra stirring and extra flour lead straight to a cakier crumb, and the apples can’t save it. For this recipe, the batter should look thick and just combined before the apples go in. Once the flour disappears, stop mixing. The oven does the rest.
Finely diced apples are the other detail that matters. Large chunks throw off the texture and can leave pockets that bake unevenly, while very small dice soften into the batter and keep the bars moist without making them wet. The result is a dense square with actual apple flavor in every bite instead of a loose crumb dotted with fruit.
- Keep the batter thick. That’s what gives you the brownie-like chew.
- Use apples that hold their shape, like Honeycrisp, Fuji, or Granny Smith.
- Cool the bars before cutting. Warm bars look done but collapse into a mess when sliced.
- Drizzle the caramel after cooling so it stays on top instead of sinking in.
What Each Ingredient Is Actually Doing in These Bars
- Butter — Melted butter gives these bars that dense, rich base instead of a fluffy cake crumb. You can use salted butter in a pinch, but the texture matters more than the brand.
- Brown sugar plus granulated sugar — The brown sugar brings moisture and a light caramel note, while the granulated sugar helps the top set with a little crackle. Using all brown sugar makes the bars softer and a bit heavier.
- Apples — This is not the place for large wedges. Finely diced fruit disperses evenly and bakes into the batter without releasing too much liquid.
- Cinnamon and nutmeg — These spices do the work that keeps the bars from tasting flat. Nutmeg stays in the background, but it gives the apple flavor a little warmth and depth.
- Walnuts or pecans — Optional, but they bring crunch and a toasted note that plays well with the caramel. Leave them out if you want a smoother, more classic brownie texture.
Building the Batter So the Bars Bake Up Dense and Clean
Mixing the Base
Start by whisking the dry ingredients together so the baking powder and spices distribute evenly. In a separate bowl, whisk the melted butter with both sugars until the mixture looks glossy and thick, then add the eggs and vanilla. The batter should look smooth before the flour goes in; if the eggs are added while the butter is too hot, they can curdle and leave you with an uneven texture.
Adding the Flour Without Overworking It
Fold the flour mixture in just until no dry streaks remain. A few small patches disappearing into the batter is fine, but once you keep stirring past that point, the gluten tightens and the bars lose their fudgy bite. This is the stage where a spatula works better than a whisk because it keeps the batter from being beaten into a cake base.
Folding in the Apples
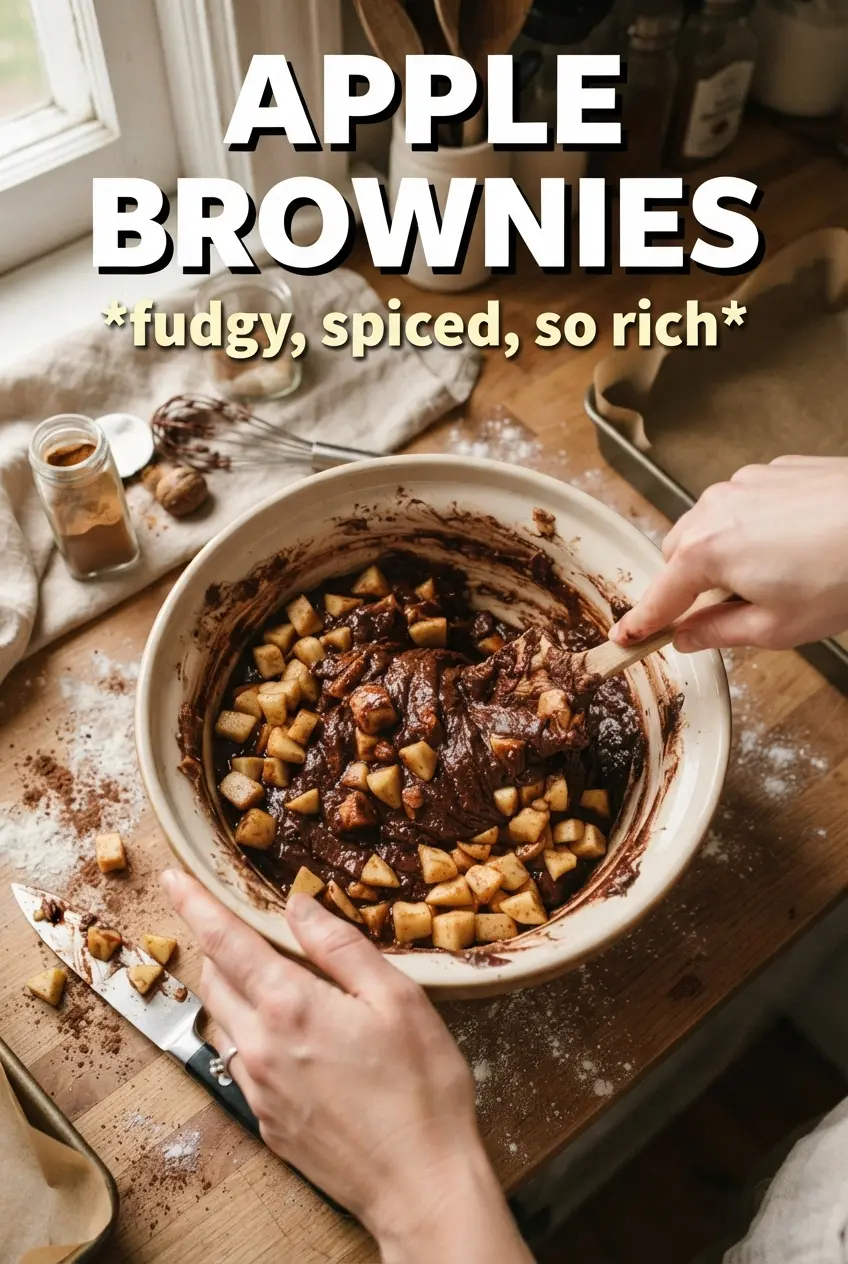
Add the diced apples at the end and fold only long enough to spread them through the batter. The batter will look thick, almost stubborn, and that’s what you want because it suspends the fruit instead of letting it sink. Spread it into the pan evenly so the center bakes at the same pace as the edges, then stop touching it.
Knowing When They’re Done
Bake until the top is set and a toothpick comes out with a few moist crumbs, not wet batter. If the center still looks shiny and jiggly, give it a few more minutes, but don’t wait for a completely dry tester or the bars will bake past fudgy and head into dry territory. They’ll continue to firm up as they cool in the pan.
Make Them Nut-Free Without Losing Texture
Leave out the walnuts or pecans and nothing else needs to change. The bars still bake up dense and chewy, and the apple pieces give enough interest on their own. If you want a little extra texture without nuts, a handful of rolled oats can be folded in, but the bars will read a little more rustic.
Gluten-Free Version That Still Slices Well
Use a 1:1 gluten-free flour blend that includes xanthan gum. The texture will be a touch softer, but the bars should still hold together once fully cooled. Don’t swap in almond flour alone; it changes the structure too much and the bars can turn greasy and crumbly.
Dairy-Free Option
Use melted dairy-free butter or a neutral plant-based baking stick in place of the unsalted butter. Keep the rest of the method the same. The bars lose a little richness, but the apples and caramel still carry the dessert, especially if you use a good caramel sauce on top.
Storage and Reheating
- Refrigerator: Store covered for up to 4 days. The bars stay moist, and the texture gets a little denser after chilling.
- Freezer: Freeze cut squares without the caramel drizzle for up to 2 months. Wrap tightly and thaw at room temperature before serving.
- Reheating: Warm individual squares for 10 to 15 seconds in the microwave if you want the caramel to loosen up. Don’t heat them too long or the apples turn soft and the bars lose that fudgy bite.
Answers to the Questions Worth Asking
Apple Brownies
Ingredients
Equipment
Method
- Preheat the oven to 350F and grease a 9x13 baking pan with a thin, even coating so the brownies release cleanly.
- Whisk all-purpose flour, baking powder, cinnamon, nutmeg, and salt together in a bowl until evenly combined and no spice clumps remain.
- Whisk melted unsalted butter and granulated sugar and brown sugar until smooth and glossy.
- Whisk in eggs and vanilla extract until the mixture looks uniform.
- Fold in the flour mixture until just combined, stopping when you no longer see dry streaks.
- Fold in diced apples and walnuts or pecans if using so the apples are evenly distributed.
- Spread the batter into the prepared pan and smooth the top for even baking.
- Bake at 350F for 30-35 minutes, until a toothpick comes out with just a few moist crumbs.
- Cool the brownies in the pan so they set enough to slice cleanly.
- Drizzle caramel sauce over the top before cutting into squares, letting it settle slightly on the warm surface.