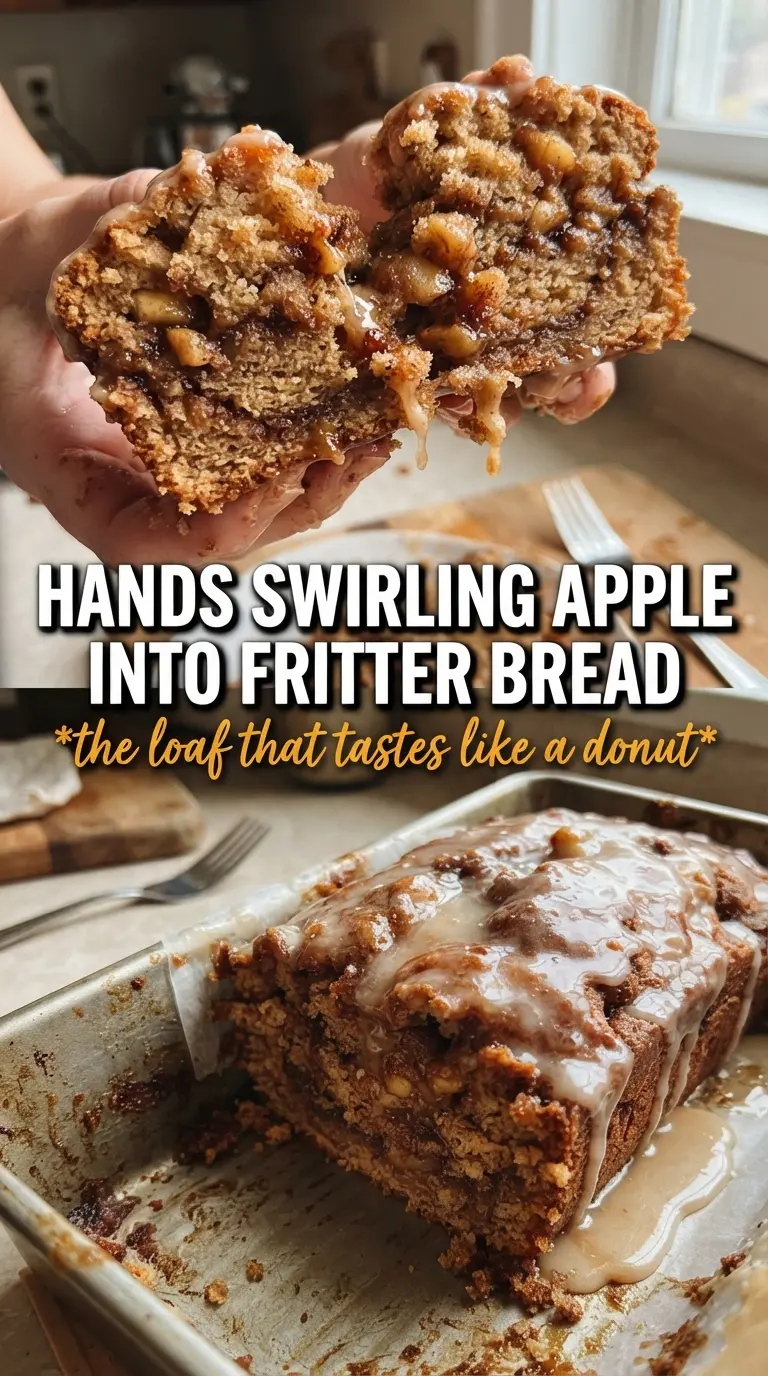
Amish apple fritter bread bakes up with a soft, tender crumb, ribbons of cinnamon sugar, and pockets of apple that turn jammy in the oven. The top gets that bakery-style finish from the glaze, but the inside is what keeps people coming back: buttery, lightly spiced, and studded with sweet apples in every slice.
What makes this loaf work is the layering. Half the apples get tossed with cinnamon sugar first, which draws out their juices and helps create those sticky, fritter-like pockets. The batter stays sturdy enough to hold everything in place, but it’s mixed just enough to stay soft. Overmix it and the bread turns tight; stop when the flour disappears and you’ll get the tender crumb this loaf is known for.
Below, I’ve included the part that matters most when you want a loaf that slices cleanly instead of collapsing under the apples, plus a few practical swaps for the ingredients you may already have on hand.
The cinnamon sugar soaked into the apples and gave me that sticky fritter layer on top without the loaf turning soggy. I baked it for the full 60 minutes and the middle still came out soft, not wet.
Save this Amish apple fritter bread for a soft cinnamon-apple loaf with that sticky glazed top.
The Loaf Stays Tender Because the Apples Go in Layers, Not All at Once
Apple quick breads usually fail in one of two ways: the fruit sinks, or the crumb turns dense from too much stirring. This loaf avoids both by separating the apples into two parts and keeping the batter thick enough to support them. The first apple layer melts into the cinnamon sugar and turns glossy and jammy. The second layer on top keeps the loaf looking generous and keeps the apple flavor from disappearing into the batter.
The other thing that matters is the leavening balance. Baking powder and baking soda work together here, but only if the batter isn’t beaten after the flour goes in. Once the dry ingredients are added, stir just until combined. That’s what keeps the crumb soft instead of rubbery.
- Layered apples — Tossing half the apples with cinnamon sugar first pulls out a little moisture and creates the sticky pockets you want in a fritter-style bread.
- Butter and sugar — Creaming them until light and fluffy traps air, which helps the loaf rise and stay tender.
- Milk — Whole milk gives the batter enough richness to stay moist without making it heavy. Lower-fat milk works, but the crumb won’t be quite as soft.
- Apples — Use a firm baking apple if you have one. Softer apples can turn mushy and disappear into the loaf instead of holding their shape.
What Each Ingredient Is Actually Doing in the Pan
- Brown sugar — This goes into the cinnamon layer and gives the apples a deeper caramel note than white sugar would.
- Cinnamon — It does more than season the fruit. It helps the apple layer taste like an actual fritter filling instead of just spiced loaf bread.
- All-purpose flour — Standard flour is the right choice here because it gives the loaf enough structure to hold the apples without turning cakey.
- Butter — Softened butter creams best with the sugar and gives the bread its rich, bakery-style crumb. Cold butter won’t trap air properly.
- Vanilla — It rounds out the apple and cinnamon and makes the loaf taste fuller without needing more spice.
- Powdered sugar glaze — The glaze should be thin enough to drizzle but not watery. If it runs right off the loaf, add a little more powdered sugar.
How to Build the Layers Without Ending Up With a Soggy Middle
Mix the Cinnamon Apples First
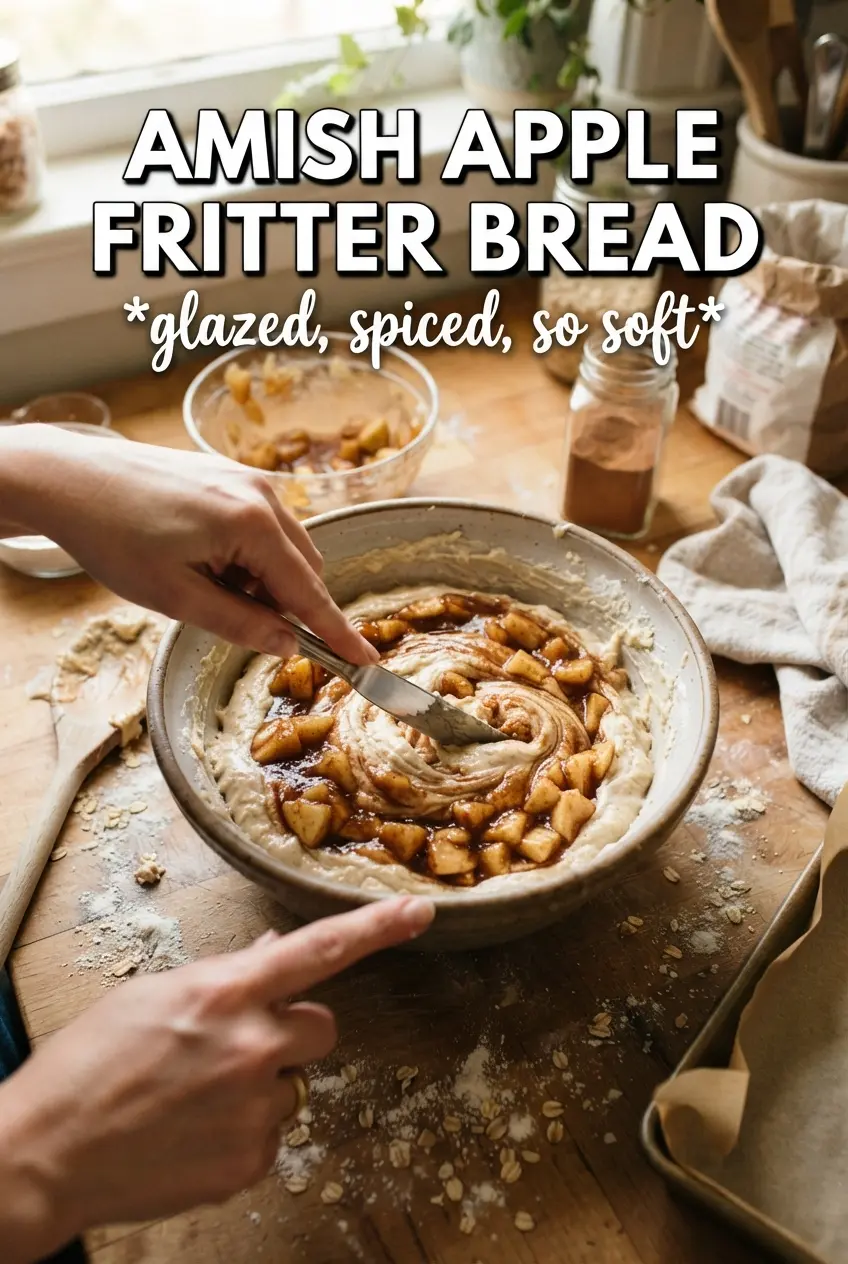
Stir the brown sugar and cinnamon together, then toss half of it with the diced apples. Letting that mixture sit for a few minutes starts drawing out the juices and gives you a thicker, more concentrated apple layer. If you skip this step, the cinnamon sugar stays dry and the loaf loses that gooey, fritter-like texture. Dice the apples small enough that they soften during baking, but not so fine that they disappear.
Build a Fluffy Batter, Not a Tough One
Cream the butter and granulated sugar until the mixture looks pale and fluffy. That step matters because it creates the lift in the loaf before the batter even goes into the oven. Add the eggs one at a time if you can, then the vanilla. When the dry ingredients and milk go in, alternate them and stop mixing as soon as the batter comes together. Overmixing at this point is what makes quick bread chewy and heavy.
Layer for the Best Swirl
Spread half the batter in the pan, add half the apple mixture, then sprinkle on the remaining cinnamon-brown sugar. The batter will be thick, so use a spatula to nudge it into the corners instead of trying to pour it like cake batter. Add the rest of the batter and finish with the remaining apples. Some apple pieces will sit on top and caramelize, which is exactly what gives the loaf that fritter look.
Bake Until the Center Sets
Bake until a toothpick inserted in the center comes out clean, usually 55 to 60 minutes. If the top browns too quickly, lay a piece of foil loosely over the loaf for the last 15 minutes. The biggest mistake here is pulling it too early because the apples on top look done. The center needs to feel set, not jiggle like wet batter. Let the loaf cool a bit before glazing so the glaze stays visible instead of melting away.
How to Adapt This Loaf for Different Kitchens and Ingredients
Dairy-Free Version
Use a neutral dairy-free butter and unsweetened non-dairy milk in place of the butter and whole milk. The loaf will still bake up tender, though the crumb won’t taste quite as rich and the glaze may need a touch more powdered sugar to hold its shape.
Best Apple Swap
Firm baking apples like Granny Smith, Honeycrisp, or Braeburn hold their shape best. Softer apples can work, but they’ll soften more and give you a moister, more jammy loaf instead of neat apple pieces throughout.
Gluten-Free Adaptation
A 1:1 gluten-free baking flour blend usually works here, but the loaf may need a few extra minutes in the oven. Don’t use almond flour on its own; it won’t give the batter enough structure to support the apples.
Storage and Reheating
- Refrigerator: Store covered for up to 4 days. The crumb stays moist, but the glaze will soften.
- Freezer: Freeze the unglazed loaf or individual slices tightly wrapped for up to 2 months. Glaze after thawing for the cleanest finish.
- Reheating: Warm slices in the microwave for 15 to 20 seconds or in a low oven. Don’t overheat them, or the apples can turn mushy and the bread dries out at the edges.
Answers to the Questions Worth Asking
Amish Apple Fritter Bread
Ingredients
Equipment
Method
- Preheat oven to 350°F and grease a 9x5 loaf pan.
- Mix brown sugar and cinnamon together, then toss half with the diced apples; set the remaining brown sugar-cinnamon mixture and apple mixture aside.
- Beat butter and granulated sugar until light and fluffy.
- Add eggs and vanilla and beat until well combined.
- Whisk flour, baking powder, baking soda, and salt together.
- Alternate adding the dry mixture and whole milk to the butter mixture, mixing just until incorporated.
- Pour half the batter into the prepared loaf pan, spreading it evenly.
- Layer half the apple mixture over the batter, then sprinkle the remaining cinnamon-brown sugar over the apples.
- Spoon the remaining batter over the top and add the remaining apples.
- Bake at 350°F for 55–60 minutes, until a toothpick comes out clean and the loaf is golden.
- Stir powdered sugar with milk to form a drizzleable glaze.
- Drizzle the glaze over the loaf while still warm so it soaks slightly into the crumb.