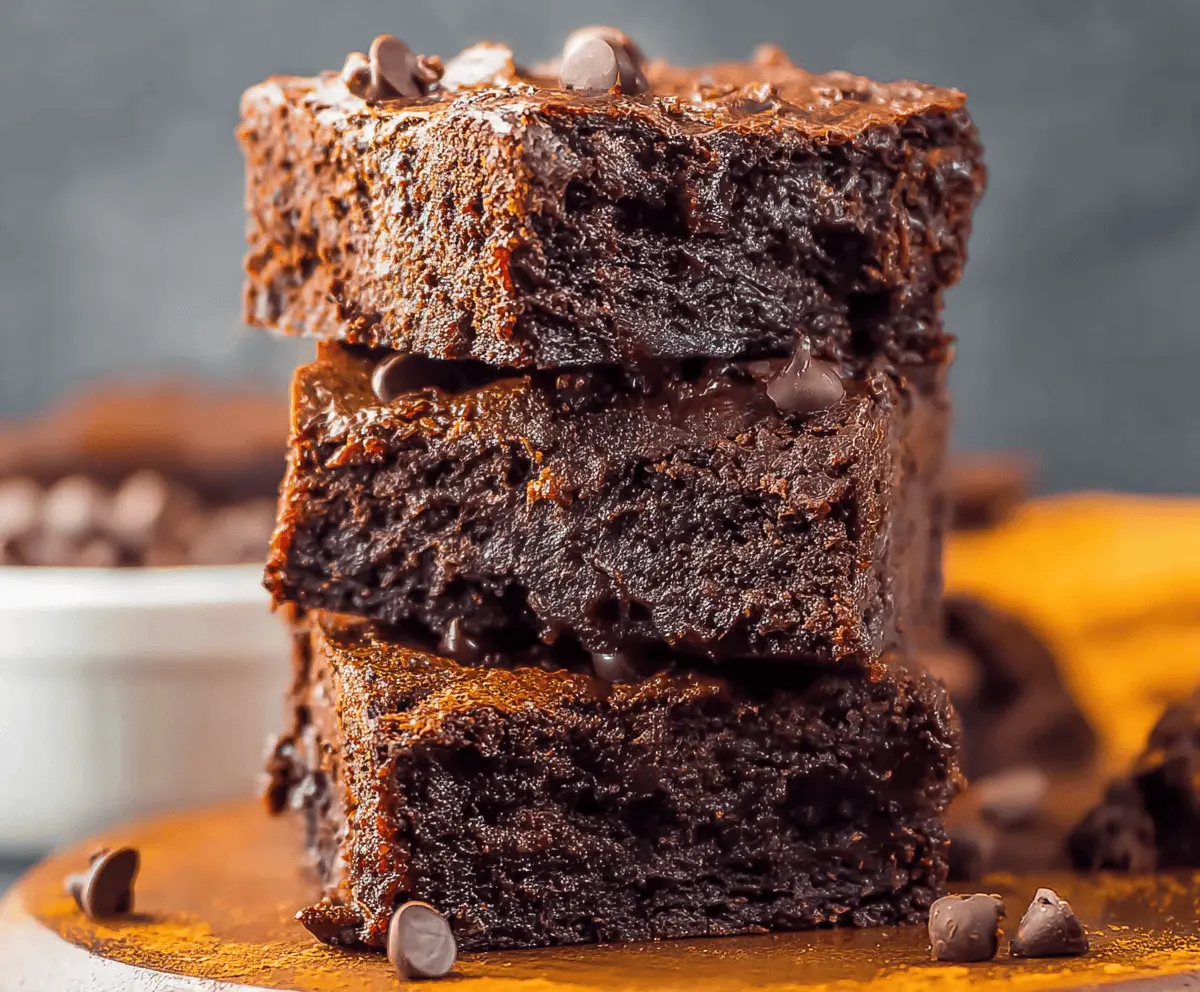
These sweet potato brownies are a tasty surprise! Made with sweet potatoes and cocoa, they are fudgy and just the right amount of sweet. Plus, they pack in some extra health benefits!
I love how they make my dessert feel guilt-free. And trust me, my friends can’t tell they’re made with veggies—it’s our little secret! 🍠🤫
Key Ingredients & Substitutions
Sweet Potato: This is the star of the show! One medium sweet potato gives about a cup when cooked and mashed. If you’re short on time, canned sweet potato puree works too. Just skip the cooking!
Oil: I usually go for coconut oil for its subtle flavor, but vegetable oil is a great substitute. You can also use melted butter if that’s what you have on hand!
Sugar: Granulated sugar gives sweetness, but I love using coconut sugar for its caramel-like flavor and lower glycemic index. For a sugar-free option, consider using a sugar substitute like erythritol or monk fruit.
Flour: All-purpose flour is standard, but feel free to switch to whole wheat or a gluten-free blend if needed. I’ve tried them all, and they work well!
Chocolate Chips: These add more chocolate goodness. If you’re dairy-free, dark chocolate chips or dairy-free alternatives are perfect. You can also skip them entirely for a lighter brownie.
How Do I Ensure My Brownies Are Fudgy?
Getting that fudgy texture is crucial for these brownies! Here are some tips to help you succeed:
- Make sure not to overmix once you add the flour. Just mix until everything is combined.
- Keep an eye on the baking time. The brownies are done when a toothpick shows a few moist crumbs. Overbaking can lead to dry brownies.
- Let them cool completely in the pan before cutting to maintain moisture and fudginess.
With these ideas, you’ll have delicious sweet potato brownies that everyone will love—trust me, they’ll never guess the secret ingredient!
Sweet Potato Brownies
Ingredients You’ll Need:
Base Ingredients:
- 1 cup cooked and mashed sweet potato (about 1 medium sweet potato)
- 1/2 cup coconut oil or vegetable oil, melted
- 1 cup granulated sugar (or coconut sugar for a healthier option)
- 2 large eggs
- 1 teaspoon vanilla extract
Dry Ingredients:
- 1/2 cup unsweetened cocoa powder
- 1/2 teaspoon baking powder
- 1/4 teaspoon salt
- 3/4 cup all-purpose flour (can substitute with whole wheat or gluten-free flour)
Optional Add-ins:
- 1/2 cup dark chocolate chips (optional, plus extra for topping)
How Much Time Will You Need?
This recipe will take about 15 minutes of prep time and 25 to 30 minutes of baking time. After baking, allow the brownies to cool completely before cutting, which may take an additional 20 minutes. In total, you’re looking at around 1 hour for a delicious treat!
Step-by-Step Instructions:
1. Preheat the Oven:
Start by preheating your oven to 350°F (175°C). While it’s heating, prepare an 8×8 inch baking dish by greasing it or lining it with parchment paper. This will ensure that your brownies come out easily after baking.
2. Combine Wet Ingredients:
In a large mixing bowl, combine the cooked and mashed sweet potato, melted oil, and sugar. Mix everything together until it’s smooth and well combined. This forms a lovely, creamy base for your brownies.
3. Add Eggs and Vanilla:
Next, beat in the eggs one at a time until fully incorporated. Then stir in the vanilla extract, adding a lovely depth of flavor to your brownies.
4. Mix the Dry Ingredients:
In a separate bowl, whisk together the cocoa powder, baking powder, salt, and flour. This helps to evenly distribute all the dry ingredients. It’s important for a consistent texture in your brownies!
5. Combine Wet and Dry Mixtures:
Gradually add the dry ingredients into the sweet potato mixture, mixing just until combined. Be careful not to overmix; a few lumps are okay! This helps keep your brownies fudgy instead of cake-like.
6. Fold in Chocolate Chips:
If you’re using chocolate chips, now’s the time to fold them in! This adds extra chocolatey goodness to every bite.
7. Pour and Smooth the Batter:
Pour the brownie batter into the prepared baking pan and use a spatula to smooth the top. If you’d like, sprinkle a few extra chocolate chips on top for decoration.
8. Bake to Perfection:
Place the pan in the preheated oven and bake for 25 to 30 minutes. You’ll know the brownies are done when a toothpick inserted in the center comes out with just a few moist crumbs—perfect for that fudgy texture!
9. Cool and Cut:
Once baked, remove the brownies from the oven and let them cool completely in the pan. This should take about 20 minutes. Once they’re cool, cut them into squares.
10. Serve and Enjoy!
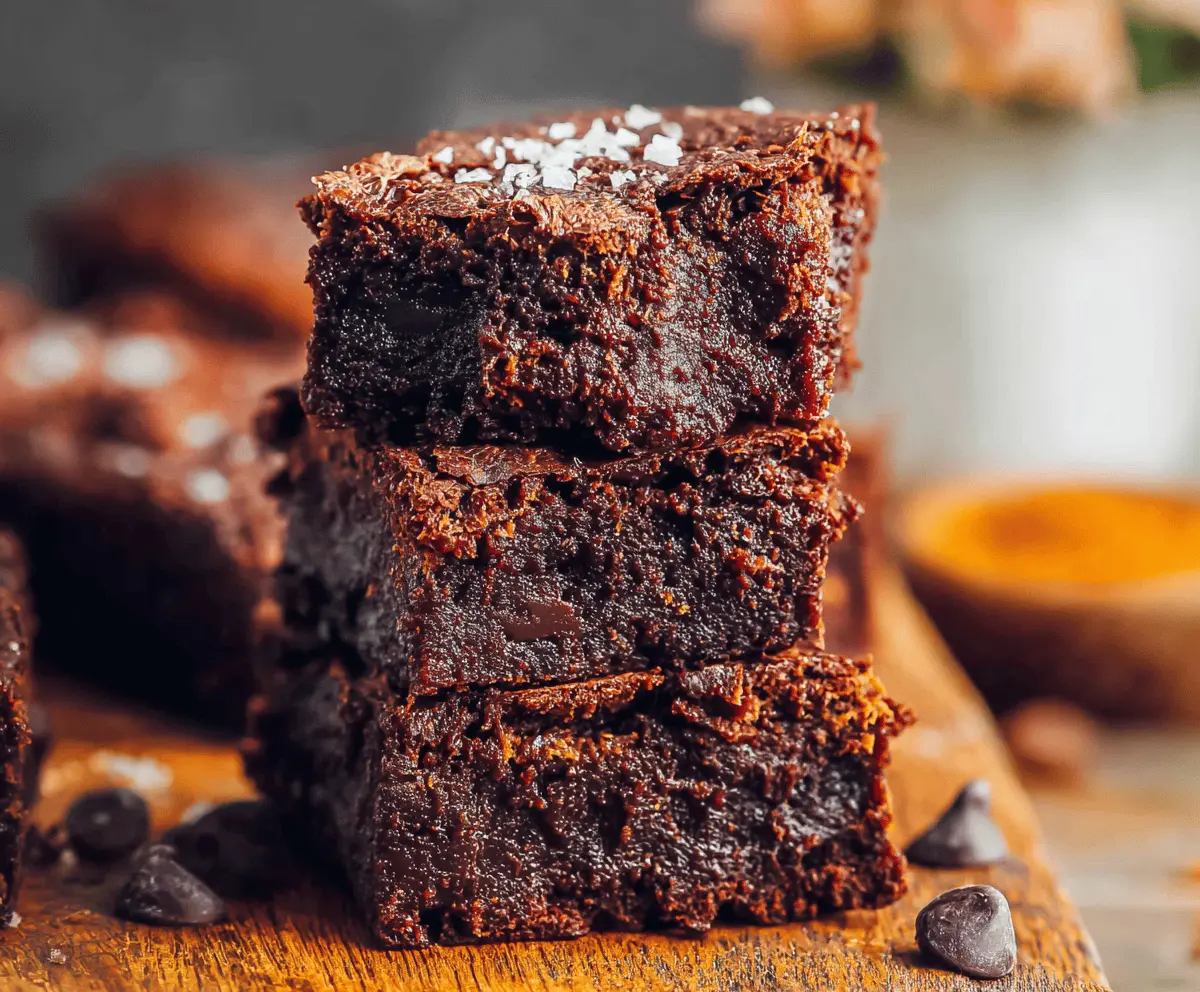
Now it’s time to enjoy your delicious, moist, and fudgy sweet potato brownies! They’re perfect as a snack or dessert, and they hide a healthy ingredient that’ll make you feel good about indulging.
Can I Use Fresh Sweet Potatoes Instead of Canned?
Absolutely! If you’re using fresh sweet potatoes, peel, chop, and boil or steam them until soft (about 15-20 minutes). Then mash them up before adding to the recipe.
Can I Substitute the Eggs for a Vegan Option?
Yes! You can replace each egg with 1/4 cup of unsweetened applesauce or a flax egg (1 tablespoon ground flaxseed mixed with 2.5 tablespoons water, let sit for 5 minutes). This keeps your brownies moist while making them vegan-friendly!
How Can I Store Leftover Brownies?
Store any leftover brownies in an airtight container at room temperature for up to 3 days. Alternatively, you can refrigerate them for up to a week. For longer storage, freeze the brownies wrapped tightly in plastic wrap for up to 3 months.
Can I Add Other Ingredients?
Definitely! Feel free to mix in nuts like walnuts or pecans, or even dried fruits like cranberries for added flavor and texture. Just keep the total amount in mind to ensure the consistency stays right.