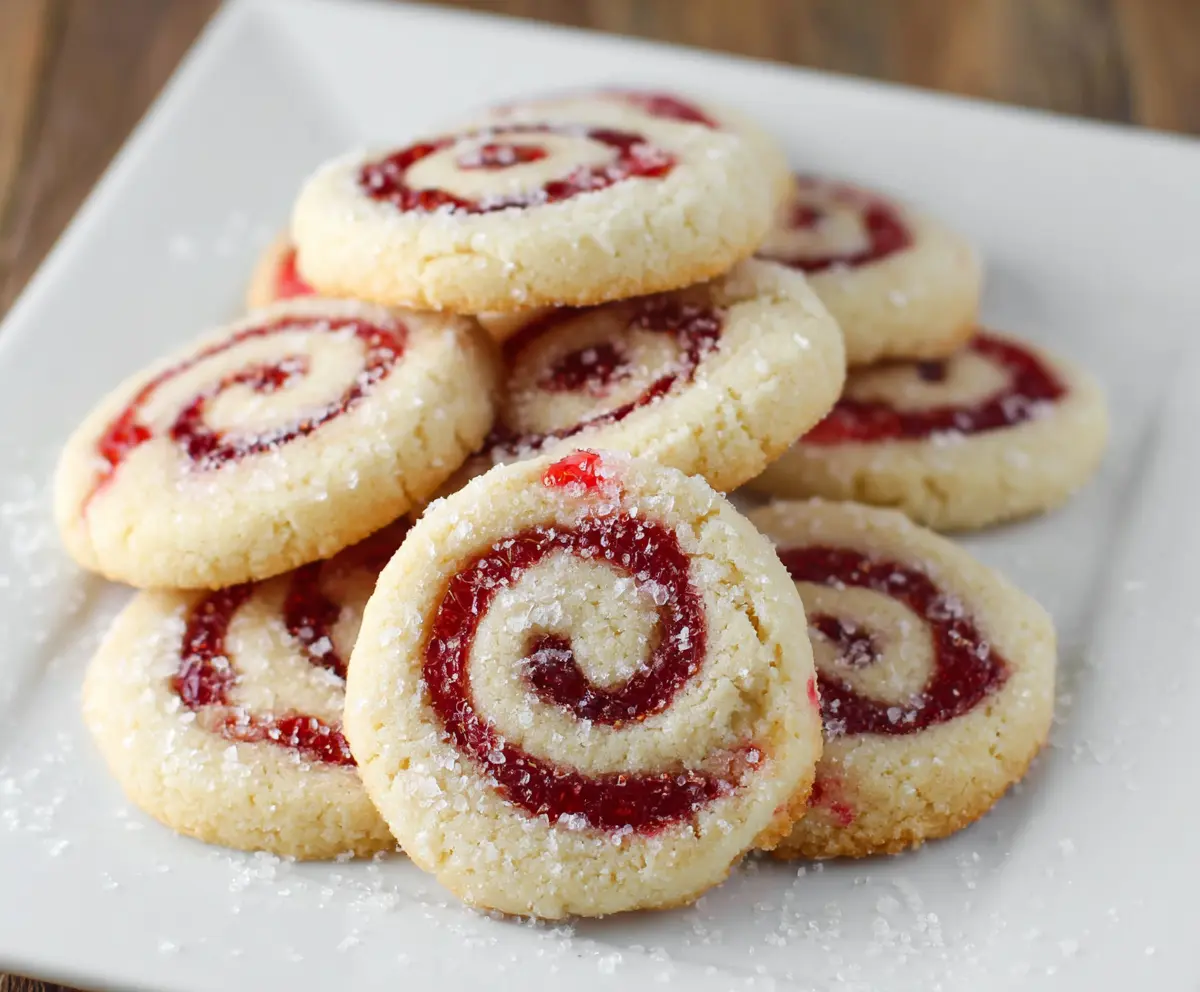
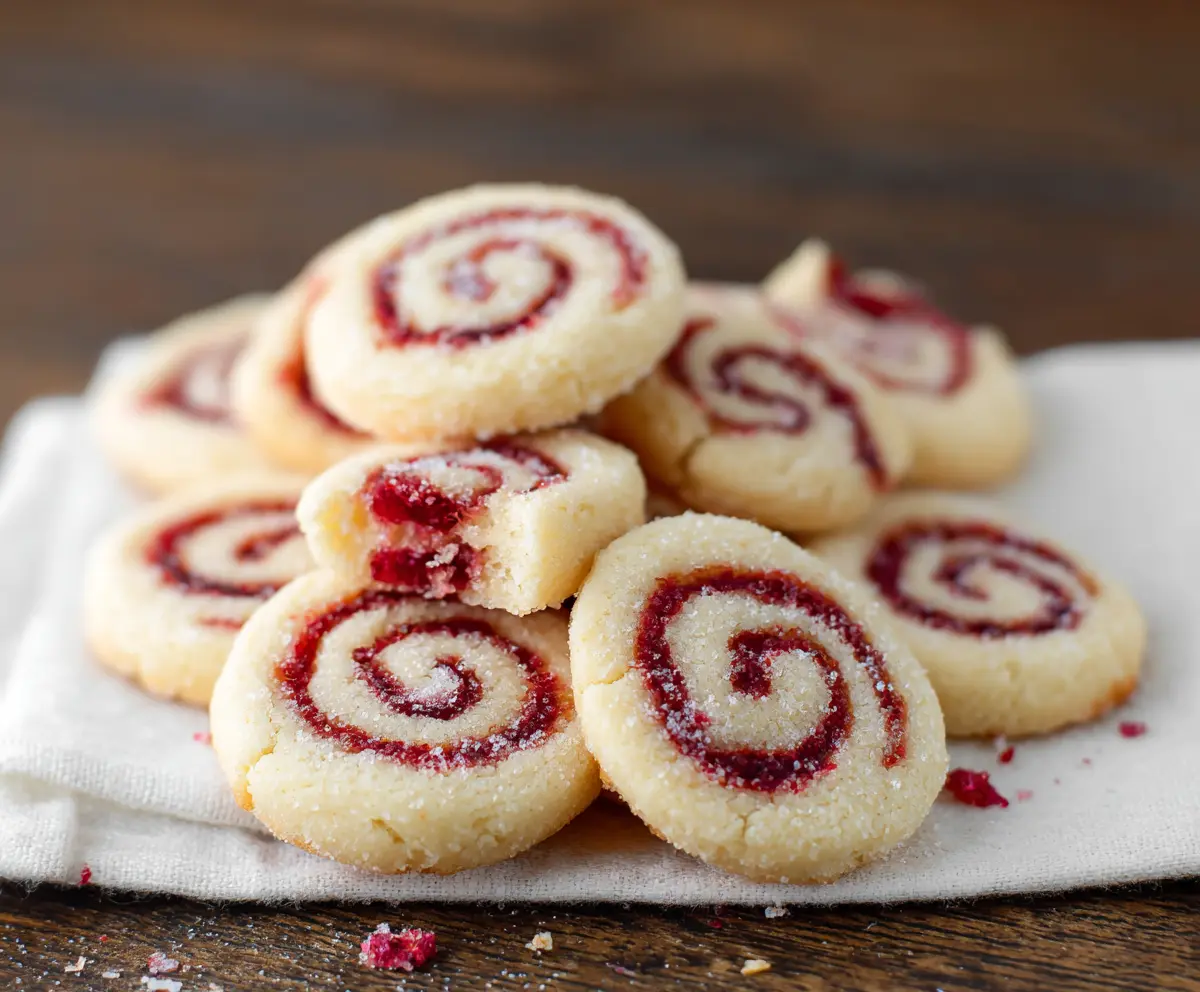
These Raspberry Swirl Cookies are a tasty delight! With a buttery base and a beautiful raspberry jam swirl, they look as good as they taste. Perfect for any sweet craving!
You won’t believe how easy they are to make! I love sharing these bright cookies with friends. Just wait until they see the pretty raspberry swirls—everyone will want the recipe! 😄
Key Ingredients & Substitutions
Unsalted Butter: Using unsalted butter gives you control over the salt in the recipe. If you only have salted butter, you can reduce or eliminate the added salt in the cookie dough.
Granulated Sugar: The recipe calls for sugar for sweetness and texture. You can substitute with coconut sugar for a deeper flavor, but it might change the color slightly.
Raspberry Jam: While raspberry is delicious, you can try other fruit jams like strawberry, apricot, or even a mixed berry jam. Just ensure it’s seedless for a smoother swirl.
All-Purpose Flour: Gluten-sensitive? Try using a 1:1 gluten-free flour blend! It works surprisingly well in cookies. Just check the packaging for any specific guidelines.
How Can I Achieve a Perfect Cookie Roll?
Rolling the dough properly is key to getting those lovely swirls. Here’s how to do it well:
- Start with chilled dough. After mixing, refrigerate it to make it easier to roll.
- Roll the dough out between two sheets of parchment paper to prevent sticking. Aim for a uniform rectangle, about 1/4 inch thick.
- Spread the jam carefully, leaving a small edge so it doesn’t ooze out when rolling.
- When rolling, start tight from one edge, using the parchment to help lift the dough. This creates a nice log!
- Chill the rolled log again before slicing to keep the shape intact while cutting.
With these tips, you’ll have beautiful swirls in your cookies every time! Enjoy! 🍪
How to Make Raspberry Swirl Cookies
Ingredients You’ll Need:
- 1 cup (2 sticks) unsalted butter, softened
- 3/4 cup granulated sugar, plus extra for sprinkling
- 1 large egg
- 1 teaspoon vanilla extract
- 2 cups all-purpose flour
- 1/4 teaspoon salt
- 1/2 cup raspberry jam (seedless preferred for smooth texture)
Time Needed:
This recipe takes about 20 minutes of prep time and then about 10-12 minutes of baking time. Don’t forget to include at least 1 hour for chilling the dough, so plan for about 1 hour and 40 minutes total.
Step-by-Step Instructions:
1. Preheat and Prepare the Baking Sheet:
First things first, preheat your oven to 350°F (175°C). While that’s heating up, line a baking sheet with parchment paper. This helps keep your cookies from sticking and makes for an easy cleanup!
2. Cream the Butter and Sugar:
In a large mixing bowl, use a mixer to cream together the softened butter and 3/4 cup of sugar. Mix it until it’s light and fluffy. This step makes your cookies tender and delicious!
3. Add the Egg and Vanilla:
Beat in one large egg and a teaspoon of vanilla extract into the butter and sugar mixture until everything is well combined. It should look creamy and smooth.
4. Prepare the Dry Ingredients:
In another bowl, whisk together 2 cups of all-purpose flour and 1/4 teaspoon of salt. This helps to evenly distribute the salt and prepares your dry ingredients for mixing in.
5. Combine Wet and Dry Ingredients:
Gradually mix the dry ingredients into the wet ingredients. Stir until a soft dough forms. It should be firm enough to roll but still soft to the touch.
6. Roll Out the Dough:
Place the dough onto a large sheet of parchment paper. Roll it out into a rectangle that’s about 1/4-inch thick. Try to get an even thickness, as this will help with even baking.
7. Add the Raspberry Jam:
Spread the raspberry jam evenly over the dough, leaving a small border around the edges. This ensures that the jam doesn’t spill out while rolling.
8. Roll the Dough into a Log:
Starting from one long edge, tightly roll the dough up with the jam inside, creating a log shape. Be gentle but firm to keep the jam from leaking out.
9. Chill the Dough:
Wrap the log in plastic wrap and pop it in the refrigerator for at least 1 hour to firm up. This makes it much easier to slice into cookies.
10. Slice the Cookies:
Once the dough is chilled and firm, remove it and slice it into 1/4-inch thick rounds. These will be your cookies!
11. Place on Baking Sheet:
Arrange the slices on the prepared baking sheet, making sure they are about 2 inches apart to allow for spreading while baking.
12. Sprinkle with Sugar:
Lightly sprinkle the tops of the cookies with granulated sugar for a little extra sweetness and shine.
13. Bake:
Bake the cookies in your preheated oven for about 10-12 minutes, or until the edges just start to turn golden brown. Keep an eye on them to avoid over-baking!
14. Cool and Enjoy!
Once baked, remove from the oven and allow the cookies to cool on the baking sheet for about 5 minutes. Then, gently transfer them to a wire rack to cool completely. Enjoy your beautiful, buttery Raspberry Swirl Cookies with that lovely sweet-tart jam spiral!
Can I Use Different Types of Jam?
Absolutely! While raspberry jam is delicious, you can substitute it with any other fruit jam such as strawberry, apricot, or blueberry. Just make sure it’s seedless for a smoother texture!
How Can I Make These Cookies Gluten-Free?
To make these Raspberry Swirl Cookies gluten-free, you can use a 1:1 gluten-free flour blend. Most blends work well in this type of recipe, following the packaging instructions for best results!
What Should I Do If My Dough is Too Sticky?
If your dough feels too sticky to roll out, try chilling it for an additional 20-30 minutes. Alternatively, you can sprinkle a little extra flour on the parchment paper before rolling to help handle the dough more easily.
How Should I Store Leftover Cookies?
Store any leftover cookies in an airtight container at room temperature for up to 5 days. If you want to keep them longer, you can freeze the cookies in a freezer-safe container for up to 2 months. Just thaw them at room temperature when you’re ready to enjoy!