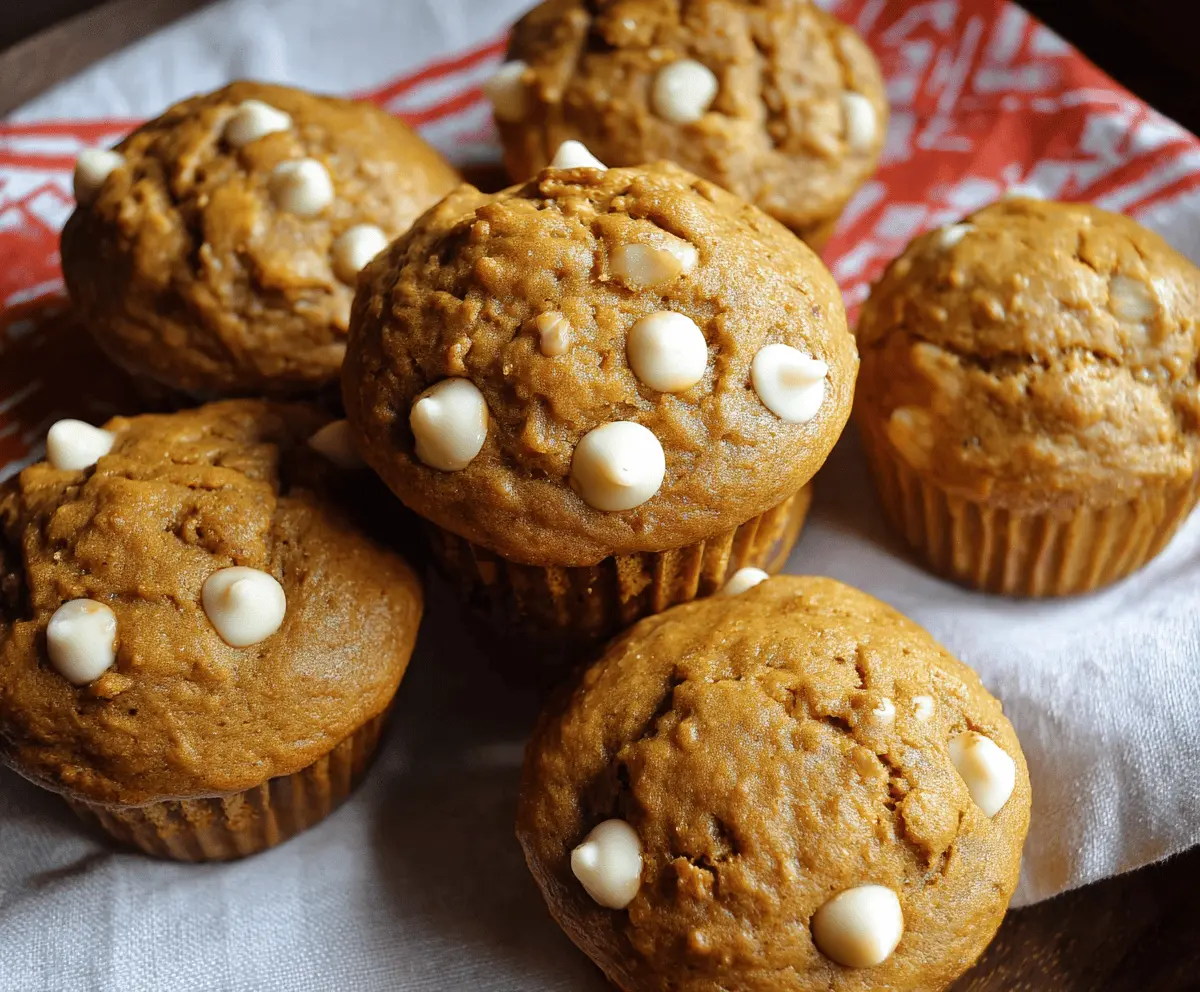
These Pumpkin White Chocolate Chip Muffins are a sweet treat that scream autumn! Soft and fluffy, they blend warm pumpkin spice with creamy chocolate chips for a tasty bite.
Baking these is like a cozy hug from the oven. I love having them for breakfast or a snack, paired perfectly with a cup of coffee. Yum! ☕️🥮
Key Ingredients & Substitutions
All-Purpose Flour: This is the base for the muffins. If you’re gluten-free, consider using a 1:1 gluten-free flour blend. I’ve had great results with brands like Bob’s Red Mill!
Pumpkin Puree: Use canned pumpkin puree for convenience. If you can’t find it, you can make your own by roasting and pureeing fresh pumpkin. Just remember to avoid pumpkin pie filling which has added sugars and spices!
White Chocolate Chips: These add sweetness and creaminess. If you want a less sugary muffin, you can swap them for semi-sweet chocolate chips or even dark chocolate for a richer flavor.
Spices: The spices really enhance the pumpkin flavor. You can substitute pumpkin pie spice if you have it on hand; use about 2 teaspoons to replace the individual spices listed.
How Do I Ensure My Muffins Are Moist and Fluffy?
Getting that perfect texture in muffins can be tricky. Here’s how to nail it:
- **Mix Wet and Dry Separately**: Always whisk your dry ingredients in one bowl and wet in another before combining. This ensures even distribution.
- **Don’t Overmix**: When you combine the wet and dry ingredients, mix until just combined. A few lumps are okay; overmixing can lead to dense muffins.
- **Check for Doneness**: Use a toothpick to test. If it comes out clean or with a few moist crumbs, they’re ready. Don’t wait until it’s completely dry!
These tips should help you create fluffy and delicious muffins every time! Enjoy your baking!
Pumpkin White Chocolate Chip Muffins
Ingredients You’ll Need:
For the Muffins:
- 1 3/4 cups (220g) all-purpose flour
- 1 teaspoon baking soda
- 1/2 teaspoon baking powder
- 1/2 teaspoon salt
- 1 1/2 teaspoons ground cinnamon
- 1/2 teaspoon ground nutmeg
- 1/4 teaspoon ground cloves
- 1/4 teaspoon ground ginger
- 1/2 cup (115g) unsalted butter, melted and cooled
- 1 cup (200g) granulated sugar
- 1/2 cup (100g) packed light brown sugar
- 2 large eggs
- 1 cup (240ml) canned pumpkin puree (not pumpkin pie filling)
- 1 teaspoon vanilla extract
- 1/4 cup (60ml) milk
- 1 1/2 cups (255g) white chocolate chips, plus extra for topping
How Much Time Will You Need?
This recipe takes about 15 minutes of prep time and 20 to 25 minutes of baking time. After everything is done, allow about 5 minutes for the muffins to cool in the pan before transferring them to a wire rack. So, you can have fresh, delicious muffins ready in about 45 minutes!
Step-by-Step Instructions:
1. Preheat the Oven:
Start by preheating your oven to 350°F (175°C). This is important to ensure even baking. Line a 12-cup muffin tin with paper liners or grease it well to prevent sticking.
2. Combine the Dry Ingredients:
In a medium bowl, whisk together the flour, baking soda, baking powder, salt, and spices (cinnamon, nutmeg, cloves, ginger). This mix of dry ingredients is key to creating that warm pumpkin flavor and fluffy texture. Set the bowl aside for later.
3. Mix the Wet Ingredients:
In a large mixing bowl, whisk the melted butter, granulated sugar, and brown sugar together until they are well combined. This step helps to incorporate air into the batter, making your muffins light and airy. Next, beat in the eggs one at a time until the mixture is smooth.
4. Add Pumpkin and Vanilla:
Now, stir in the pumpkin puree and vanilla extract to the wet mixture until everything is nicely mixed together.
5. Combine Wet and Dry Ingredients:
Gradually add the dry ingredients to the wet ingredients. Alternate this with adding the milk, starting and ending with the dry mix. Mix gently until just combined—be careful not to overmix, or your muffins might become tough!
6. Fold in the White Chocolate Chips:
Gently fold in the white chocolate chips. This is where the magic happens—the sweet, creamy chips add a lovely flavor contrast to the spice of the pumpkin.
7. Fill the Muffin Cups:
Divide the batter evenly among the muffin cups, filling each about 3/4 full. Don’t overfill, or they might overflow while baking. Sprinkle a few extra white chocolate chips on top for that extra touch.
8. Bake the Muffins:
Put the muffin tin in the preheated oven and bake for 20 to 25 minutes, or until a toothpick inserted into the center of a muffin comes out clean. The lovely aroma will fill your kitchen!
9. Cool and Serve:
Let the muffins cool in the pan for about 5 minutes. Then, transfer them to a wire rack to cool completely. Enjoy them warm or at room temperature. These muffins are perfect for breakfast, snacks, or with a cup of coffee. Enjoy the delightful pumpkin flavor combined with creamy bursts of white chocolate!
Can I Use Fresh Pumpkin Instead of Canned?
Absolutely! If you prefer fresh pumpkin, simply roast it until soft, then puree it until smooth. Just make sure to drain any excess moisture for the best texture.
Can I Substitute the White Chocolate Chips?
Yes, you can substitute white chocolate chips with milk chocolate or dark chocolate chips for a different flavor. You could also use chopped nuts or dried cranberries for a unique twist!
How Should I Store Leftover Muffins?
Store any leftovers in an airtight container at room temperature for up to 3 days. If you want to keep them longer, you can freezing them in a zip-top bag for up to 3 months. Just thaw at room temperature when you’re ready to enjoy!
Can I Make These Muffins Vegan?
Yes! To make them vegan, substitute the eggs with flax eggs (1 tablespoon flaxseed meal mixed with 3 tablespoons water per egg) and use plant-based milk and butter alternatives.