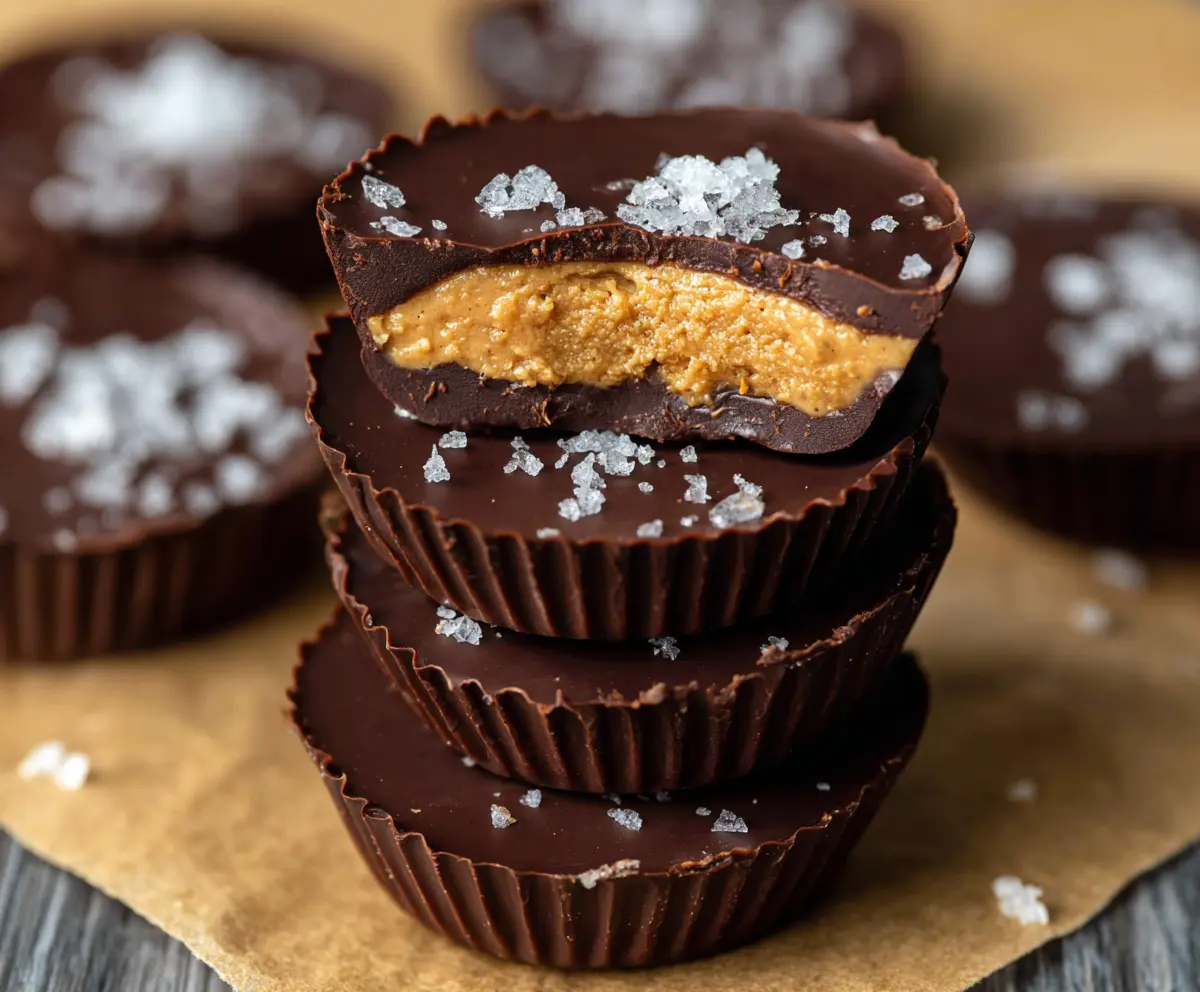
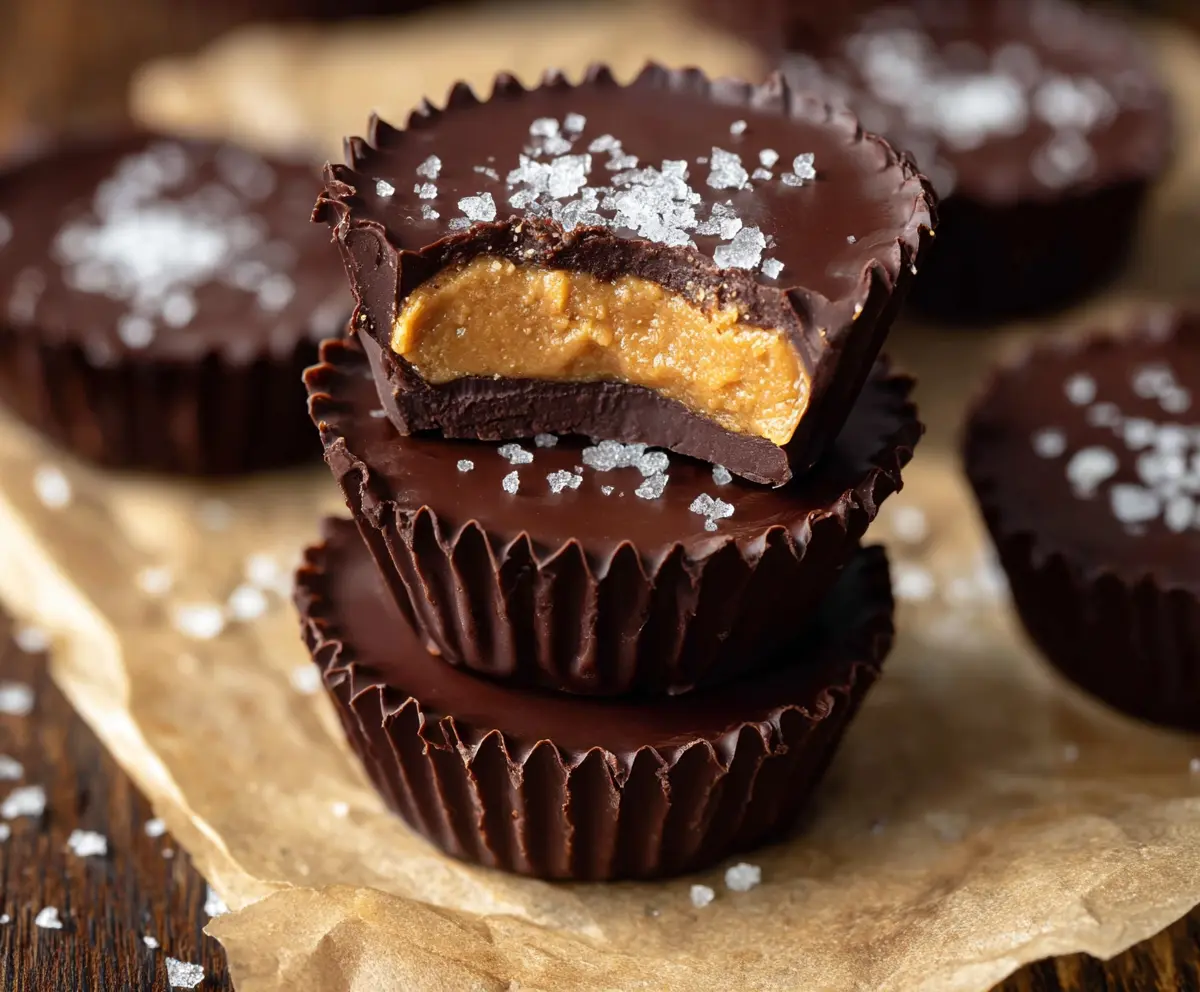
Protein Peanut Butter Cups are a tasty treat that packs a punch with protein! Made with smooth peanut butter and rich chocolate, they’re perfect for satisfying your sweet tooth.
These little cups are like a hug for your snack cravings! I love keeping them in the fridge for a quick pick-me-up when hunger strikes. They’re simple to make and oh-so-delicious!
Key Ingredients & Substitutions
Peanut Butter: Natural peanut butter is ideal for this recipe. You can choose creamy for a smooth texture or crunchy for added crunch. If you’re looking for a nut-free option, try sunflower seed butter or tahini.
Protein Powder: I recommend using vanilla protein powder for a bit of flavor. If you’re dairy-free, opt for a plant-based protein powder. Unsweetened versions are great if you want to control the sweetness.
Sweeteners: Honey adds a nice flavor, but you can swap it for maple syrup for a vegan option. For a lower-calorie sweetener, consider stevia or erythritol, but adjust to taste as they can be sweeter than regular syrup.
Dark Chocolate: Use high-quality dark chocolate for the best flavor. If you prefer, you can use semi-sweet or even milk chocolate. For a dairy-free version, look for vegan chocolate chips!
How Do I Melt Chocolate Without Burning It?
Melted chocolate is a critical part of this recipe, so let’s avoid burning it! Using a microwave is quick, but be careful. Here’s how:
- Chop chocolate into small, uniform pieces for even melting.
- Place it in a microwave-safe bowl and microwave for 30 seconds.
- Stir the chocolate thoroughly after each interval. It may not look melted at first, but stirring will help it continue melting.
- Keep microwaving in 15-second bursts, stirring each time, until fully melted and smooth.
Using this gentle approach will keep your chocolate silky and ready to use for your cups!
How to Make Protein Peanut Butter Cups
Ingredients You’ll Need:
- 1 cup natural peanut butter (creamy or crunchy as preferred)
- 1/4 cup vanilla or unflavored protein powder (whey or plant-based)
- 2 tablespoons honey or maple syrup (adjust for sweetness)
- 1/4 teaspoon salt (optional, if peanut butter is unsalted)
- 1 1/2 cups dark chocolate chips or chopped dark chocolate
- Sea salt flakes (for topping)
How Much Time Will You Need?
This recipe takes about 15 minutes of prep time, plus an additional 30-45 minutes to set in the freezer. In total, you’ll spend a little over an hour to create these yummy treats!
Step-by-Step Instructions:
1. Prepare the Peanut Butter Mixture:
In a medium bowl, combine the natural peanut butter, protein powder, honey or maple syrup, and salt. Mix everything together until the mixture is smooth and well combined. Set it aside for a moment while you prepare the chocolate.
2. Get Ready for Chocolate:
Line a muffin tin or small silicone molds with paper liners. This step helps with easy removal after the cups are set!
3. Melt the Chocolate:
In a microwave-safe bowl, add the dark chocolate chips or chopped chocolate. Heat it in the microwave in 30-second intervals, stirring each time until the chocolate is completely melted and smooth. Be careful not to overheat it!
4. Assemble the Cups:
Take about 1 tablespoon of the melted chocolate and spoon it into each lined mold, spreading it evenly on the bottom. Now, put the molds in the freezer for about 10-15 minutes, allowing the chocolate to set.
5. Layer the Peanut Butter Mixture:
Once the chocolate is set, take the molds out of the freezer. Add about 1 tablespoon of the peanut butter protein mixture into each cup. Gently press down on the mixture to spread it evenly over the chocolate layer.
6. Top with More Chocolate:
Now, cover each peanut butter layer with another tablespoon of the melted chocolate, making sure it’s fully covered. This creates a delicious chocolate coating on top!
7. Add a Finishing Touch:
Sprinkle a pinch of sea salt flakes on top of each cup for an extra tasty touch.
8. Final Freezing:
Return the molds to the freezer for another 20-30 minutes or until fully set. This helps the cups hold their shape beautifully!
9. Enjoy Your Treats:
Once set, carefully remove the protein peanut butter cups from the molds. Store them in an airtight container in your refrigerator or freezer. If they’re frozen, let them sit at room temperature for a few minutes before enjoying.
Now you have a delicious high-protein treat that’s perfect for snacking any time! Enjoy your homemade Protein Peanut Butter Cups!
Can I Substitute Peanut Butter?
Absolutely! If you have nut allergies or prefer a different flavor, you can use sunflower seed butter or tahini as alternatives. Both will provide a similar creamy texture and taste.
How Do I Store These Peanut Butter Cups?
Store your protein peanut butter cups in an airtight container in the refrigerator for up to a week, or in the freezer for up to a month. Allow them to sit at room temperature for a few minutes before enjoying if frozen.
Can I Use Milk Chocolate Instead of Dark Chocolate?
Yes, if you prefer a sweeter taste, milk chocolate works well too! Just keep in mind that this will change the flavor profile and may add extra sugars.
What Can I Use Instead of Protein Powder?
If you don’t have protein powder, you can omit it altogether, but the cups will have a different nutritional profile. Alternatively, almond flour or oat flour can be used to add some bulk without compromising the recipe too much.