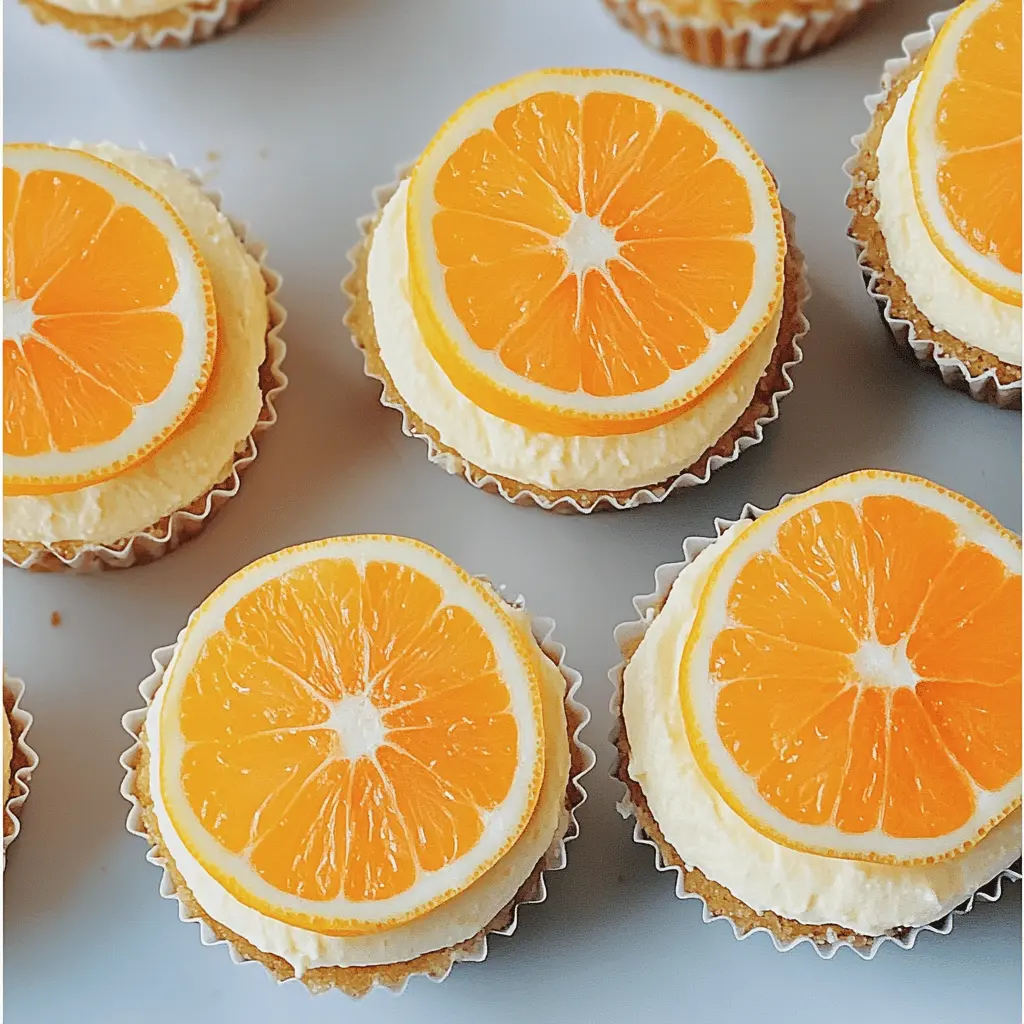
These Orange Creamsicle Mini Cheesecakes are a fun twist on a classic treat! With a zesty orange flavor and creamy filling, they taste like summer in every bite.
They’re the perfect size for snacking, and I love how easy they are to make. Just whip, pour, and chill—it’s a sweet win for everyone! 🍊🧀
Key Ingredients & Substitutions
Oreo cookies: They create a rich chocolate crust, perfect for balancing the sweetness of the cheesecake filling. If you’re looking for a gluten-free option, try using gluten-free chocolate sandwich cookies instead.
Cream cheese: The star of the cheesecake! Make sure it’s softened so it blends well for a smooth texture. Light cream cheese or Neufchâtel can be used as a lower-fat option, but be aware it may alter the texture slightly.
Heavy cream: This adds fluffiness to your filling. If you’re out of heavy cream, you can substitute it with coconut cream for a dairy-free alternative. The flavor will change a bit, but it can still be delicious!
Orange juice and zest: Freshly squeezed juice and fresh zest will enhance the flavor. If fresh isn’t available, bottled juice works, but go for 100% pure juice. It adds nice acidity and avoids artificial flavors.
Whipped cream: You can use store-bought whipped cream for convenience. If you prefer homemade, just whip heavy cream with a bit of sugar until soft peaks form. It’s fresher and can be flavored as you like!
How Do You Achieve the Best Texture for Your Cheesecake Filling?
Getting the perfect cheesecake texture is key to your mini cheesecakes. Start by making sure your cream cheese is at room temperature; this helps it mix smoothly without lumps. Follow these steps carefully:
- Beat the softened cream cheese with granulated sugar and vanilla until creamy.
- Gradually add the heavy cream while mixing. It’s important to beat until fluffy but avoid over-mixing, which can cause your filling to be too airy.
- Incorporate your orange juice and zest gently to keep the batter thick. If you use a mixer, do so at a low speed or by hand.
Patience at this step is crucial to ensure your filling is both rich and creamy! Enjoy making your mini cheesecakes!

Orange Creamsicle Mini Cheesecakes Recipe
Ingredients You’ll Need:
For the Crust:
- 1 1/2 cups crushed Oreo cookies
- 5 tablespoons unsalted butter, melted
For the Cheesecake Filling:
- 16 oz cream cheese, softened
- 1/2 cup granulated sugar
- 1 teaspoon vanilla extract
- 1 cup heavy cream
- 1/2 cup orange juice
- Zest of 1 orange
- Orange food coloring (optional)
For the Topping:
- 1 cup whipped cream (store-bought or homemade)
- Orange slices for garnish
How Much Time Will You Need?
This delightful recipe takes about 15 minutes to prepare, plus an additional 10 minutes for baking. You’ll need to chill the cheesecakes for at least 4 hours, but they can also be made the night before for an even easier treat!
Step-by-Step Instructions:
1. Prepare the Crust:
Start by preheating your oven to 325°F (163°C). In a medium bowl, mix the crushed Oreo cookies with the melted butter until everything is combined nicely. Take your cupcake pan and line it with cupcake liners. Now, press the cookie mixture evenly into the bottom of each liner to create a fun crust.
2. Bake the Crust:
Pop the pan into the oven and bake the cookie crust for about 10 minutes. Once done, remove it from the oven and let it cool while you work on the filling. Your kitchen will smell wonderful!
3. Make the Cheesecake Filling:
In a large mixing bowl, beat the softened cream cheese with granulated sugar and vanilla extract until it’s smooth and creamy. Gradually pour in the heavy cream and continue to beat the mixture until it looks fluffy and dreamy. Mix in the orange juice and the zest of one orange for that delicious citrus flavor. If you want your filling to be extra orange, add some orange food coloring to achieve your desired color.
4. Fill the Crusts:
Now, it’s time to fill those crusts! Spoon the cheesecake filling over the cooled Oreo crusts, smoothing the tops with a spatula for an even finish. To prevent air bubbles, gently tap the pan on the counter a couple of times.
5. Chill the Cheesecakes:
Cover the pan with plastic wrap and place it in the refrigerator. Let the mini cheesecakes chill for at least 4 hours, or for best results, overnight. This is the perfect time to relax while your cheesecakes set!
6. Serve:
When they are firmly set, carefully remove the mini cheesecakes from the pan. Top each cheesecake with a delightful dollop of whipped cream and place a small slice of orange on each for garnish. They’ll look fantastic!
7. Enjoy!
Serve these chilled and enjoy your delicious Orange Creamsicle Mini Cheesecakes with friends or family. They’ll love the bright flavors and creamy texture!
Can I Use a Different Type of Cookie for the Crust?
Yes, you can use any cookie you like! Graham crackers or vanilla wafer cookies work great for a different flavor profile. Just crush them in the same way as the Oreo cookies and mix with melted butter before pressing into the pan.
What If I Don’t Have Heavy Cream?
If you don’t have heavy cream, you can use a mixture of cream cheese and sour cream for a similar creamy texture. Whisk together 3/4 cup of cream cheese with 1/4 cup of sour cream until smooth. However, the texture may be a bit different, and it won’t be as light and fluffy.
Can I Make These Mini Cheesecakes in Advance?
Absolutely! These cheesecakes can be prepared up to 2 days in advance. Just keep them covered in the refrigerator. They actually taste even better when they’ve had time to set and the flavors meld together!
How Should I Store Leftovers?
Store any leftover cheesecakes in an airtight container in the refrigerator for up to 3 days. If you want to keep them longer, you can freeze them for a month – just make sure to wrap each cheesecake individually in plastic wrap before placing them in a freezer-safe container.