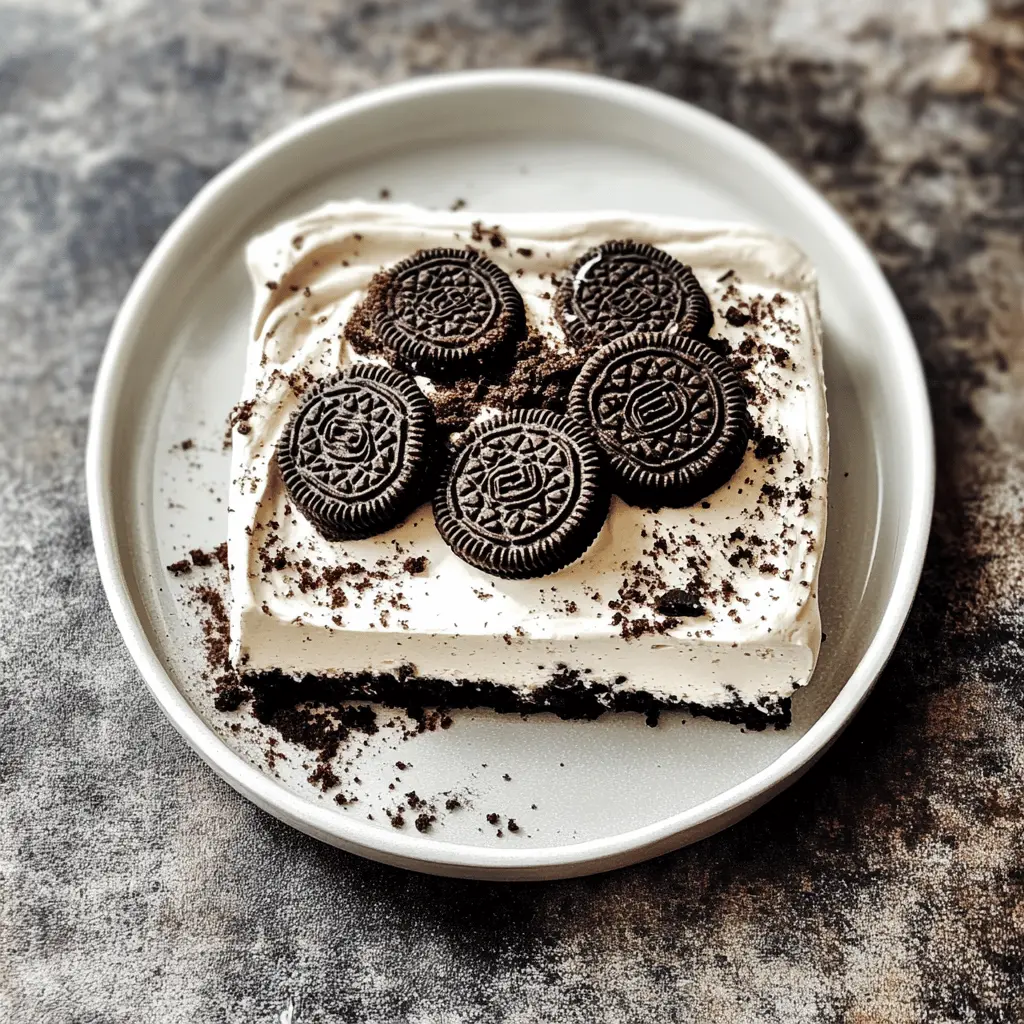
This Heavenly Oreo Dessert is a sweet treat that layers creamy filling with crunchy Oreo crumbs. It’s simple to make, yet tastes absolutely amazing!
I love how quick it is to whip this up, making it perfect for parties. Just keep some in the fridge—trust me, it will disappear fast! 🍪
Key Ingredients & Substitutions
Oreo Cookies: These are the star of the dessert! If you want to switch things up, you could use a different cookie, like Chocolate Thins or even a gluten-free option, depending on your dietary needs.
Unsalted Butter: This helps bind the crust. If you prefer a healthier option, coconut oil or a dairy-free butter can work well too. Just ensure it’s melted before mixing.
Cream Cheese: For a lighter version, you can substitute with Greek yogurt or a dairy-free cream cheese. These alternatives still provide creaminess but with less fat.
Powdered Sugar: This gives sweetness and the right texture to the cream cheese mixture. If you’re looking for a sugar substitute, powdered erythritol works great for a low-sugar option.
Whipped Topping: If you’re avoiding certain preservatives or prefer homemade, you can whip fresh cream with a bit of sugar for your topping. It’s fresher and just as delicious!
Instant Chocolate Pudding Mix: You can replace this with a homemade chocolate pudding if you have the time. Just be sure to thicken it properly!
How Can I Get the Cream Cheese Mixture Smooth?
This step is crucial for a creamy texture in your dessert. Start with softened cream cheese to avoid lumps. Here’s how to make sure it’s perfectly smooth:
- Let the cream cheese sit at room temperature for about 30 minutes before using.
- Beat it on medium speed until it’s creamy, then gradually add in the powdered sugar.
- Fold in the whipped topping gently with a spatula. This keeps the mixture light and fluffy.
Taking the time to blend well here ensures the best flavor and consistency throughout your dessert!

How to Make Heavenly Oreo Dessert
Ingredients You’ll Need:
For the Crust:
- 1 package (14.3 oz) Oreo cookies
- 1/2 cup unsalted butter, melted
For the Cream Cheese Layer:
- 1 package (8 oz) cream cheese, softened
- 1/2 cup powdered sugar
- 1 tub (8 oz) whipped topping (like Cool Whip), thawed
For the Pudding Layer:
- 1 package (3.9 oz) instant chocolate pudding mix
- 2 cups milk
For Garnishing:
- Additional whipped topping for garnish
- 3-4 Oreos, crushed for topping
How Much Time Will You Need?
This delicious Heavenly Oreo Dessert takes about 20 minutes to prepare, plus 4 hours of refrigeration (or overnight for the best set). You’ll be mixing layers and chilling them, which is super simple and so worth it for the fantastic taste!
Step-by-Step Instructions:
1. Prepare the Oven and Crust:
Start by preheating your oven to 350°F (175°C). In a food processor, crush all the Oreo cookies until they are finely ground. Make sure to save 1/4 cup of the crushed cookies to use as a topping later. In a mixing bowl, combine the crushed Oreos with the melted butter and mix well. Press this mixture evenly into the bottom of a 9×13 inch baking dish to create a nice crust.
2. Make the Cream Cheese Layer:
In a separate bowl, take the softened cream cheese and powdered sugar, then beat them together until smooth and creamy. Gently fold in the thawed whipped topping until everything is combined. This will create a delicious, light cream cheese mixture that you’ll spread over the Oreo crust.
3. Create the Pudding Layer:
In another bowl, whisk together the instant chocolate pudding mix and milk until the mixture thickens up nicely. Once it’s ready, pour this chocolate pudding over the cream cheese layer and spread it evenly across.
4. Add the Final Topping and Chill:
Now it’s time to top everything! Spread an additional layer of whipped topping over the pudding layer to make it look nice and fluffy. Finally, sprinkle the reserved crushed Oreos on top for a bit of texture and extra flavor. Cover the dish and pop it in the refrigerator for at least 4 hours — or overnight for the best results. This will allow everything to set beautifully!
5. Serve and Enjoy:
When you’re ready to serve, simply cut the dessert into squares and enjoy it chilled. This Heavenly Oreo Dessert is sure to be a hit at your gatherings!
Can I Use Reduced-Fat Oreos for This Recipe?
Absolutely! Reduced-fat Oreos can be used in place of regular Oreos without compromising the flavor too much. Just keep in mind that the dessert may be slightly less rich, but it will still be delicious!
How Do I Store Leftovers?
Store any leftovers in an airtight container in the fridge for up to 3 days. Make sure to cover the dessert well to prevent it from absorbing any odors in the refrigerator and to keep the whipped topping fresh.
Can I Substitute the Cream Cheese?
Yes! If you’re looking for a healthier option or have a dairy allergy, you can substitute cream cheese with a dairy-free cream cheese alternative. The texture will still be creamy, and the flavor remains delightful.
Can I Make This Dessert Gluten-Free?
Yes! Simply replace regular Oreos with gluten-free Oreos and ensure all other ingredients are gluten-free. This way, everyone can enjoy this heavenly dessert without any worries!