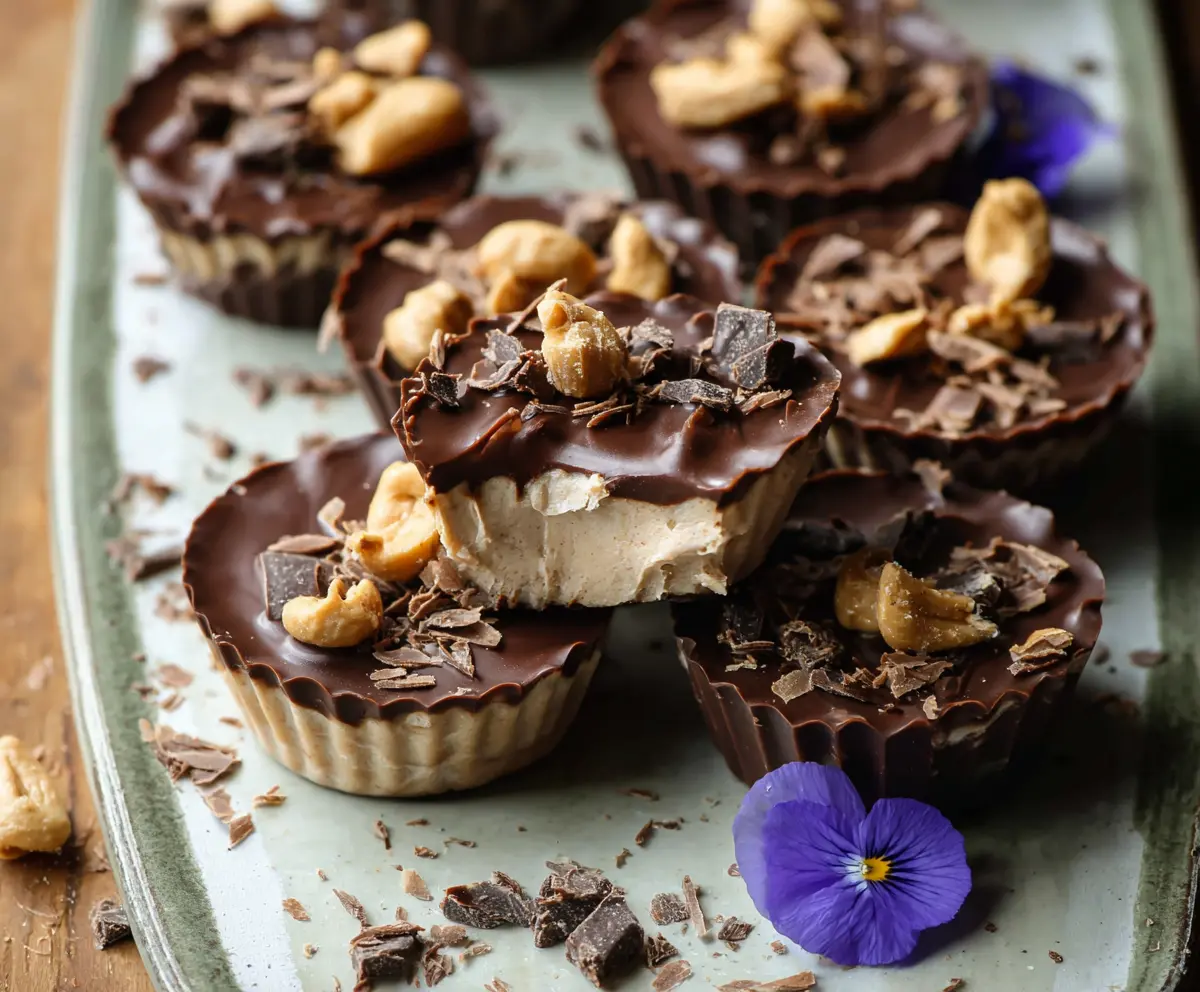
These Healthy Frozen Peanut Butter Greek Yogurt Cups are a tasty treat! Creamy Greek yogurt mixed with peanut butter, all topped with rich chocolate, makes for a delightful snack.
They’re super easy to make, and you get to enjoy a sweet flavor without the guilt! I love keeping a stash in the freezer for when I’m craving something cool and satisfying. Yum! 🍦
Key Ingredients & Substitutions
Plain Greek Yogurt: Full-fat or 2% Greek yogurt gives the cups creaminess and protein. If you want a lighter version, you can use non-fat yogurt, but it might be a bit less creamy.
Natural Creamy Peanut Butter: Go for natural peanut butter with no added sugar or oils. If you want to switch it up, almond or cashew butter works great as a substitute, too!
Honey or Maple Syrup: These sweeteners add a touch of sweetness. You can cut down on the quantity if you prefer a less sweet treat. Agave syrup or stevia are other options for those who need alternatives.
Dark Chocolate Chips: A high cacao content isn’t just healthier; it also gives a rich flavor. If you’re not a big chocolate fan, try using carob chips for a different twist.
Coconut Oil: This optional ingredient helps the chocolate melt smoothly, making it easier to spread. You can skip it if you’re in a hurry, but it does make the chocolate topping lovelier!
How Do You Make Smooth Chocolate Topping?
Melting chocolate smoothly can be tricky, but follow these steps to get it right:
- Use a microwave-safe bowl. Heat the chocolate chips and coconut oil together on medium power.
- Stir after every 30 seconds to prevent scorching. Chocolate can burn easily if left unattended.
- Keep stirring even after removing it from the microwave, as the residual heat will continue to melt any remaining lumps.
For an added touch, you can mix in a few nuts into the melted chocolate before pouring it over the yogurt cups for an extra crunch.
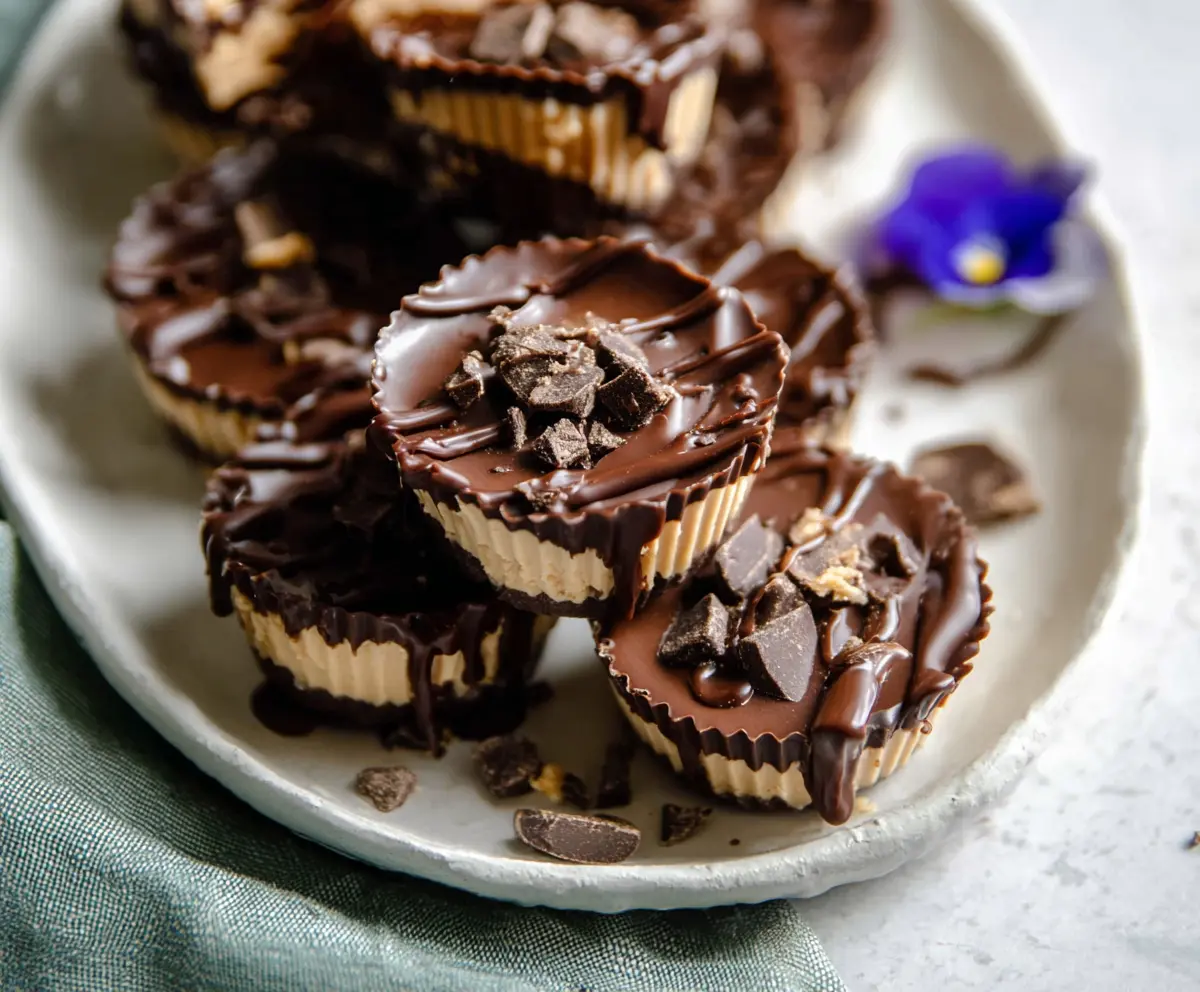
Healthy Frozen Peanut Butter Greek Yogurt Cups With Chocolate Top
Ingredients You’ll Need:
For the Yogurt Cups:
- 1 cup plain Greek yogurt (preferably full-fat or 2%)
- 1/2 cup natural creamy peanut butter
- 2-3 tablespoons honey or maple syrup (to taste)
- 1 teaspoon vanilla extract
- Optional: a pinch of salt if your peanut butter is unsalted
For the Chocolate Topping:
- 1 cup dark chocolate chips (70% cacao or higher)
- 1 teaspoon coconut oil (optional, to help melt chocolate smoothly)
- A handful of chopped peanuts or cashews for topping
How Much Time Will You Need?
This recipe takes about 15 minutes to prepare, plus 2 hours waiting time in the freezer. Just a bit of mixing and melting, then let them freeze and set. They’re quick and easy to make!
Step-by-Step Instructions:
1. Mix the Ingredients:
In a medium bowl, combine the Greek yogurt, peanut butter, honey (or maple syrup), vanilla extract, and a pinch of salt (if using). Mix everything with a whisk or a spoon until it’s nice and smooth. The mixture should be creamy and well-blended.
2. Prepare the Molds:
Line a muffin tin with paper cupcake liners, or use silicone molds for easy removal. It’s like making little bowls that will hold your tasty treats!
3. Fill the Molds:
Spoon the peanut butter and yogurt mixture evenly into each mold, filling them about 2/3 of the way full. Give each mold a little tap on the counter to smooth the mixture out and to eliminate any air bubbles.
4. Freeze the Cups:
Place your filled molds in the freezer and let them freeze for about 1 to 1.5 hours, or until they are nice and firm. Sometimes waiting is the hardest part, but it’s going to be worth it!
5. Melt the Chocolate:
While the yogurt cups are freezing, melt the dark chocolate chips and coconut oil (if using) together in a microwave-safe bowl. Heat them in 30-second intervals, stirring each time, until it’s smooth and melted. No one likes burnt chocolate!
6. Add the Chocolate Top:
Once the yogurt-peanut butter cups are firm, take them out of the freezer. Spoon the melted chocolate evenly over each cup to cover the top completely. Make sure they are well-coated!
7. Garnish the Cups:
Quickly sprinkle the chopped peanuts or cashews on top of the chocolate before it hardens. This adds a fun crunch and makes them look extra delicious!
8. Final Freeze:
Pop the cups back into the freezer for another 30 minutes, or until the chocolate is completely set. You want that perfect snap when you bite into them.
9. Serve and Enjoy:
When you’re ready to enjoy, let the frozen cups sit at room temperature for a few minutes to soften a bit. Then dig in and savor your healthy frozen peanut butter Greek yogurt cups!
These lovely treats make a perfect guilt-free dessert or snack, combining creamy, nutty, and chocolate flavors with a refreshing cool texture. Be sure to store any leftovers in an airtight container in the freezer to keep them fresh for when the next craving hits!
Can I Use Regular Yogurt Instead of Greek Yogurt?
Yes, you can definitely use regular yogurt! However, the texture will be slightly thinner, and you may want to adjust the sweetener accordingly since regular yogurt can be tangier. For a creamier result, Greek yogurt is preferred.
How Long Can I Keep These in the Freezer?
These frozen peanut butter cups can be stored in the freezer for up to 2 months. Just remember to keep them in an airtight container to prevent freezer burn and maintain the best flavor!
Can I Substitute the Peanut Butter?
Absolutely! If you have a peanut allergy or prefer a different flavor, almond butter or sunflower seed butter are great alternatives. Just make sure to use a similar creamy style for the best results.
What If My Chocolate Is Too Thick to Pour?
If your melted chocolate seems too thick, you can add a little more coconut oil to help thin it out. This will also make it easier to pour over the cups and give a smoother finish!