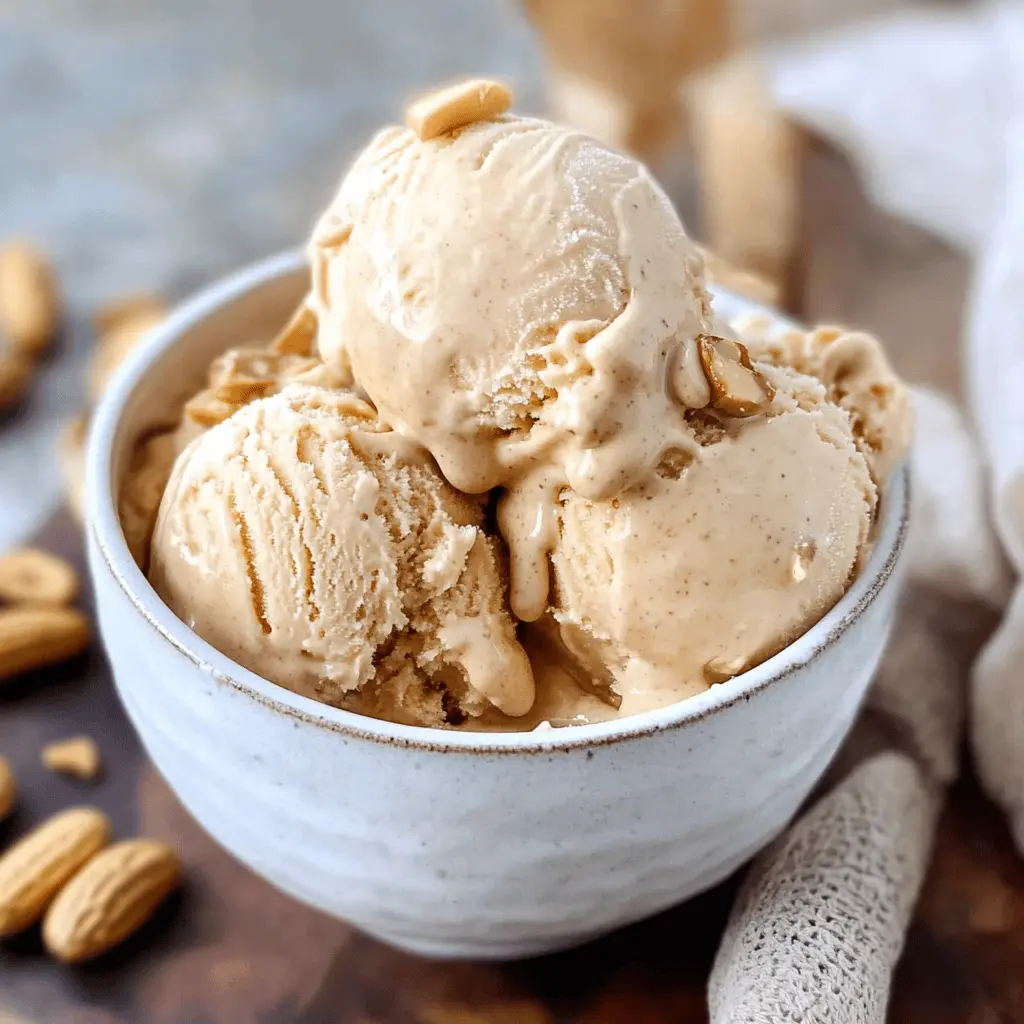
This easy no-churn peanut butter ice cream is creamy and dreamy! With just a few simple ingredients, you’ll have a sweet treat in no time, no ice cream maker needed!
You know it’s a winner when it’s made with peanut butter! I love to scoop it up and enjoy it on a sunny day. Who doesn’t love a quick and delicious dessert? 🍦
Key Ingredients & Substitutions
Heavy Whipping Cream: This ingredient gives the ice cream its creamy texture. If you’re looking for a lighter option, you could try coconut cream. It won’t taste the same, but it’ll still be delicious!
Sweetened Condensed Milk: It adds sweetness and creaminess. You can substitute it with a dairy-free version if needed. Just note that it might change the flavor slightly.
Creamy Peanut Butter: I love using natural peanut butter, which has a rich flavor without added sugars. If you have a nut allergy, try sun butter or almond butter instead. Just ensure it’s creamy for the best texture.
Vanilla Extract: This enhances the flavor. If you don’t have vanilla, you could use almond extract for a different taste experience, but go easy on it since it’s stronger!
How Do You Whip Cream to Stiff Peaks Perfectly?
One of the key steps in this recipe is whipping the cream correctly. Properly whipped cream gives your ice cream that nice light and airy texture.
- Start with cold equipment: Make sure your bowl and beaters are chilled for the best results.
- Beat the cream on medium speed until it thickens. Once it starts to get foamy, increase the speed to high.
- Watch for stiff peaks: This means the cream should stand up straight when you lift the beaters. Be careful not to over-whip, as this can turn it into butter!
By mastering this technique, your homemade ice cream will have that delightful fluffiness everyone loves!
Easy No Churn Peanut Butter Ice Cream
Ingredients:
- 2 cups heavy whipping cream (cold)
- 1 (14 oz) can sweetened condensed milk
- 1 cup creamy peanut butter
- 1 teaspoon vanilla extract
- Optional: pinch of salt (if using unsalted peanut butter)
- Optional: chopped peanuts or peanut butter chips for mix-in or topping
How Much Time Will You Need?
This delicious no-churn peanut butter ice cream takes about 15 minutes of prep time. You’ll need to freeze it for at least 4-6 hours to let it firm up, but you can spend that time dreaming of your tasty treat!
Step-by-Step Instructions:
1. Whip the Cream:
Start in a large mixing bowl with your cold heavy whipping cream. Use an electric mixer to whip it until stiff peaks form. This means the cream should stand tall when you lift the beaters out. Don’t rush; take your time to get it just right!
2. Mix Peanut Butter Mixture:
In a separate bowl, mix together the sweetened condensed milk, creamy peanut butter, vanilla extract, and a pinch of salt if you’re using unsalted peanut butter. Stir it well until everything is smooth and nicely blended.
3. Combine the Two Mixtures:
Now it’s time for the fun part! Gently fold the peanut butter mixture into the whipped cream. Use a spatula and be careful not to deflate the whipped cream too much. You want it to stay fluffy and light for that perfect ice cream texture!
4. Add Mix-ins (optional):
If you’re feeling a little adventurous, fold in some chopped peanuts or peanut butter chips for an extra crunch. This step is totally optional, but it makes your ice cream even more special!
5. Freeze Your Ice Cream:
Transfer the creamy mixture to a freezer-safe container or a loaf pan. Spread it evenly so that it freezes uniformly. Then, cover it tightly with a lid or plastic wrap. Pop it in the freezer for at least 4-6 hours until it’s nice and firm.
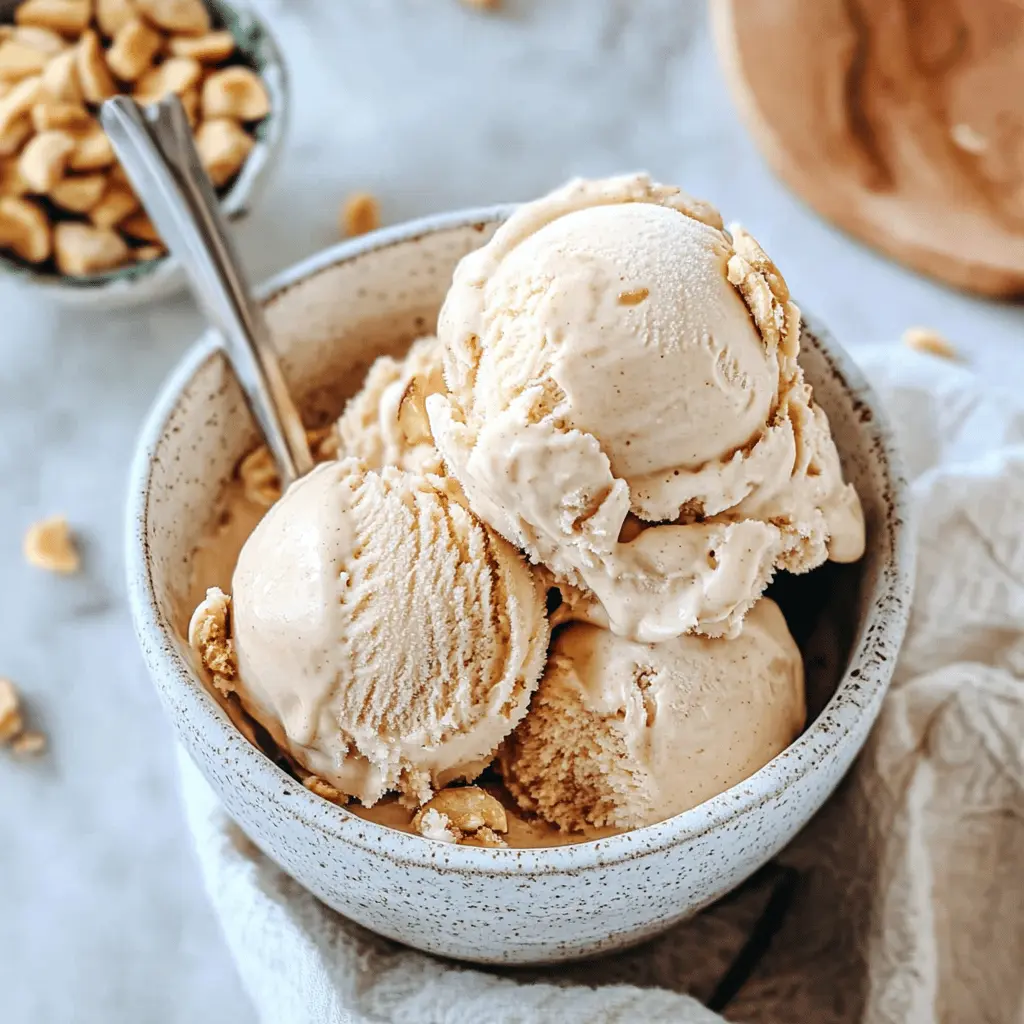
6. Ready to Scoop:
When you’re ready to indulge, let the ice cream sit at room temperature for 5-10 minutes. This helps it soften, making it easier to scoop. Then grab your bowls or cones!
7. Garnish and Enjoy:
Scoop some of that creamy goodness into bowls or cones. Feel free to garnish with extra chopped peanuts or a drizzle of peanut butter on top for that perfect finishing touch. Enjoy your homemade delight!
And that’s it! You’ve made a delightful no-churn peanut butter ice cream that everyone will love—no special equipment required! Enjoy your sweet creation!
FAQ for Easy No Churn Peanut Butter Ice Cream
Can I Use Skim Milk Instead of Heavy Whipping Cream?
Unfortunately, skim milk won’t create the same creamy texture that heavy whipping cream does. For the best results, stick with heavy cream or try coconut cream for a dairy-free alternative!
How Long Can I Store This Ice Cream?
You can store your no-churn peanut butter ice cream in the freezer for up to 2-3 weeks. Just make sure it’s tightly covered to prevent ice crystals from forming!
What If I Don’t Have Creamy Peanut Butter?
If you only have crunchy peanut butter, that works too! Just keep in mind it will result in a different texture with added crunch. You could also try almond butter or sun butter if you have nut allergies!
Can I Add Other Mix-Ins?
Absolutely! Feel free to get creative. Chocolate chips, swirls of caramel, or even crushed cookies would all make fantastic additions. Just fold them in gently before freezing!