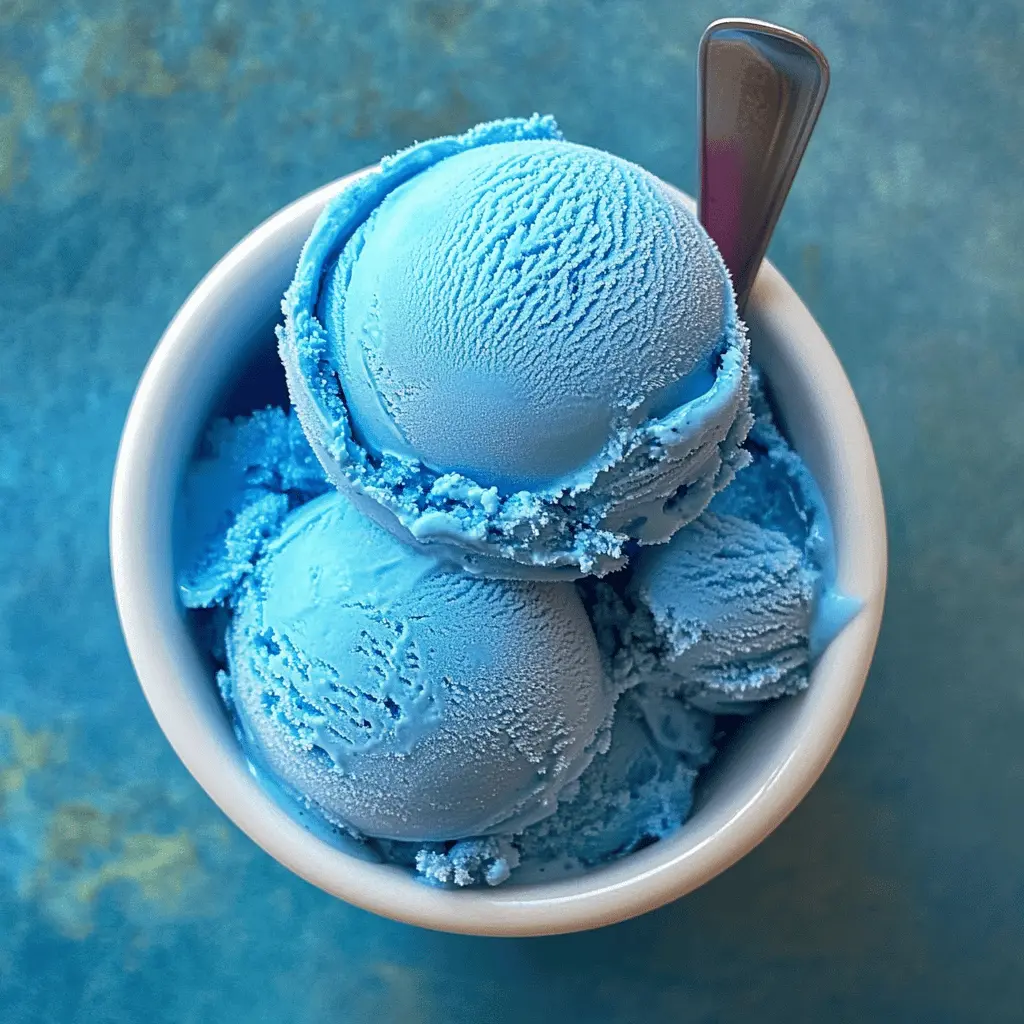
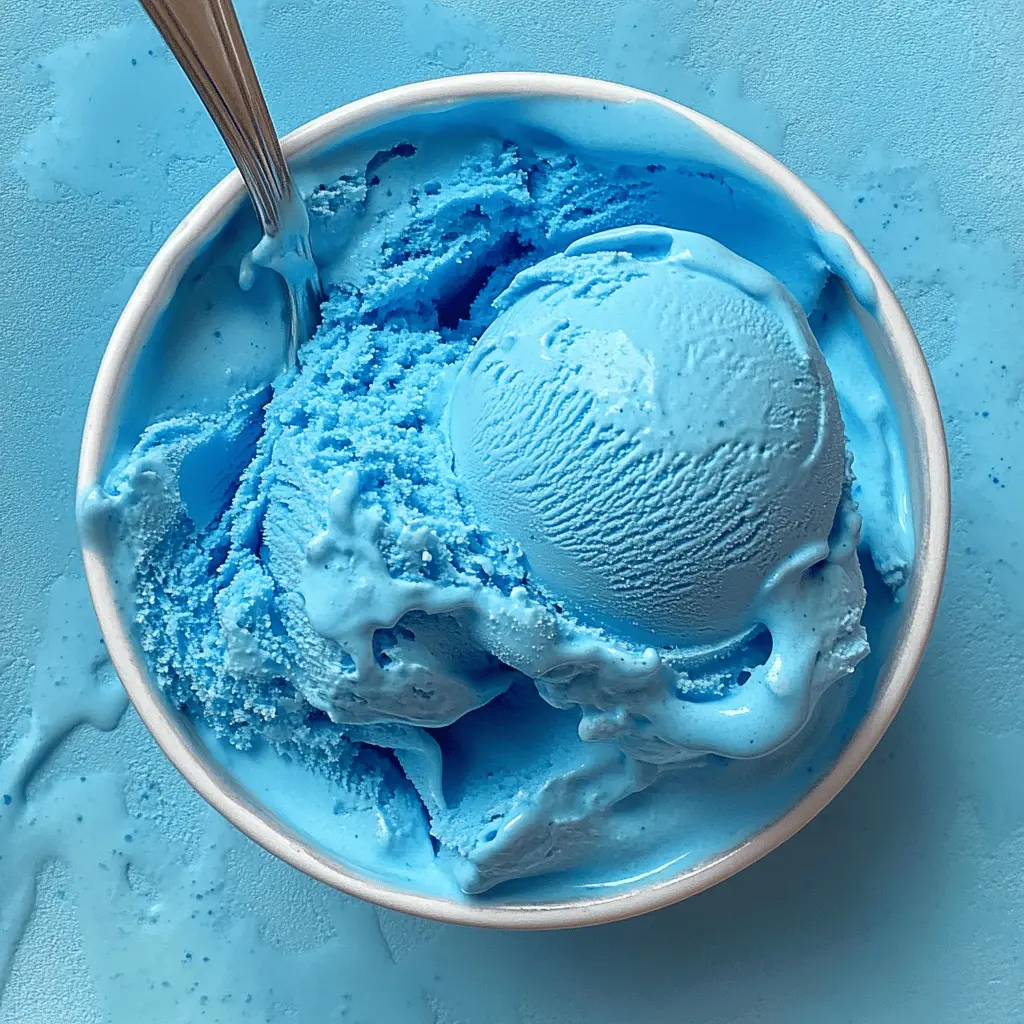
This Easy Homemade Blue Moon Ice Cream is a fun, bright treat! With a sweet and fruity flavor, it will make you smile with every scoop. Plus, it’s super simple to whip up!
I love how this ice cream brings back childhood memories. It’s perfect for hot days, and the blue color makes it a hit at parties. Who doesn’t love a colorful treat in their bowl? 🍦
Key Ingredients & Substitutions
Heavy Cream: This gives the ice cream its rich and creamy texture. If you’re looking for a lighter version, you can swap some heavy cream for half-and-half, but the texture won’t be as creamy.
Whole Milk: Whole milk balances the creaminess. You can use 2% milk, but it won’t be as rich. For dairy-free options, any plant-based milk can work, though it may change the flavor slightly.
Sugar: Granulated sugar is a must for sweetness. If you want a healthier option, consider honey or maple syrup, but keep in mind it will alter the final flavor a bit.
Flavorings (Vanilla & Almond): Vanilla extract is essential for flavor depth. Almond extract adds a nutty touch. You can use only vanilla if you prefer a simpler flavor profile.
Blue Food Coloring: This is what gives the ice cream its striking color. If you prefer natural options, you might use spirulina or butterfly pea flower for a blue hue, though the taste could differ.
How Do You Get the Ice Cream to Have a Perfect Texture?
The key to achieving smooth and creamy ice cream lies in proper chilling and churning. Start by ensuring your mixture is very cold before churning—it helps with the texture.
- Mix everything well and let it chill for at least 2 hours, or even better, overnight. This allows the flavors to meld.
- When you churn the mixture, air gets incorporated. Try not to over-churn, as this can make it too dense.
- After churning, place the ice cream in an airtight container to freeze for several hours. This hardening step is important for the right consistency.
By following these steps, you will end up with fabulously cream Blue Moon ice cream that’s as delightful as it is colorful!
Easy Homemade Blue Moon Ice Cream
Ingredients You’ll Need:
- 2 cups heavy cream
- 1 cup whole milk
- 3/4 cup granulated sugar
- 1 tablespoon vanilla extract
- 1/2 teaspoon almond extract
- 1/4 teaspoon lemon extract or lemon zest (optional for fruity brightness)
- 1/4 teaspoon blue raspberry or cotton candy flavoring (or another fruity candy flavor for signature Blue Moon taste)
- Blue food coloring, a few drops (to achieve that vibrant blue color)
- Pinch of salt
How Much Time Will You Need?
This recipe takes about 15-20 minutes of hands-on preparation time. Allow for at least 2 hours for chilling the mixture, plus an additional 4 hours for freezing the ice cream to firm up. In total, you’re looking at around 6 hours to enjoy your homemade Blue Moon ice cream, but much of that is waiting time!
Step-by-Step Instructions:
1. Combine Ingredients:
In a large mixing bowl, start by whisking together the sugar, pinch of salt, heavy cream, and whole milk. Keep whisking until the sugar completely dissolves, and the mixture is smooth.
2. Flavor It Up:
Next, stir in the vanilla extract, almond extract, and lemon extract (or zest). You want to mix this well so that all the flavors come together. Don’t forget to add the blue raspberry or cotton candy flavoring—you’ll love the sweet touch it gives!
3. Color It Blue:
Now it’s time to make your ice cream pop! Add a few drops of blue food coloring. Mix it in and adjust the amount until you reach that striking electric blue shade you’re going for.
4. Chill the Mixture:
Cover the bowl and refrigerate the mixture for at least 2 hours, but overnight is even better! This helps the flavors blend and makes your ice cream creamy.
5. Churn It:
Once it’s chilled, pour the mixture into your ice cream maker. Churn according to the manufacturer’s instructions, usually about 20-25 minutes, until it thickens up into soft serve.
6. Freeze for Firmness:
Transfer the soft ice cream to an airtight container and place it in the freezer. You’ll want to freeze it for at least 4 hours or until it gets nice and firm. This step is essential for the perfect scooping texture.
7. Serve and Enjoy!
When the ice cream is ready, scoop it into bowls or cones and enjoy every colorful and delightful bite of your homemade Blue Moon ice cream!
This delightful recipe captures the vibrant blue color and sweet fruity flavor that Blue Moon ice cream is known for, making it a fantastic treat for sunny days or festive occasions!
Can I Use Low-Fat Milk Instead of Whole Milk?
Yes, you can use low-fat milk, but keep in mind that it will result in a less creamy texture compared to whole milk. The richness of the ice cream will decrease, so if you want to keep it creamy, it’s best to stick with whole milk or a mix of whole milk and cream.
How Can I Make This Ice Cream Dairy-Free?
You can substitute heavy cream and whole milk with canned coconut milk or almond milk for a dairy-free version. Make sure to use unsweetened versions if available, and add a little extra sweetener if needed to balance the flavors.
What If I Don’t Have an Ice Cream Maker?
No problem! You can make this ice cream without an ice cream maker. Pour the chilled mixture into a shallow dish and freeze for about 2-3 hours. Every 30 minutes, stir the mixture with a fork to break up any ice crystals until it reaches your desired consistency.
How to Store Leftover Blue Moon Ice Cream?
Store any leftover ice cream in an airtight container in the freezer. It’s best enjoyed within 1-2 weeks for optimal flavor and texture, but it can last up to a month. If it becomes too hard, let it sit at room temperature for a few minutes to soften before scooping.