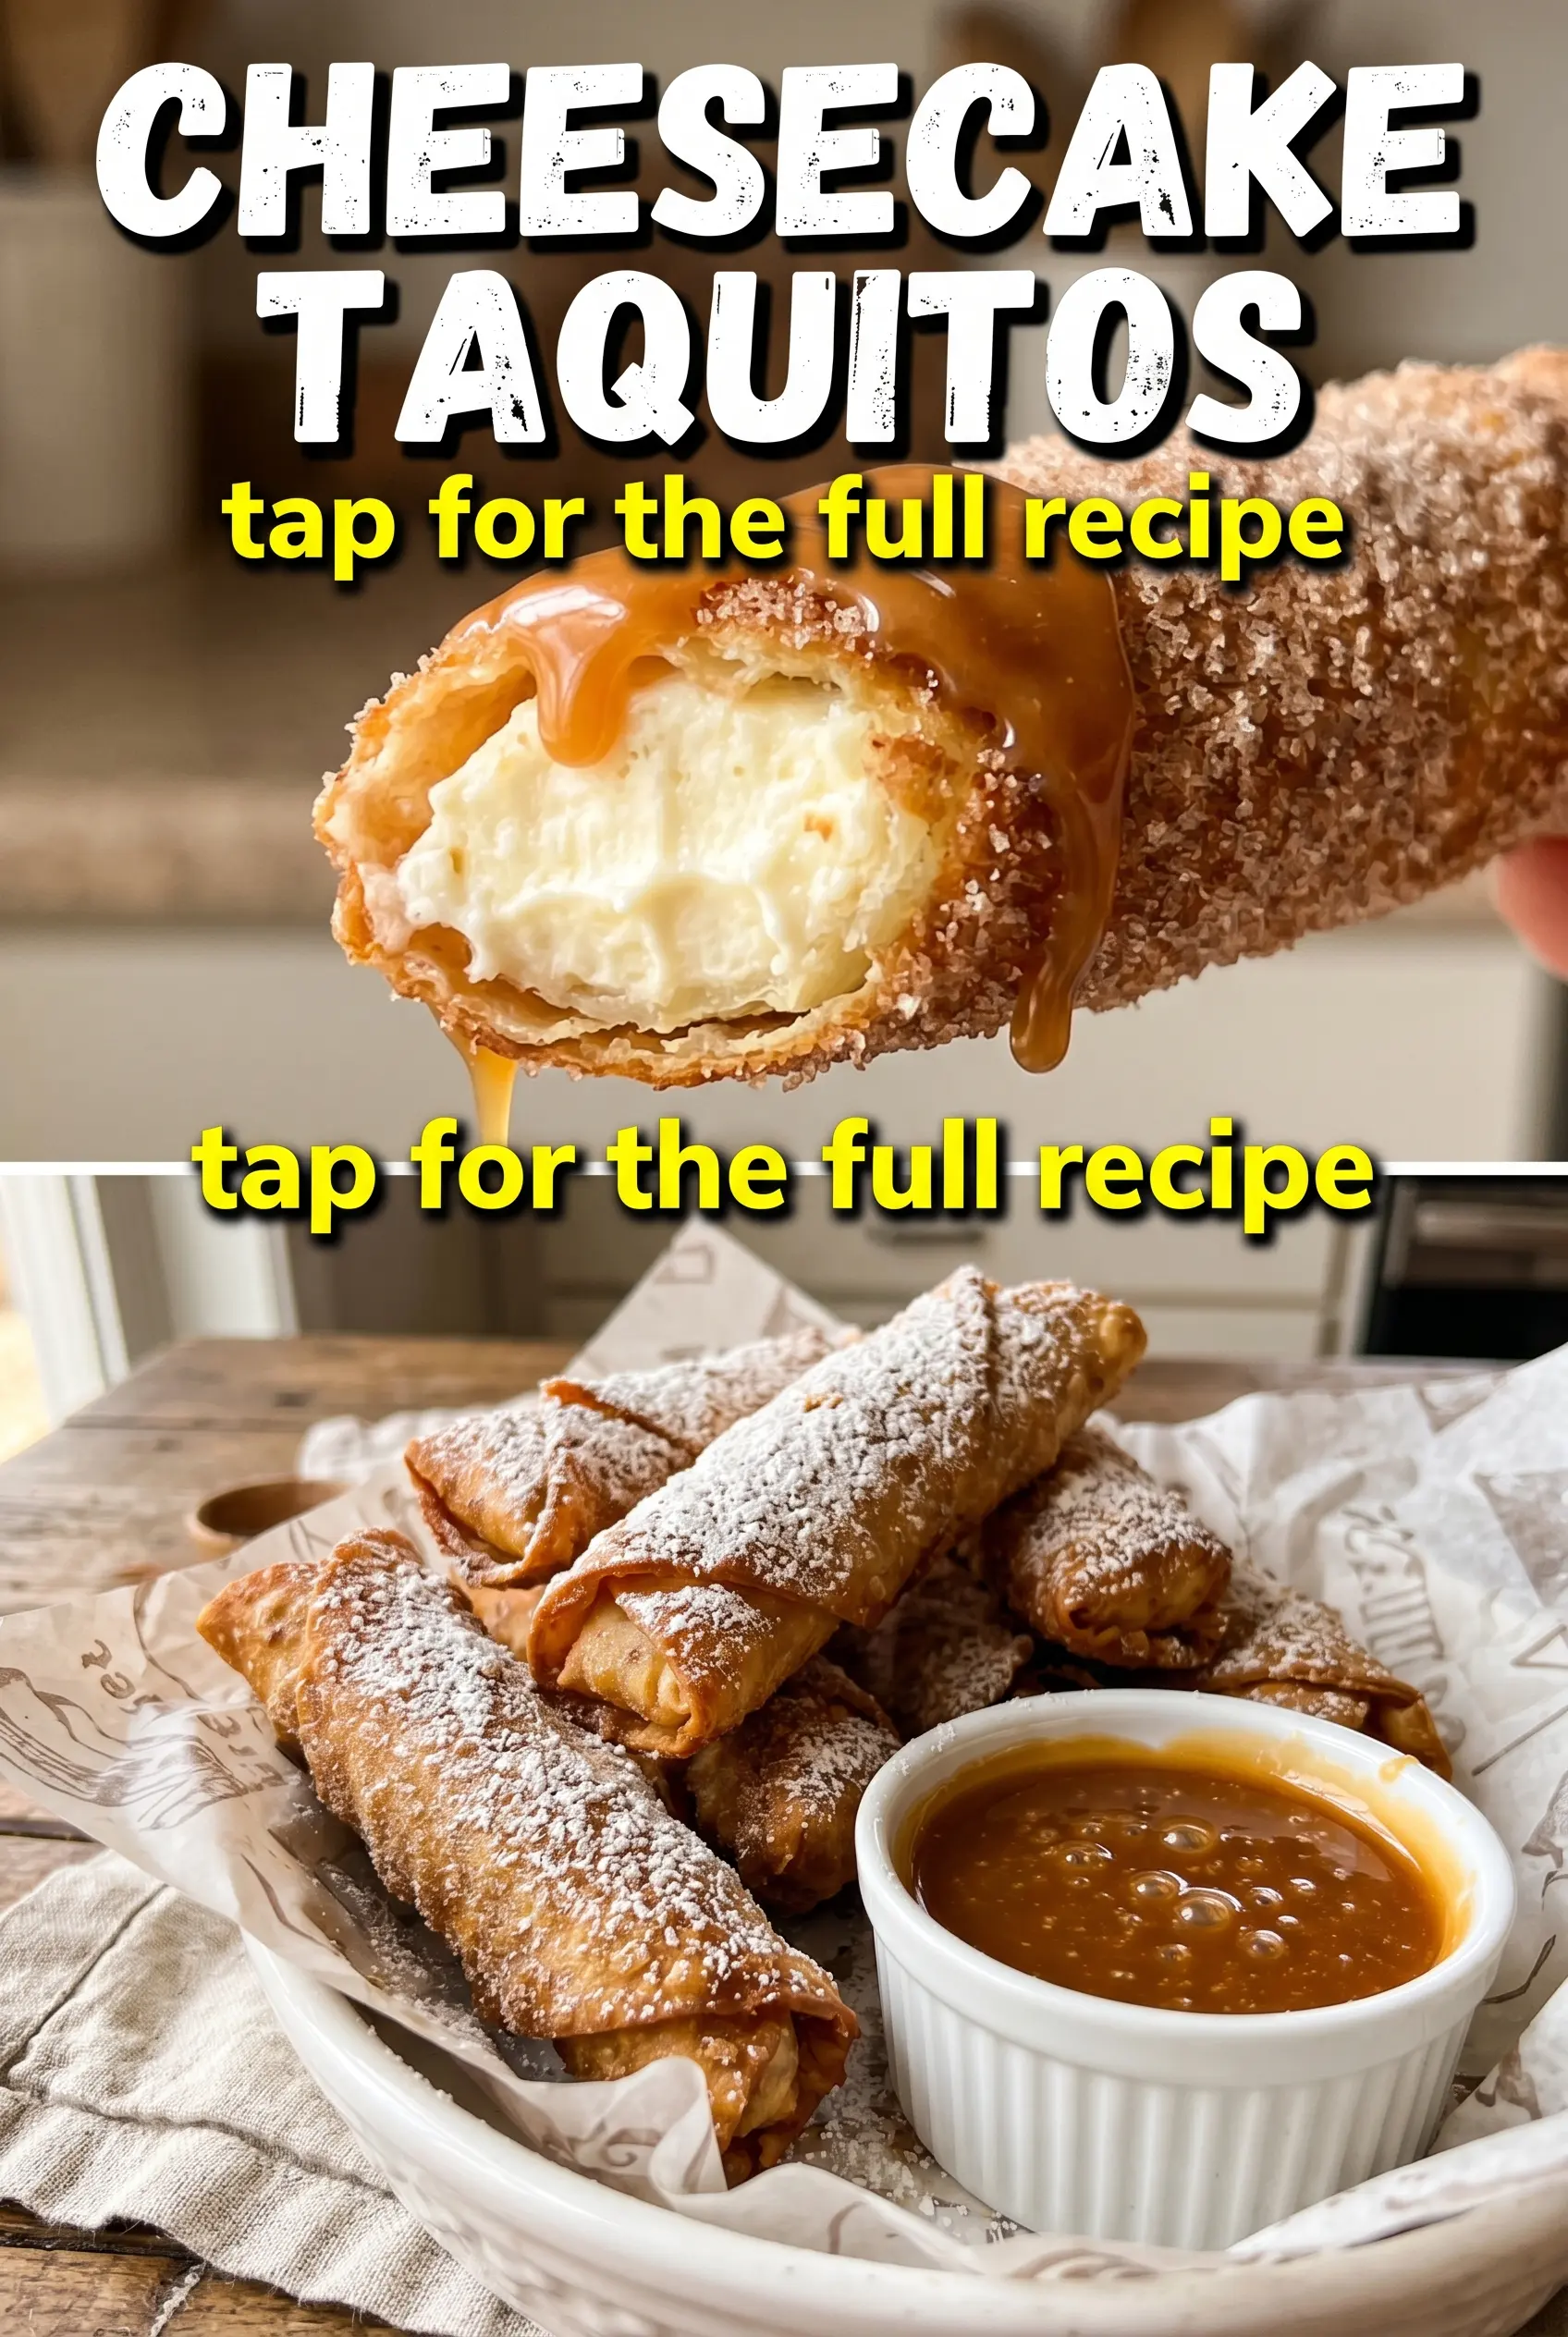
Cheesecake taquitos hit that sweet spot between crisp, creamy, and a little unexpected. The tortillas fry up shatteringly golden, the filling stays cool and tangy, and the cinnamon-sugar finish gives each bite the same kind of nostalgia you get from a fair-style dessert, just with a richer cheesecake center. They’re the kind of treat people reach for before they’ve even finished asking what’s inside.
What makes this version work is the balance. Cream cheese gives the filling structure, sour cream softens it without thinning it out, and lime zest keeps the whole thing from tasting flat or heavy. The tortillas need to be rolled tight enough to hold the filling, but not packed so full that they burst in the oil. A quick fry at the right temperature is what gives you that crisp shell without greasiness.
Below, you’ll find the small details that matter most: how to keep the filling smooth, why the oil temperature is non-negotiable, and what to do if you want to bake these instead of frying them.
The filling stayed creamy and didn’t leak out, and the cinnamon sugar stuck perfectly once I brushed the taquitos with butter. My kids asked for a second batch before I’d even finished frying the first one.
Save these cheesecake taquitos for when you want a crispy dessert with a cool cheesecake center and a cinnamon-sugar finish.
The Reason These Taquitos Stay Crisp Instead of Soggy
The biggest mistake with dessert taquitos is letting the filling turn loose before it even hits the oil. If the cheesecake mixture is too warm or too thin, it seeps into the tortilla and softens the shell from the inside out. That’s why the filling here starts with softened cream cheese but gets tightened up with powdered sugar and sour cream, then chilled by association as soon as it’s mixed and rolled.
Oil temperature matters just as much. Too cool, and the tortillas drink up grease before they crisp. Too hot, and the outside browns before the center has a chance to set. At 350°F, you get that quick golden crust in about 2 minutes per side, which is enough time for the tortilla to blister and seal without splitting open.
- Softened cream cheese — This is the base, and it needs to be soft enough to beat smooth without lumps. Cold cream cheese stays gritty no matter how long you stir it.
- Sour cream — It lightens the filling and gives it that cheesecake tang. Greek yogurt can work in a pinch, but it tastes a little sharper and sets a bit more firmly.
- Lime zest — Don’t skip it. The zest wakes up the filling and keeps the dessert from tasting heavy. Lemon zest works too, but lime gives a brighter finish with the cinnamon.
- Small flour tortillas — Use the softest tortillas you can find so they roll without cracking. If they feel stiff, warm them for a few seconds in the microwave under a damp paper towel.
Getting the Filling Rolled and the Coating to Stick
Mixing the Cheesecake Center
Beat the cream cheese and powdered sugar until the mixture looks completely smooth and glossy, with no little white lumps left behind. Fold in the sour cream, vanilla, and lime zest just until combined; overmixing can make the filling looser than you want. If it seems soft, chill it for 10 minutes before rolling. That short rest makes the filling easier to control and keeps it from squeezing out the ends.
Rolling the Taquitos Tight
Spoon about 2 tablespoons of filling down the center of each tortilla in a narrow line, not a wide mound. Roll it snugly, tucking as you go so the seam sits underneath, and use a toothpick only if a tortilla wants to spring open. If you overfill them, they’ll split in the fryer, and the filling will escape before the shell turns crisp. A tight roll is what gives you that neat, bakery-style shape.
Frying to a Deep Golden Shell
Heat the oil to 350°F and fry in batches so the temperature doesn’t drop. The taquitos should sizzle right away, and the surface should turn golden in a couple of minutes with small blisters forming on the tortilla. If they brown too fast, the oil is too hot; if they look pale and greasy, the oil needs more time to come back up. Drain them on paper towels right away so the coating stays crisp, not oily.
Butter and Cinnamon Sugar at the Right Moment
Brush the taquitos with melted butter while they’re still hot, then dust them immediately with the cinnamon-sugar mixture. That timing matters because the butter acts like glue, and once the surface cools, the sugar won’t cling as evenly. Work fast enough to coat all sides before the crust sets completely. The result is a sparkling, lightly spiced shell that tastes finished the second it leaves the plate.
How to Adapt These for Different Diets and Dessert Crowds
Baked Cheesecake Taquitos
Brush the rolled taquitos with melted butter, set them seam-side down on a lined baking sheet, and bake at 425°F until crisp and lightly browned. They won’t get quite as blistered as fried ones, but they still deliver a crunchy shell with a softer finish. This is the move when you want less mess and don’t want to stand over a skillet.
Gluten-Free Version
Use small gluten-free tortillas that are made for rolling, not the dry style that cracks as soon as you bend them. Warm them first so they stay flexible, then handle them gently because they’re more likely to split during frying. The filling itself is already gluten-free, so the tortilla is the only real swap.
Dairy-Free Cheesecake Taquitos
Use a dairy-free cream cheese and a thick coconut-based yogurt in place of the sour cream. The filling will still be creamy, but it’ll taste a little more coconut-forward and won’t set quite as firm as the original. Chill it before rolling so it stays contained in the tortilla.
Storage and Reheating
- Refrigerator: Store leftovers in an airtight container for up to 3 days. The shells will soften a bit, but the flavor holds up well.
- Freezer: Freeze the assembled, unfried taquitos on a tray until solid, then transfer to a freezer bag for up to 1 month. Fry them straight from frozen and add another minute or so to the cook time.
- Reheating: Reheat in a 375°F oven or air fryer until the shell crisps back up. Skip the microwave if you want any crunch at all; it turns the tortilla soft and the coating sticky.
Questions I Get Asked About This Recipe
Cheesecake Taquitos
Ingredients
Equipment
Method
- Beat softened cream cheese with powdered sugar until smooth and no lumps remain. Mix just until creamy so the filling stays thick enough to roll.
- Fold in sour cream, vanilla extract, and lime zest until the mixture looks uniform. Scrape the bowl to ensure the lime zest is evenly distributed.
- Lay the small flour tortillas out and spoon about 2 tablespoons of cheesecake mixture down the center of each one. Keep the filling in a line so the roll stays tight.
- Roll each tortilla tightly around the filling and secure with a toothpick if needed. Place seam-side down so the taquitos hold their shape during frying.
- Heat vegetable oil in a deep skillet to 350°F. Maintain the temperature at 350°F for consistent crisping.
- Fry taquitos in batches at 350°F for about 2 minutes per side until golden and crispy. Look for deep golden edges and bubbles around the seams.
- Drain the taquitos on paper towels after frying. Let excess oil drip off for a drier, crunchier coating.
- Combine granulated sugar and cinnamon in a small bowl and set it near your stove. Brush hot taquitos with melted butter immediately, then dust right away with cinnamon-sugar so it adheres.
- Serve the cheesecake taquitos warm. The coating is best when it’s freshly dusted and the centers are still creamy.