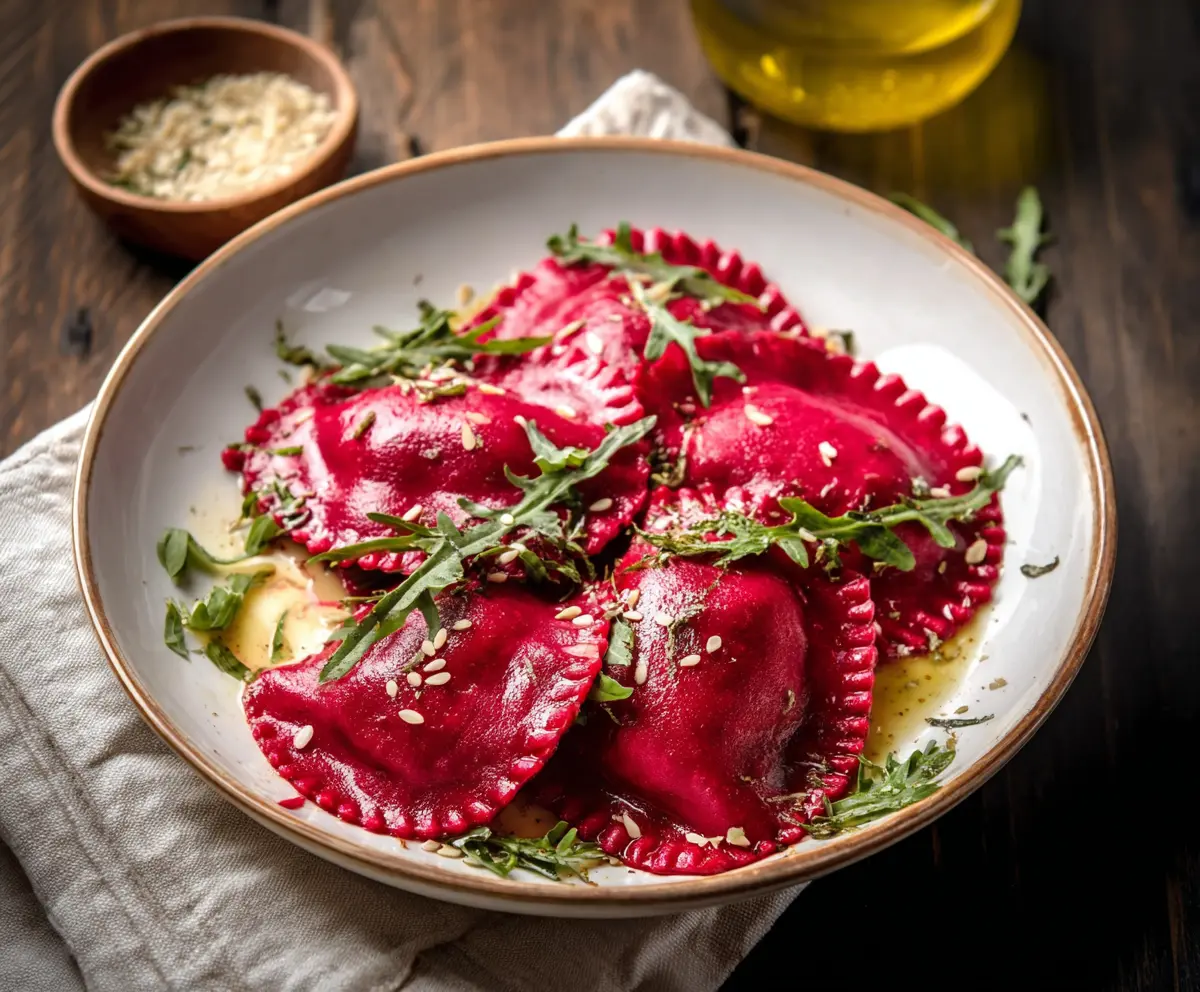
Beet ravioli is a colorful twist on a classic dish! Made with fresh beets, it has a sweet and earthy flavor that makes every bite special. The bright color is simply stunning!
When I make these, I can’t help but feel like a fancy chef. 🍽️ Plus, they’re perfect with a light sauce for a lovely meal. Treat yourself to a plate full of vibrant goodness!
Key Ingredients & Substitutions
Beets: Fresh roasted or boiled beets are the star here! They add color and sweetness. If fresh isn’t available, you can use jarred beets, but drain them well before puréeing.
All-purpose flour: For the best texture, stick with all-purpose flour. If you’re gluten-free, try using a gluten-free flour blend designed for pasta, but results may vary.
Ricotta cheese: This gives the filling a creamy texture. For a lighter option, use cottage cheese or a vegan ricotta made from blended tofu and nutritional yeast!
Fresh herbs: Thyme and sage enhance flavor beautifully. If you’re out, dried herbs can work too—just use less, about a third of the amount!
How Do You Get Perfectly Sealed Ravioli?
Sealing ravioli can be a tricky part of making them. It’s crucial for keeping all that delicious filling inside during cooking. Here’s how to do it right:
- Start with a clean, dry work surface to prevent sticking.
- After placing the filling on the pasta sheet, moisten the edges with a little water. This helps the pasta stick together.
- Carefully lay the second sheet on top, pressing around each filling mound to push out air and seal them tightly.
- Cut with a ravioli cutter or knife, and then press the edges with a fork to ensure a tight seal.
With a little practice, you’ll be a ravioli-making pro in no time!
How Do You Cook Ravioli Without Them Falling Apart?
Cooking ravioli can be delicate, as they might break if not done right. Here’s how to get them perfect:
- Make sure your water is boiling before adding ravioli. A gentle boil helps them cook evenly.
- Don’t overcrowd the pot; cook in batches. This prevents them from sticking together.
- Once they float to the surface, they’re usually done! Give them an extra minute if unsure.
These tips will help you serve up beautiful plates of beet ravioli every time!
Beet Ravioli
Ingredients You’ll Need:
For the Beet Pasta Dough:
- 2 medium cooked beets (roasted or boiled), peeled and pureed
- 2 ½ cups all-purpose flour, plus extra for dusting
- 3 large eggs
- 1 tablespoon olive oil
- ½ teaspoon salt
For the Filling:
- 1 cup ricotta cheese
- ½ cup grated Parmesan cheese
- 1 small shallot, finely minced
- 1 garlic clove, minced
- 1 tablespoon fresh thyme leaves or chopped sage
- Salt and freshly ground black pepper, to taste
For the Sauce:
- 4 tablespoons unsalted butter
- 1 tablespoon fresh sage leaves
- 1 cup arugula (for garnish)
- Sesame seeds (optional garnish)
- Salt and pepper to taste
How Much Time Will You Need?
This recipe will take about 1 hour and 15 minutes total. You’ll spend about 30 minutes preparing the dough and filling, then about 20 to 30 minutes for assembling and cooking the ravioli. An additional 10-15 minutes for making the sauce and plating the dish makes for a delicious experience!
Step-by-Step Instructions:
1. Prepare Beet Pasta Dough:
In a large bowl, combine the flour and salt. Create a well in the center and add the eggs, olive oil, and pureed beets. Mix everything together until a dough starts to form. Knead the dough on a floured surface for about 8-10 minutes until it’s smooth and elastic. Once ready, wrap the dough in plastic wrap and let it rest for at least 30 minutes to relax the gluten.
2. Make Filling:
In a medium bowl, mix together the ricotta, Parmesan, minced shallot, minced garlic, and fresh herbs. Season with salt and pepper according to your taste. Give it a good stir and set aside while you roll out the dough.
3. Roll Out the Dough:
After the dough has rested, divide it into 2 portions to make it easier to roll. Using a pasta machine or a rolling pin, roll each portion into thin sheets, about 1-2 mm thick. Be sure to dust the dough with extra flour to prevent it from sticking.
4. Assemble Ravioli:
On one sheet of the rolled-out pasta, place teaspoons of the filling about 1 inch apart. Lightly moisten the edges and the space between filling with a little water. Carefully lay the second sheet of pasta on top and press down around each mound of filling to seal the ravioli. Use a ravioli cutter or knife to cut each ravioli and press the edges with a fork to ensure they are sealed tightly.
5. Cook Ravioli:
Bring a large pot of salted water to a boil. Add the ravioli in batches, cooking for about 3-4 minutes or until they float to the surface and are tender. Use a slotted spoon to remove them from the pot, being gentle to keep them intact.
6. Prepare Sauce and Serve:
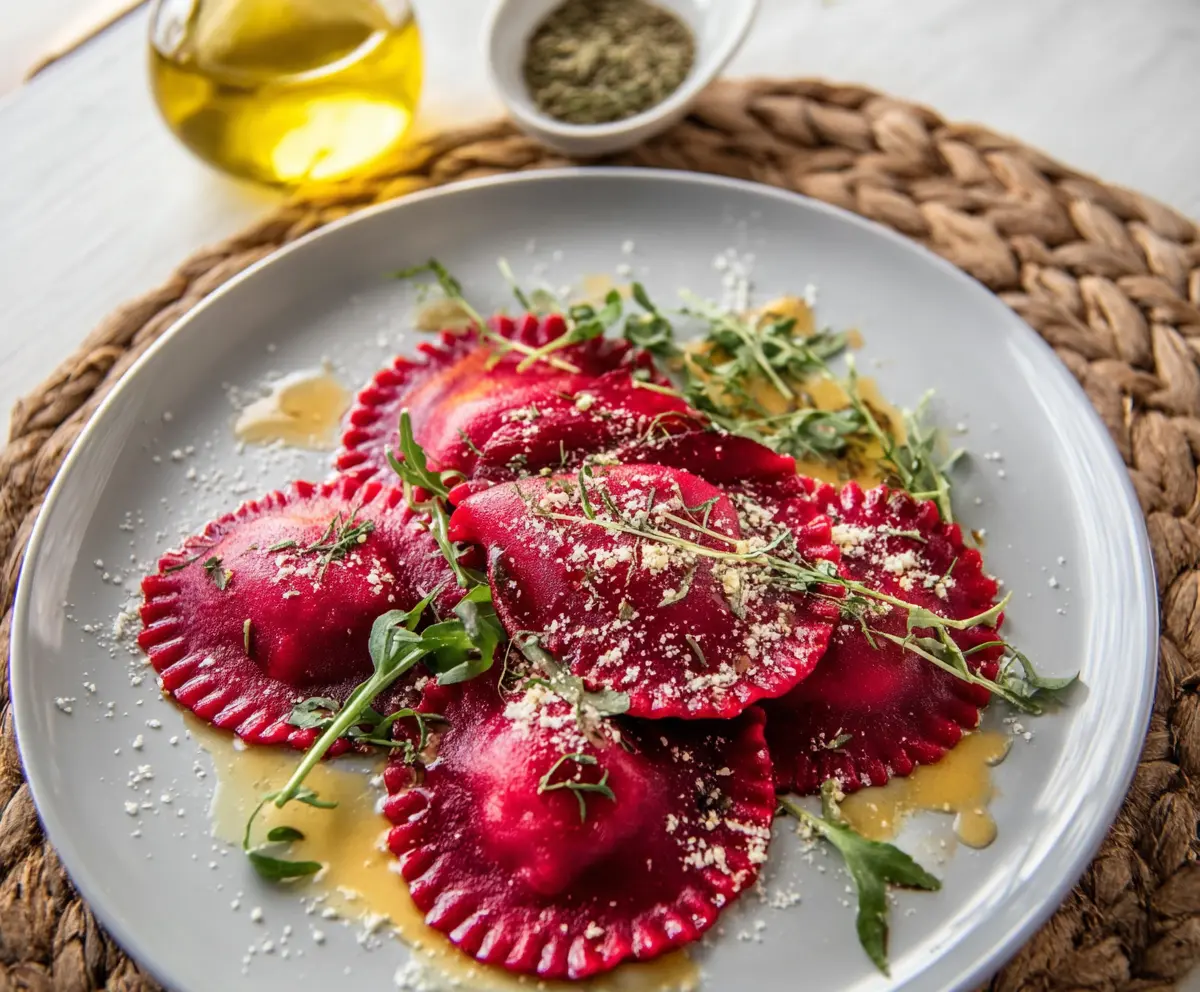
In a large skillet over medium heat, melt the butter and then add the fresh sage leaves. Cook until the sage is fragrant and the butter is slightly browned. Next, add the cooked ravioli to the skillet, gently tossing to coat them with the buttery sauce. Serve the ravioli in bowls, garnished with arugula and a sprinkling of sesame seeds. Add extra salt and pepper to taste.
Enjoy your vibrant and flavorful beet ravioli! This dish is sure to impress.
Can I Use Store-Bought Pasta for This Recipe?
Absolutely! If you’re short on time, you can use store-bought fresh or frozen pasta. Just make sure to adjust the cooking time as per the package instructions.
What Can I Substitute for Ricotta Cheese?
If you don’t have ricotta cheese, you can use cottage cheese or even mascarpone for a creamier filling. For a vegan option, try blended tofu mixed with nutritional yeast to mimic the texture!
Can I Freeze the Ravioli?
Yes, you can freeze uncooked ravioli! Arrange them in a single layer on a baking sheet until frozen, then transfer them to an airtight container. They’ll last up to 2 months in the freezer. Just cook them straight from frozen, adding an extra minute to the cooking time.
How Do I Know When the Ravioli Are Done Cooking?
The ravioli are done when they float to the surface of the boiling water, which usually takes about 3-4 minutes. You can also taste one to check for tenderness before removing them from the pot.