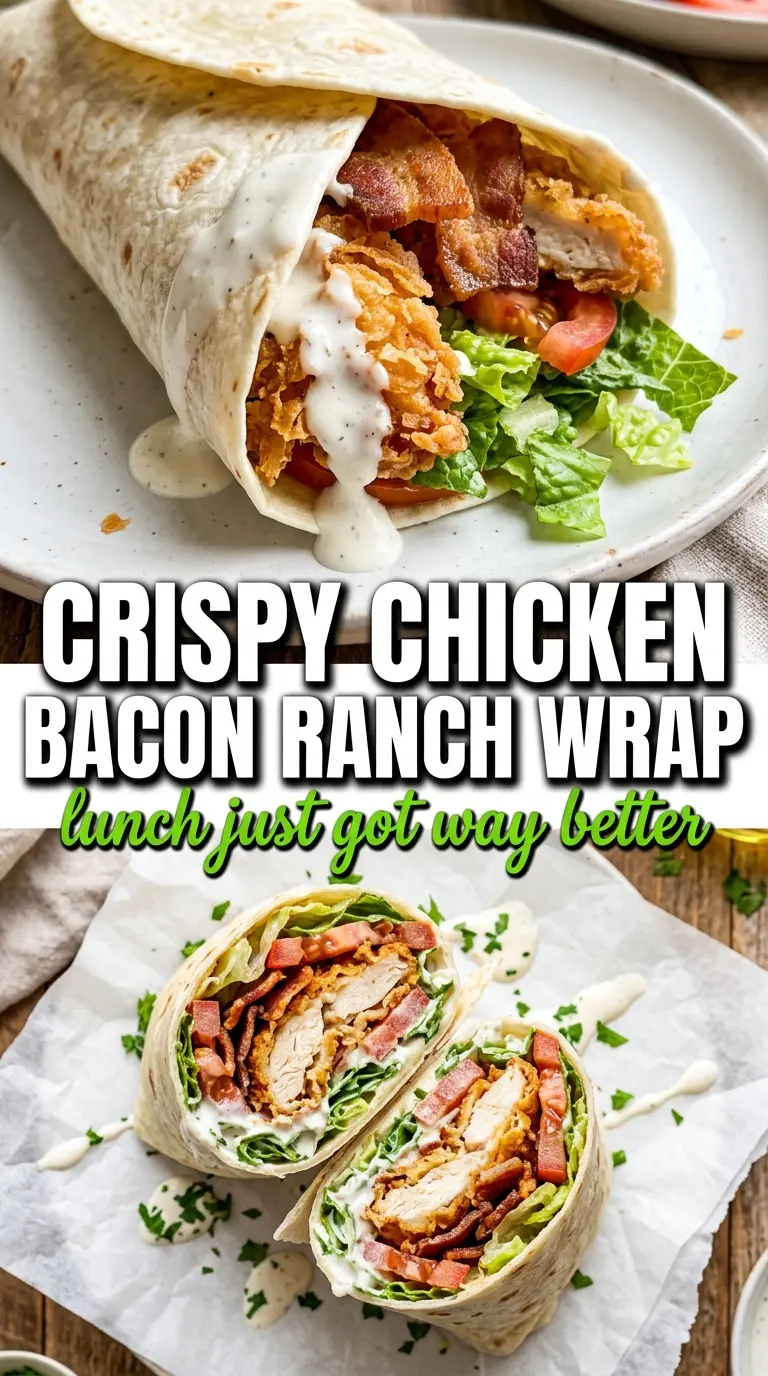
Crispy chicken, smoky bacon, cool ranch, and a toasted tortilla make this wrap hit all the right notes in one handheld bite. The outside gets golden and lightly crisp, while the inside stays stacked with crunchy lettuce, juicy tomato, and tender chicken that still has a little crunch from the panko crust. It eats like a diner lunch but comes together fast enough for a weeknight.
What makes this version work is the contrast. Pounding the chicken thin helps it cook quickly and evenly before the tortilla ever hits the pan, and the buttermilk soak gives the coating a better grip so the crust stays on the chicken instead of slipping off. Parmesan in the breading adds salt and extra browning, which matters when the wrap is toasted at the end and you want every layer to pull its weight.
Below, I’ve included the small details that keep the wrap from getting soggy and the best way to toast it so the seam seals cleanly. If you’ve ever ended up with a wrap that split open halfway through eating, this method fixes that.
The chicken stayed crispy even after I rolled the wraps, and the quick skillet toast sealed everything without making the lettuce limp. My husband asked if I could pack these for lunch the next day.
Like this crispy chicken bacon ranch wrap? Save it for the nights when you want a crunchy, toasted wrap with a clean cross-section and zero soggy edges.
The Crispness Test: Keeping the Coating on the Chicken, Not in the Pan
The biggest failure in a wrap like this is breading that looks perfect in the skillet and then falls apart the second you slice it. The fix starts with the buttermilk soak, which gives the panko something tacky to cling to, and continues with a thin chicken cut that cooks through before the crust can burn. If the chicken is thick, the coating overcooks while the center lags behind.
Parmesan helps here more than people expect. It browns faster than plain breadcrumbs and adds enough dry texture to make the crust feel substantial even after the wrap is pressed in the pan. Keep the oil at medium-high, not screaming hot; if it smokes aggressively, the panko will darken before the chicken is done.
What Each Ingredient Is Actually Doing in This Recipe
- Primary ingredient (the star) — Quality matters most. Choose the best you can find.
- Cooking medium (oil, butter, or broth) — This carries flavors and prevents dryness.
- Seasonings (salt, pepper, spices, herbs) — Layer flavors so nothing overpowers. Build depth gradually.
- Aromatics (garlic, onion, herbs) — Cook with fat to bloom flavors. Become the foundation.
- Supporting ingredients — Complement the main ingredient without overpowering it.
- Sauce or liquid (if applicable) — Brings flavors together. Balance richness with acid.
- Acid (lemon, vinegar, wine, or other) — Brightens and prevents flat-tasting results.
- Final finish (garnish, glaze, or sauce) — Prevents one-dimensional taste and adds visual appeal.
What Each Layer Is Doing in the Final Bite
- Chicken tenders or thin breasts — Thin pieces cook fast and stay tender. If you start with breasts, pound them to an even thickness so the coating cooks at the same pace as the meat.
- Buttermilk — This is what helps the crust stick and keeps the chicken from tasting dry. Plain yogurt thinned with a splash of milk works in a pinch, but the coating grabs a little less evenly.
- Panko breadcrumbs — Panko gives you the lighter, crunchier crust this wrap needs. Regular breadcrumbs work, but the texture turns denser and won’t stay as crisp under the tortilla.
- Parmesan — Parmesan adds salt, browning, and a deeper savory note. Use the grated kind, not the powdery shelf-stable version, if you want the best crust.
- Ranch dressing — It ties the chicken, bacon, and vegetables together, but too much will soften the tortilla. Spread it in a thin layer instead of flooding the wrap.
- Romaine and tomatoes — Romaine gives crunch, and the tomatoes add freshness and juiciness. Pat the tomatoes dry after halving them so the wrap doesn’t get watery.
How to Assemble and Toast the Wrap Without Losing the Crunch
Coating the Chicken Evenly
Soak the chicken in buttermilk for the full 15 minutes so the surface gets tacky. Stir the panko, Parmesan, garlic powder, salt, and pepper together before dredging, then press the coating onto the chicken so it adheres. If the breading looks patchy, it will cook patchy, and those bare spots are where the crust slips later.
Frying to a Deep Golden Color
Cook the chicken in olive oil over medium-high heat until the coating turns deep golden and the center reaches 165°F. Give each piece room in the pan so it fries instead of steaming. If the pan is crowded, the crumbs absorb oil and the crust turns greasy instead of crisp.
Rolling and Sealing the Wrap
Warm the tortillas first so they bend without cracking. Layer the ranch, romaine, tomatoes, cheddar, bacon, and sliced chicken in the center, then roll tightly with the ends tucked in. A loose wrap won’t hold its shape once it hits the skillet, and the filling will push out the sides.
Toasting for a Clean Finish
Set the wrap seam-side down in a dry skillet and toast until the tortilla turns golden and the seam seals shut. Flip and toast the other side for the same amount of time. The goal is a light crunch on the outside, not a hard shell; if the skillet is too hot, the tortilla browns before the seam has time to stick.
How to Adapt This for Different Lunches and Leftovers
Make It Gluten-Free
Use a gluten-free panko-style crumb and gluten-free tortillas. The chicken still crisps nicely, but gluten-free wraps can be a little more fragile, so warm them longer and roll them gently. Toast them seam-side down only after the filling is compact.
Dairy-Free Swaps That Still Hold Together
Use a dairy-free ranch and skip the Parmesan, then add a little extra garlic powder and a pinch of salt to the breadcrumb mixture. You lose some of the browned, savory depth from the cheese, but the wrap still has enough crunch and seasoning to taste complete.
Turn It Into a BLT-Style Chicken Wrap
If you want a less creamy wrap, cut the ranch in half and add more romaine and tomato. It leans closer to a BLT chicken wrap, with the bacon and tomato doing more of the work and the chicken staying front and center.
Storage and Reheating
- Refrigerator: Store the cooked chicken separately from the lettuce and tortilla for up to 3 days. The chicken stays crispier this way, and the vegetables don’t wilt.
- Freezer: Freeze the cooked chicken only, not the assembled wrap. The lettuce and ranch won’t thaw well, and the tortilla turns soft.
- Reheating: Reheat the chicken in a skillet or air fryer until hot and crisp again, then assemble fresh wraps. Microwaving softens the crust fast, which is the quickest way to lose the texture that makes this recipe worth making.
Questions I Get Asked About This Recipe
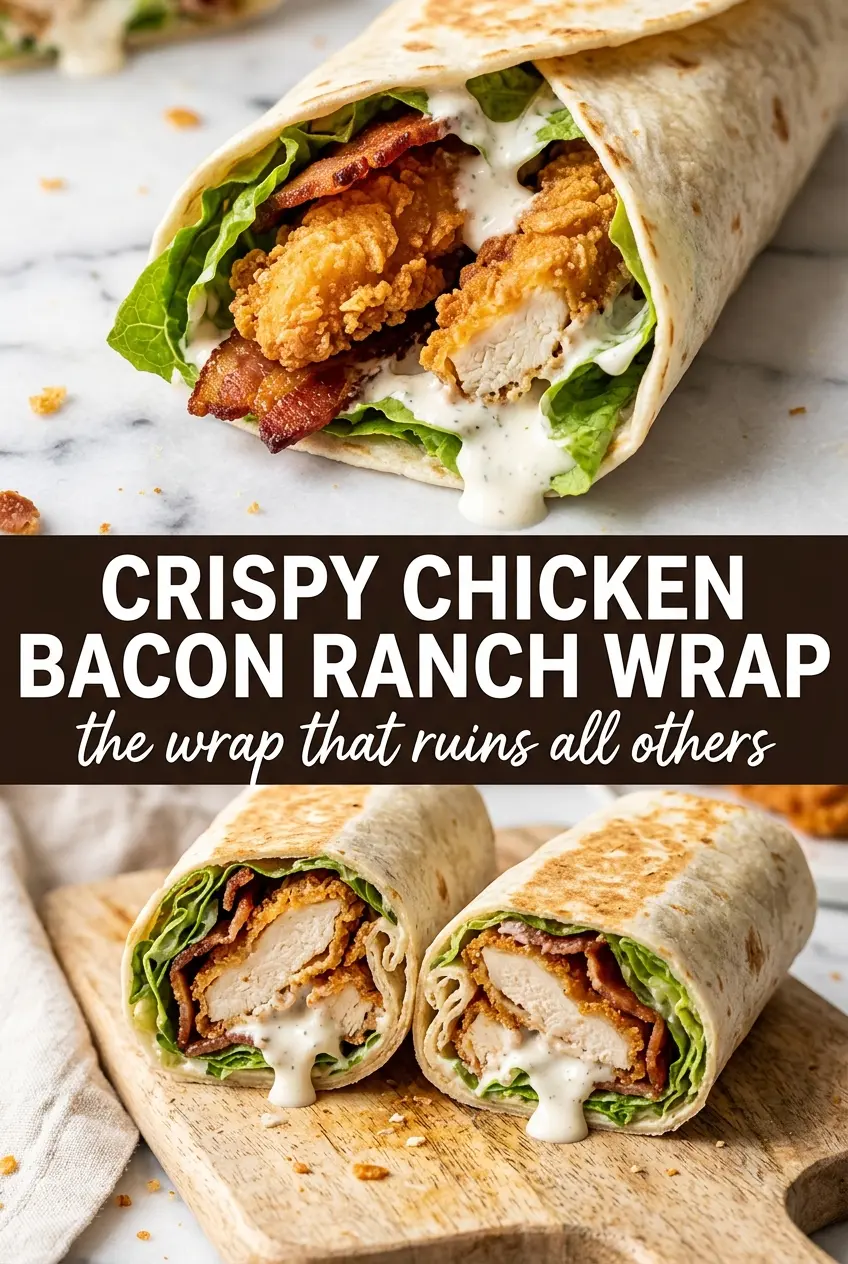
Crispy Chicken Bacon Ranch Wrap
Ingredients
Equipment
Method
- Soak the pounded chicken in buttermilk for 15 minutes, then let excess drip off before dredging. This step helps the crust cling evenly for a crunch that holds through the wrap.
- Dredge the soaked chicken in panko mixed with Parmesan, garlic powder, salt, and pepper until coated all over. Press lightly so the breadcrumb layer stays intact while frying.
- Heat olive oil in a skillet over medium-high heat and cook the breaded chicken for 4-5 minutes per side until golden and cooked through to 165°F. Flip once and avoid moving the chicken too early to prevent patchy browning.
- Slice the cooked chicken into strips once it is done to 165°F. Cutting into strips makes the chicken easier to layer in the tortillas.
- Warm the flour tortillas until pliable. Keep them wrapped in a clean towel as you work so they don’t crack.
- Spread ranch dressing across each tortilla, then layer romaine, cherry tomatoes, cheddar, bacon, and sliced crispy chicken. Distribute the fillings evenly so every bite has chicken and bacon with melted cheddar.
- Roll tightly and toast seam-side down in the skillet for 2 minutes per side until golden. The seam-side toast helps the wrap hold its shape and creates a crunchy exterior.
- Slice the wraps diagonally and serve with extra ranch. The cut edge highlights the crispy chicken, bacon, and cheddar with ranch pooling dramatically.