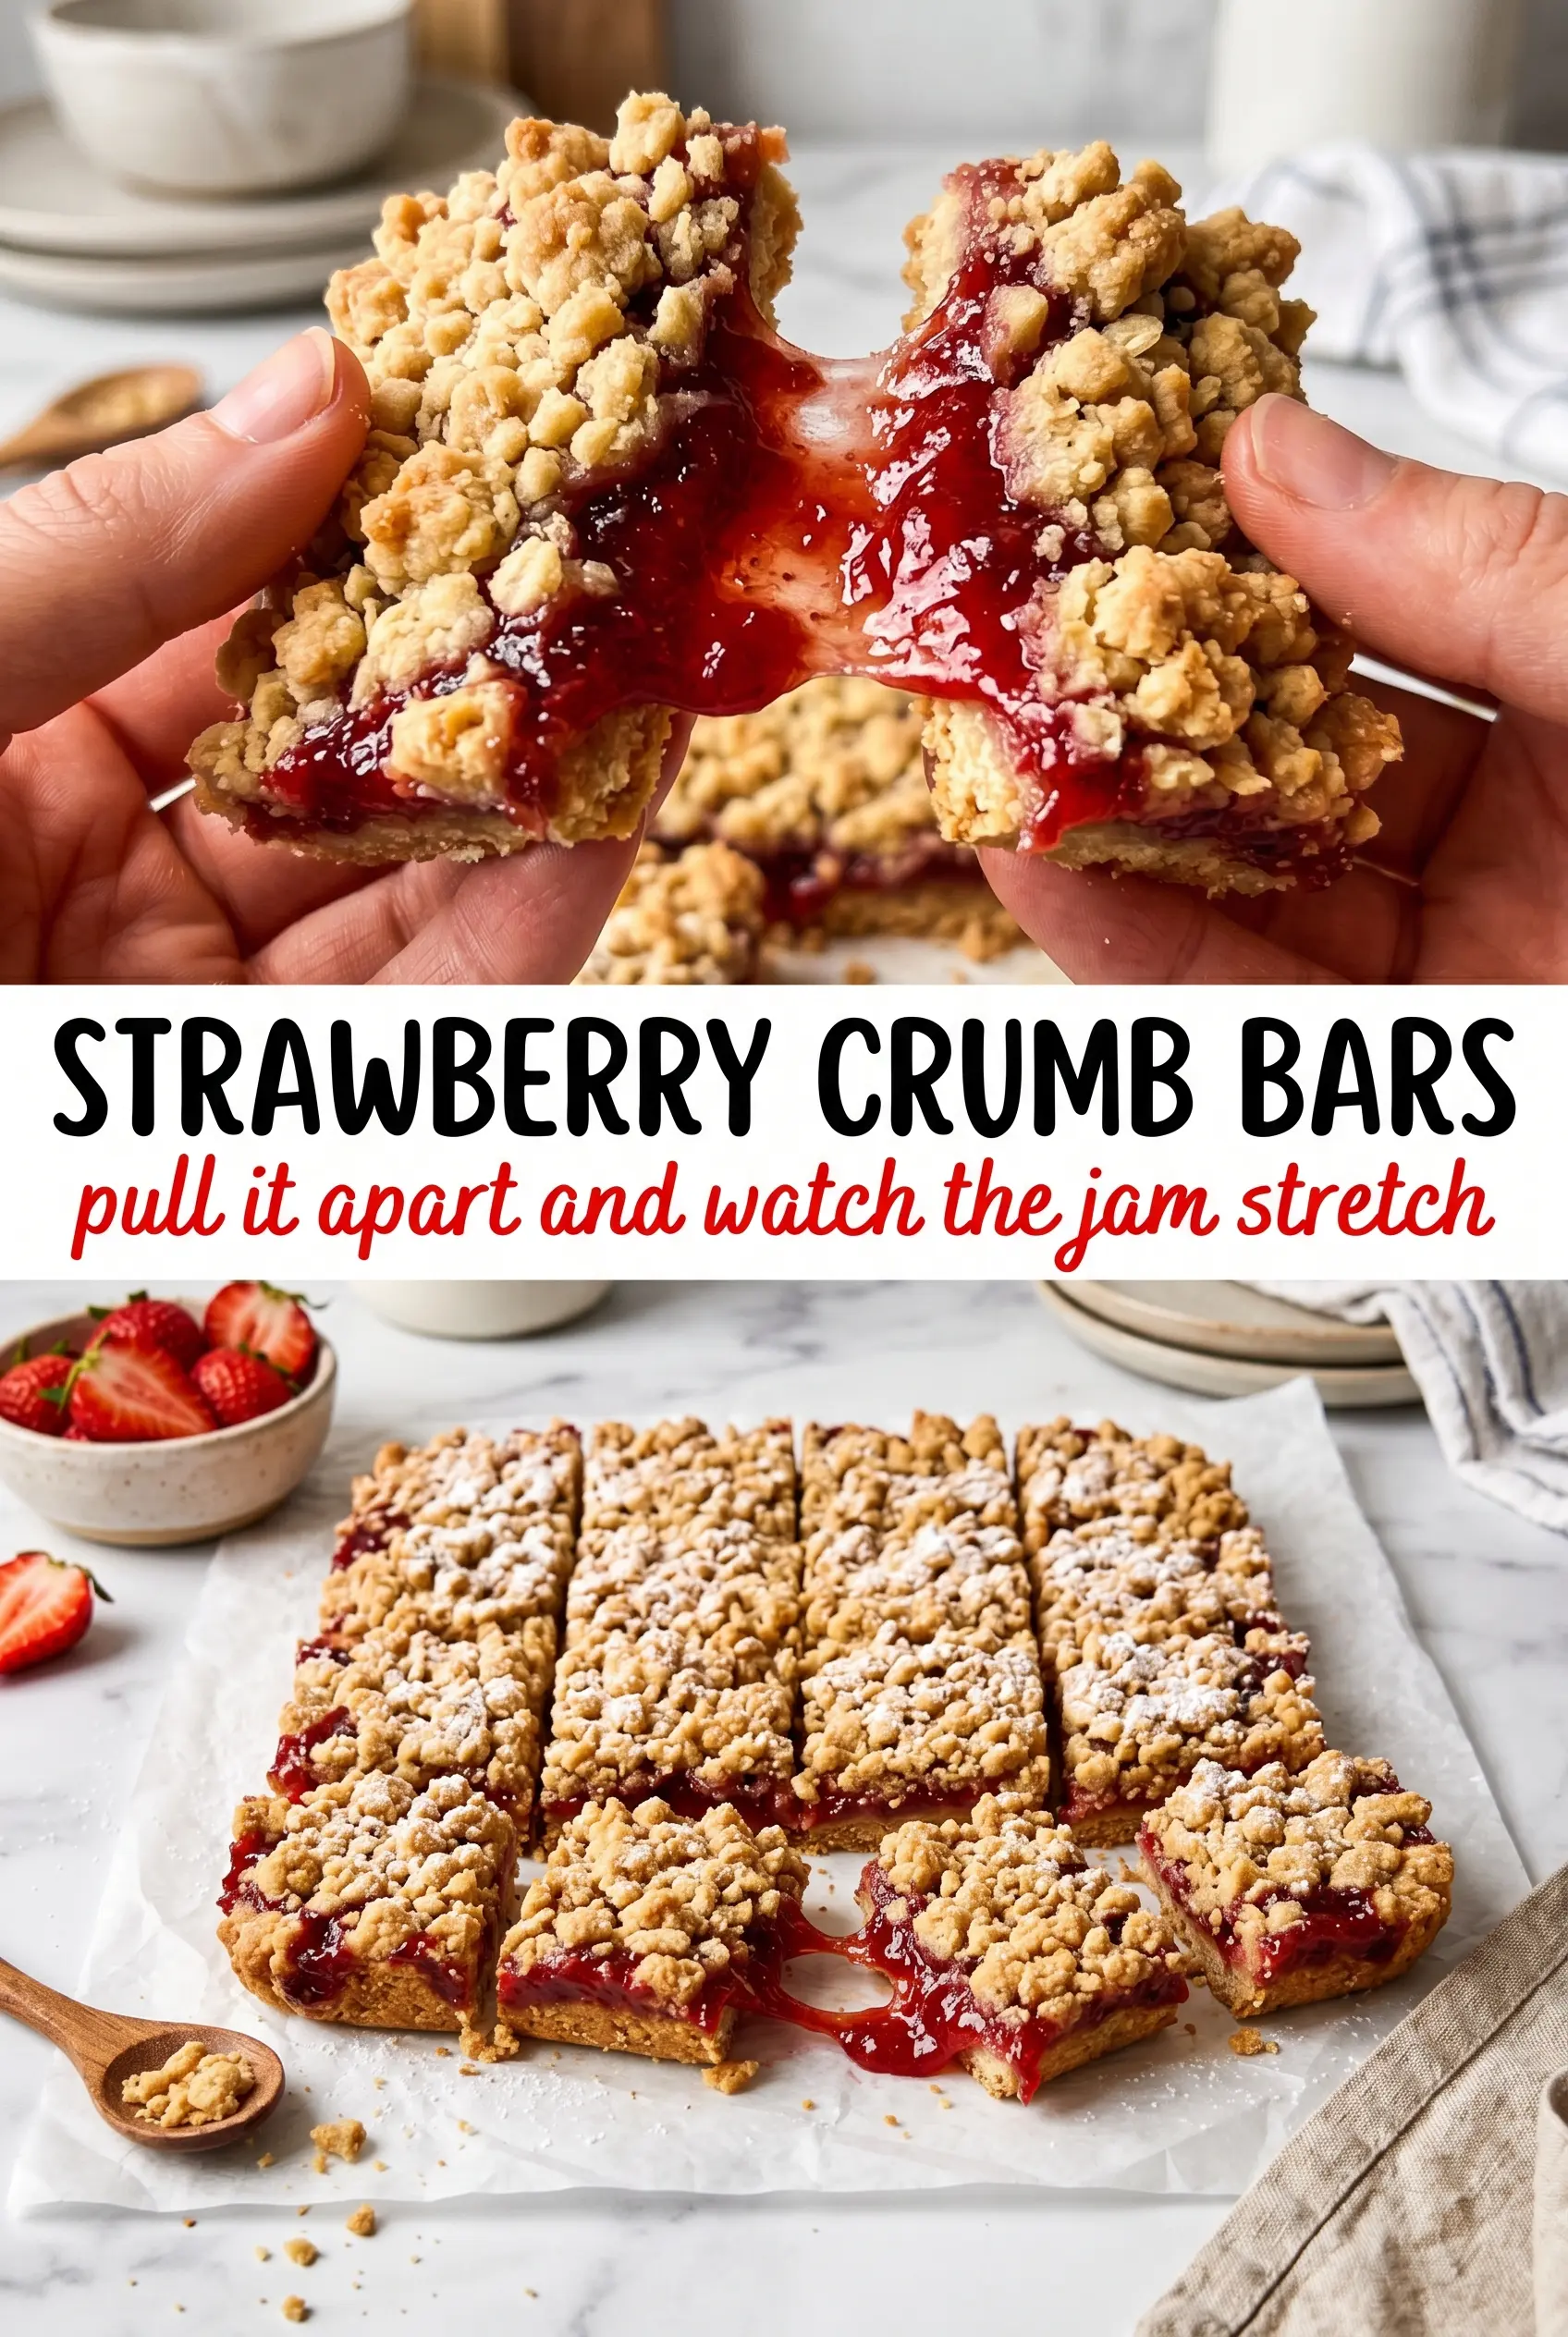
Golden crumb bars with a ruby-red strawberry center hit that sweet spot between jammy and buttery, with enough structure to cut cleanly but still soft enough to feel bakery-made. The top bakes into a crisp, nubbly lid while the filling bubbles underneath and settles into a thick layer that doesn’t slide apart the second you lift a square.
What makes these bars work is the balance between moisture and starch. Fresh strawberries release a lot of juice, and without cornstarch the filling turns loose and soggy. The oat crumb mixture does double duty here: it forms the base, then crisps up again on top, so every bite has contrast instead of just sweetness.
Below, I’ve included the little details that keep the crust sturdy, the filling set, and the bars easy to slice once they’ve cooled enough to hold together. There’s also a few useful swaps if your strawberries are extra juicy or you want to change up the fruit.
The strawberry layer set up perfectly and the crumb topping stayed crisp even the next day. I loved that the bars sliced cleanly once they cooled a bit, and the lemon in the filling kept them from tasting flat.
Save these strawberry crumb bars for when you want a buttery oat crust and a jammy fruit center in one pan.
The Part That Keeps the Filling From Turning Soupy
The most common mistake with fruit bars is treating the filling like pie filling and underestimating how much juice fresh strawberries give off. Here, the cornstarch is doing the heavy lifting. It thickens that juice as the bars bake, then finishes setting as the pan cools, which is why the center slices cleanly instead of oozing into the crust.
Pressing in only half the crumb mixture before adding the fruit matters more than it looks on paper. That first layer needs enough pressure to form a base, but not so much that it turns dense. If the crust feels sandy and loose, it wasn’t packed enough; if it feels hard and compressed, the bars will lose that tender crumb texture that makes them worth baking.
What the Strawberries and Oats Are Each Doing Here
The strawberries should be ripe and fragrant, not watery and pale. Fresh berries give the filling a brighter flavor and a thicker texture than thawed frozen berries, which leak more liquid and usually need extra cornstarch. If frozen strawberries are all you have, use them straight from the freezer and add another tablespoon of cornstarch so the filling has a chance to hold.
The oats are there for texture and for structure. Old-fashioned oats keep the topping crumbly and a little chewy; quick oats disappear into the dough and make the bars feel more like a cookie sheet. The butter needs to be softened, not melted, so it coats the dry ingredients in little pockets that bake into a crisp, layered crumble instead of a greasy sheet.
- Butter — Softened butter helps the crumb hold together when you press it, then bake up tender and crisp instead of heavy. Cold butter works in a pinch, but you’ll need to cut it in more aggressively, and the texture will be a little rougher.
- Cornstarch — This is what gives the strawberry layer its set. Arrowroot can work if that’s what you have, but keep the filling just as evenly coated or you’ll get pockets of loose juice.
- Lemon juice — It sharpens the strawberries and keeps the filling from tasting flat. Bottled lemon juice is acceptable here, though fresh lemon brings a cleaner finish.
- Old-fashioned oats — They keep the topping rustic and substantial. Don’t swap in instant oats unless you want a finer, softer crumb.
How to Build the Layers So the Bars Hold Their Shape
Mixing the Crumb Base
Combine the flour, oats, both sugars, and salt first so the dry ingredients are evenly distributed before the butter goes in. Cut in the softened butter until the mixture looks like damp gravel with some pea-sized bits still visible. Those larger pieces matter; they melt during baking and create the crisp, buttery texture on top and bottom.
Pressing in the First Layer
Use about half the crumb mixture for the bottom crust and press it into the pan in an even layer. A flat-bottomed measuring cup works well for this because it compacts the crumbs without making them dense. If there are thin spots, the filling can seep through and burn at the edges.
Thickening the Strawberry Filling
Toss the chopped strawberries with cornstarch, sugar, and lemon juice until every piece looks lightly coated. The coating should look a little cloudy, not wet and puddled at the bottom of the bowl. Spread the mixture evenly over the crust so the bars bake at the same rate across the pan.
Finishing with the Crumb Top
Scatter the remaining crumbs over the strawberries, then press down gently just enough to help the top adhere. Don’t flatten it into a solid lid. The best bars have a loose, craggy top that browns well and lets a little of the fruit peek through as it bakes.
Baking and Cooling
Bake until the top is golden brown and the strawberry filling is bubbling around the edges. That bubbling is the signal that the cornstarch has activated and the center is starting to set. Let the pan cool for at least 15 minutes before cutting, and longer if you want the cleanest squares; cutting too early is the fastest way to get a messy pan of warm fruit.
Make It With Blueberries or Raspberries
Swap in the same amount of blueberries for a deeper, slightly less tart filling, or use raspberries for a sharper, more fragrant result. Raspberries break down more quickly, so the filling will look looser before it bakes but still sets once cooled. If you use berries that are especially juicy, add an extra teaspoon of cornstarch.
Make Them Gluten-Free
Use a cup-for-cup gluten-free flour blend in place of the all-purpose flour, and make sure your oats are certified gluten-free. The bars will still bake into a crisp base, though the crumb may be a touch more delicate when warm, so let them cool fully before lifting them from the pan.
Reduce the Sugar a Little
You can cut the granulated sugar in the filling by a tablespoon or two if your strawberries are extra sweet, but don’t reduce the sugar in the crumb by much or the bars lose their texture. Sugar here isn’t just sweetness; it also helps the crust brown and crisp.
Storage and Reheating
- Refrigerator: Store in an airtight container for up to 4 days. The crumb softens slightly after day one, but the bars still slice well.
- Freezer: These freeze well. Wrap individual bars tightly and freeze for up to 2 months, then thaw in the fridge so the filling doesn’t turn watery.
- Reheating: Eat them chilled or let them sit at room temperature for 20 minutes. If you warm them, use a low oven for a few minutes; the microwave softens the crust and makes the filling loose.
Questions I Get Asked About This Recipe
Strawberry Crumb Bars
Ingredients
Equipment
Method
- Preheat the oven to 350°F. In a large bowl, mix all-purpose flour, old-fashioned oats, granulated sugar, brown sugar, and salt until evenly combined, with no visible sugar pockets.
- Add softened butter and cut it into the dry mixture until the crumbs look coarse and clumpy. Continue until the texture holds together when pinched, like damp sand.
- Press half of the crumb mixture into a greased 9x13 inch baking pan. Spread it into an even layer and press firmly so it bakes into a cohesive crust.
- In a bowl, toss chopped fresh strawberries with cornstarch, 2 tablespoons granulated sugar, and lemon juice until the fruit is glossy and lightly thickened. Let it sit briefly while you finish assembling the pan.
- Spread the strawberry mixture evenly over the crust. Spread to the edges in a thin, even layer so the filling bakes uniformly.
- Sprinkle the remaining crumb mixture over the strawberries and press down gently. Make sure most berries are covered, but the crumb layer is not packed tightly.
- Bake at 350°F for 33-35 minutes, until the top is golden brown and the filling looks set around the edges. You should see strawberry filling between crumb layers as it bubbles.
- Cool for 15 minutes before cutting into bars. The bars will firm up during cooling for cleaner slices.