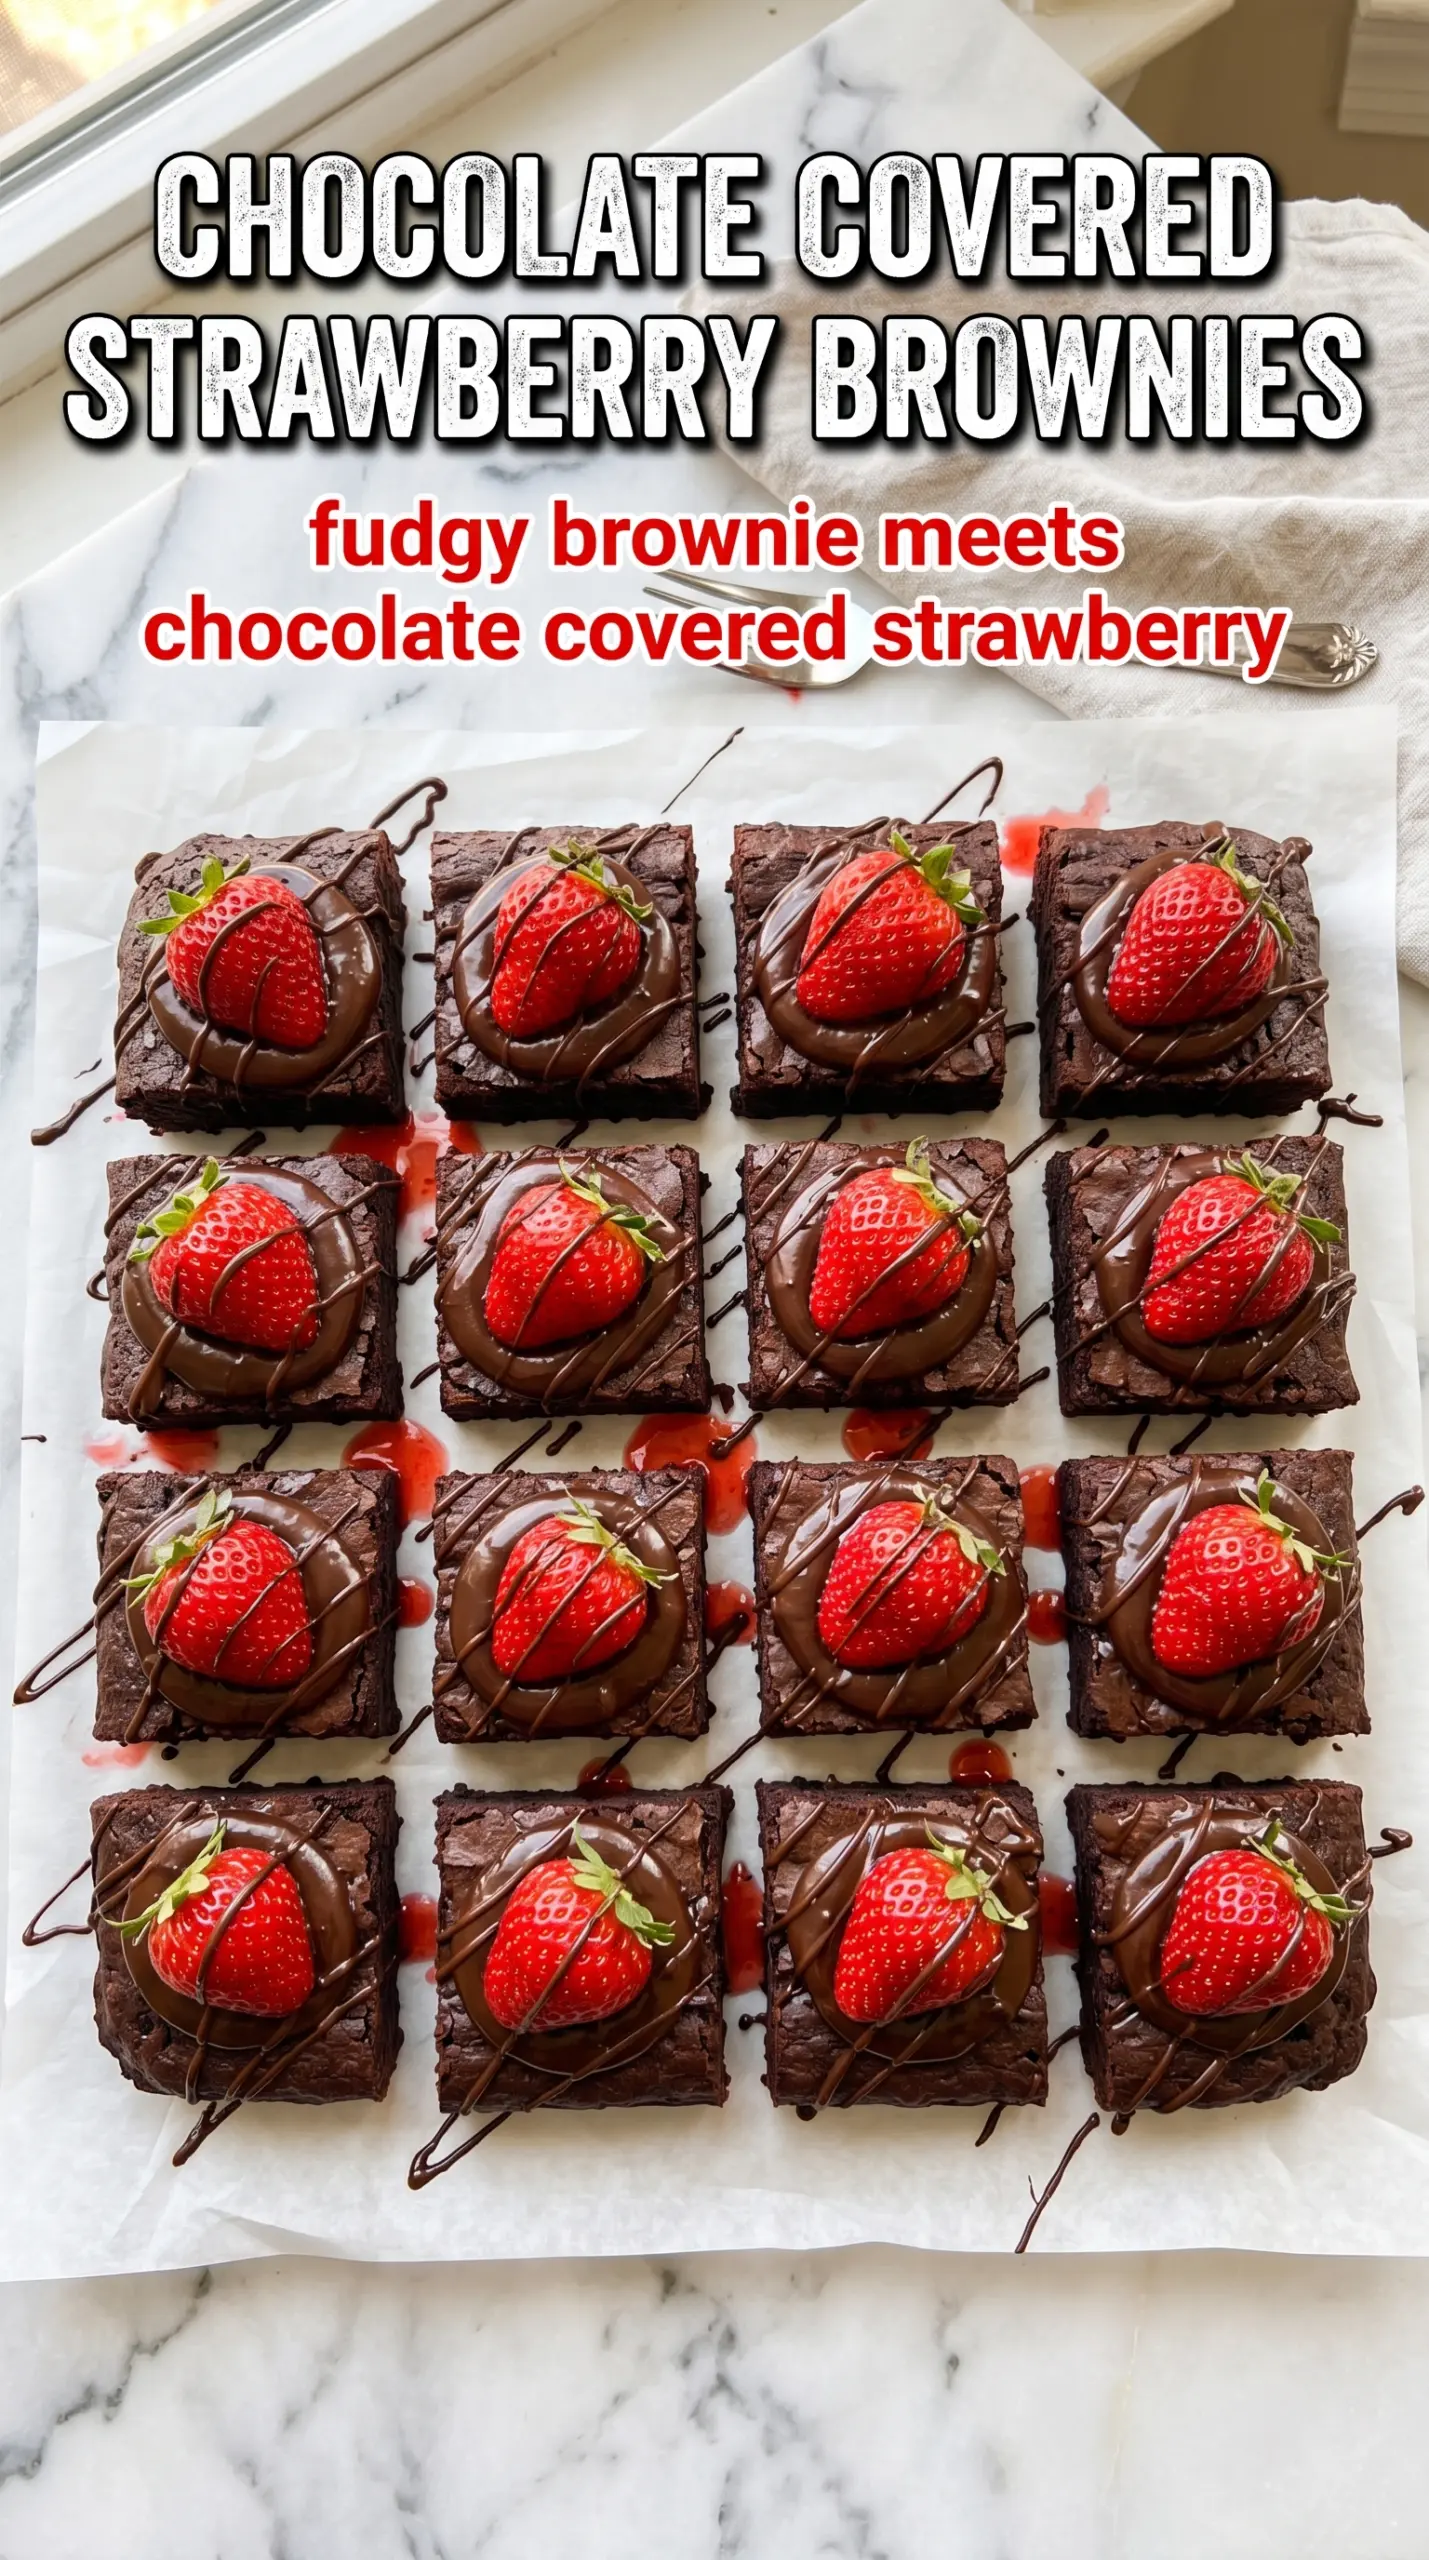
Chocolate covered strawberry brownies land in that perfect middle ground between fudgy and fresh. The brownie layer bakes up dense and deeply chocolaty, with little pockets of berry that turn jammy in the oven, then the glossy chocolate topping sets into a clean snap on top. Every bite gives you that classic chocolate-strawberry pairing without tipping into cake-like or overly sweet territory.
What makes this version work is the way the strawberries are handled. They’re folded in at the end, diced small, and baked just long enough to soften without flooding the batter. The base is built with melted butter and chocolate, which keeps the crumb rich and tight instead of airy. Then the coconut oil in the topping helps the chocolate spread smoothly and set with a little shine, so you can cut neat squares after chilling.
Below, I’ve included the small details that matter most here: how to keep the berries from sinking, how to get a clean chocolate layer, and what to do if you want to make these ahead for a party or a weekend dessert tray.
The brownies came out fudgy with those little strawberry pockets right through the middle, and the chocolate topping set up enough to slice cleanly after chilling. I was worried the fruit would make them soggy, but they held together perfectly.
Save these chocolate covered strawberry brownies for when you want a fudgy brownie bar with a glossy chocolate top and real strawberry pieces in every bite.
The Strawberry Problem Most Brownies Run Into
Fresh strawberries are what make these brownies special, but they’re also the ingredient most likely to cause trouble. Too much moisture and the batter turns gummy around the fruit; pieces that are too large sink and leave wet pockets instead of even distribution. The fix is simple: dice them small and fold them in at the very end so they stay suspended in the thick batter.
The other place people go wrong is baking too long because they’re waiting for a dry toothpick. That won’t happen here. Pull the brownies when the center still has a few crumbs attached, not when the tester comes out clean. They finish setting as they cool, and that’s what gives you the dense, fudgy texture instead of a dry square that tastes overbaked by the next day.
What the Chocolate, Butter, and Coconut Oil Are Doing Here
- Dark chocolate — This gives the brownies a deeper, less sugary base than cocoa alone. Use a bar or good-quality baking chocolate if you can; it melts smoothly and gives the batter a richer finish.
- Butter — Melted butter keeps the crumb dense and moist. A neutral oil won’t give the same round, bakery-style flavor, so I wouldn’t swap this unless you have to.
- Cocoa powder — This boosts the chocolate flavor without making the batter heavier. Dutch-process works well if that’s what you have, but regular unsweetened cocoa is fine too.
- Fresh strawberries — Fresh berries are important here because frozen strawberries dump too much liquid into the batter. If you only have frozen, thaw them completely, drain them well, and pat them dry before dicing.
- Coconut oil — This helps the topping melt into a smooth layer and set with a soft snap. You can swap in a small amount of neutral oil, but the chocolate may stay a little softer on top.
Building the Batter Without Losing the Fudgy Center
Melt the Base Until It’s Smooth, Not Hot
Start by melting the butter and dark chocolate together until the mixture looks glossy and fully combined. If it feels hot enough to steam, let it sit for a minute before adding the eggs, because scorching hot chocolate mixture can scramble them. You want warm, not blazing hot.
Mix the Wet Ingredients Just Until They Come Together
Whisk in the sugar, eggs, and vanilla until the batter looks thick and shiny. This step builds structure and helps the brownies bake up with that dense center, but you don’t need to beat a lot of air into it. Overmixing here makes the top more cake-like.
Fold in the Dry Ingredients and Strawberries Gently
Add the flour, cocoa powder, baking powder, and salt, then fold just until no dry streaks remain. Once the strawberries go in, use a light hand so they stay intact and don’t stain the whole bowl pink. The batter should look thick enough to spread with a spatula, not pour like cake batter.
Stop the Bake at the Right Moment
Pour into the pan and bake until the edges are set and the center still has a few moist crumbs on a tester. If you wait for a clean toothpick, the brownies will cross into dry territory once they cool. The pan should smell deeply chocolatey and the middle should look just barely underdone when you pull it out.
Cool Before the Chocolate Top Goes On
Let the brownies cool completely before spreading on the melted chocolate topping. If the base is warm, the top will melt into the brownies instead of sitting in a distinct layer. After that, refrigerate until the chocolate is set hard enough to slice cleanly.
How to Change These Brownies Without Ruining the Texture
Dairy-Free Version
Swap the butter for a plant-based baking stick and keep the coconut oil in the topping. The texture stays close to the original, though the brownies lose a little of the buttery depth that makes the flavor feel rounded.
Gluten-Free Swap
Use a cup-for-cup gluten-free flour blend in place of the all-purpose flour. The brownies stay fudgy if the blend contains xanthan gum, though the crumb may be a touch more delicate when sliced.
Extra-Chocolate Finish
If you want a firmer, thicker top, use chopped chocolate instead of chips and spread it a little less evenly for a rustic look. The flavor gets deeper and less sweet, which works especially well if your strawberries are very ripe.
Storage and Reheating
- Refrigerator: Store in an airtight container for up to 4 days. The brownie base stays fudgy, and the chocolate top stays neat when chilled.
- Freezer: These freeze well. Wrap individual squares tightly and freeze for up to 2 months, then thaw in the fridge so the topping doesn’t sweat.
- Reheating: I don’t recommend reheating these once the chocolate top is on. If you want a softer brownie, let a chilled square sit at room temperature for 15 to 20 minutes instead of warming it, or the topping will melt and smear.
Questions I Get Asked About This Recipe

Chocolate Covered Strawberry Brownies
Ingredients
Equipment
Method
- Preheat your oven to 350°F and grease an 8x8-inch baking pan.
- Melt the butter and dark chocolate together until smooth and glossy.
- Whisk in the sugar, then whisk in the eggs and vanilla until the mixture looks thick and shiny.
- Fold in the flour, cocoa powder, baking powder, and salt just until no dry streaks remain.
- Gently fold in the diced fresh strawberries so the berries stay in visible chunks.
- Pour the batter into the greased pan and bake for 28-30 minutes, until a toothpick comes out with just a few crumbs.
- Cool the brownies completely before topping.
- Melt the chocolate chips with the coconut oil until pourable and smooth.
- Spread the melted chocolate over the cooled brownies, covering the surface evenly.
- Refrigerate the brownies for at least 1 hour, until the chocolate coating is set and looks matte.
- Cut into 16 squares and serve.