Crispy baked ground beef tacos hit that sweet spot between crunchy and satisfying without the mess of frying. The shells come out deeply golden and shatter at the first bite, while the seasoned beef stays juicy enough to hold up under cheese, lettuce, and salsa. Once you get the timing right, this turns into one of those weeknight dinners that disappears fast and doesn’t leave much behind except a baking sheet and a few happy people.
What makes this version work is the two-part texture build: the tortillas get a light coating of oil so they crisp evenly in the oven, and the beef is cooked down just enough with taco seasoning and a little water to stay spoonable instead of dry. Corn tortillas hold their shape better here than flour tortillas, which is exactly what you want when you’re baking tacos open and filling them after they crisp.
Below, you’ll find the little details that keep the shells from cracking too early, plus the easiest way to adapt these tacos if you’re working with what you have on hand.
The taco shells came out crisp all the way through, and the beef stayed juicy instead of drying out. I liked that the lettuce and cheese went on after baking, so nothing got soggy before dinner.
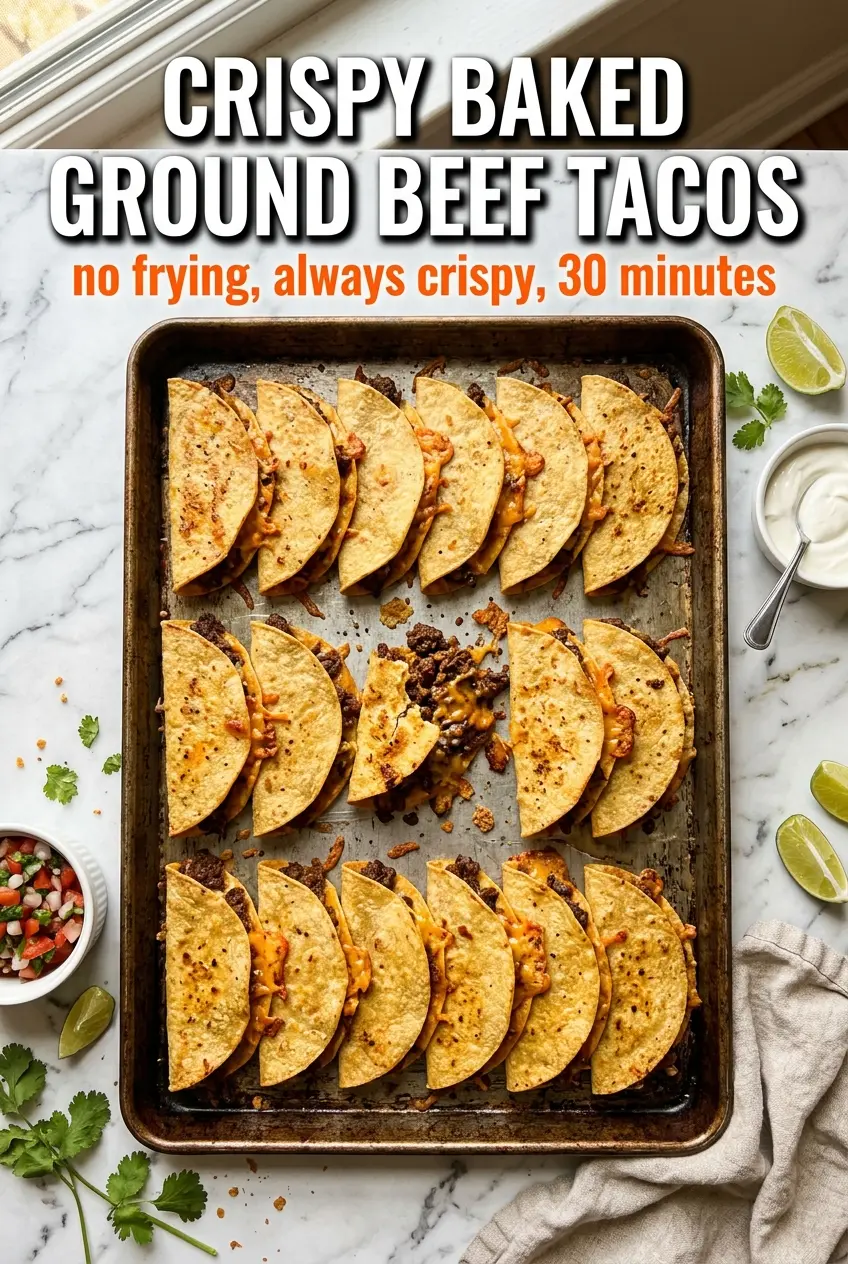
Crispy Baked Ground Beef Tacos are the kind of weeknight dinner that stays crunchy, neat, and easy to fill.
Why the Taco Shells Stay Crisp Instead of Going Limp
The biggest mistake with baked tacos is stuffing them too early. Steam from the hot beef and toppings softens the tortillas fast, which is why the shells in this recipe are baked first and filled right before serving. That separation keeps the crunch intact instead of turning dinner into a soft fold-over.
Oil matters here too, but only in a light coating. Too much and the tortillas fry unevenly on the pan; too little and they dry out before they brown. You want the edges blistered, the center set, and the shell firm enough to hold the filling without collapsing when you lift it.
What the Beef, Tortillas, and Toppings Are Each Doing

- Ground beef — An 80/20 blend gives you enough fat for flavor without making the filling greasy. If your beef is much leaner, add a small spoonful of oil to the pan so the seasoning has something to cling to.
- Taco seasoning — A packet keeps this fast and consistent. Homemade seasoning works too, but the important part is enough salt and spice to season the meat all the way through, not just dust the surface.
- Corn tortillas — These are the shell of the dish, and they matter more than the toppings. Corn tortillas crisp up in the oven and keep that taco shape; flour tortillas tend to go floppy before they brown properly.
- Olive oil — The thin oil layer is what helps the tortillas turn golden instead of chalky. Brush it on lightly and evenly, because puddles of oil can make spots soggy or too dark.
- Cheddar cheese — Sharp cheddar adds enough bite to stand up to the seasoned beef. Pre-shredded cheese works fine, though freshly shredded melts a little more cleanly.
- Sour cream and salsa — These are best added at the end so they stay bright and cool against the hot filling. If you pile them in before baking, the tacos lose their crunch fast.
Building the Filling and Crisping the Shells in the Right Order
Cooking the Beef Until It Stays Juicy
Brown the beef over medium-high heat and break it up as it cooks so you get small, even crumbles instead of big chunks. Once it’s no longer pink, drain off the excess fat if there’s a lot in the pan, then stir in the taco seasoning and water. Let it simmer until the liquid reduces and the beef looks glossy, not soupy. If it looks dry before the seasoning has dissolved, add a splash more water and keep stirring for another minute or two.
Shaping the Tortillas for the Oven
Brush both sides of each tortilla lightly with oil, then fold them in half and arrange them on a baking sheet so they hold their shape. The goal is a taco that opens enough to fill but still stands up on its own. If the tortillas crack when you bend them, they’re too dry, so warm them for a few seconds first or they’ll split before they bake.
Baking Until Golden and Audible
Bake the tortillas at 400°F until they turn crisp and golden at the edges, usually 8 to 10 minutes. You’re looking for shells that feel firm when nudged and sound a little dry when tapped with tongs. If they brown too fast on one side, your oven has a hot spot; rotate the pan halfway through so the color stays even.
Filling After the Crunch Sets
Let the shells cool just enough to handle, then fill them with the warm beef and top with cheese, lettuce, tomatoes, onion, sour cream, and salsa. The order matters: beef first, then cheese so it melts slightly from the heat, then cold toppings on top for contrast. Serve them right away, because once the steam from the beef settles into the shells, the crisp edge starts to soften.
How to Adapt These Tacos Without Losing the Crunch
Swap in turkey or chicken
Lean ground turkey or chicken works well here, but you’ll lose some richness from the beef. Add a little extra oil to the pan and taste the filling before serving, because lean meat needs a firmer hand with seasoning to taste full.
Make them dairy-free
Skip the cheddar and sour cream, then finish with extra salsa, diced avocado, or a dairy-free crema. You still get the salty, savory taco base, but the finish shifts from creamy to fresher and brighter.
Use flour tortillas for a softer bite
Flour tortillas will bake up more pliable than corn, so they won’t give you the same crisp snap. They still work if you want a softer taco, but they need less bake time and should be watched closely so the edges don’t dry out before the center sets.
Storage and Reheating
- Refrigerator: Store the beef separately for up to 4 days. The baked shells soften as they sit, so keep toppings and tortillas apart if you want the best texture later.
- Freezer: The beef freezes well for up to 2 months. Don’t freeze the assembled tacos; the lettuce, sour cream, and tomatoes won’t recover well after thawing, and the shells lose their crunch.
- Reheating: Reheat the beef in a skillet over medium heat with a splash of water if needed, then rebuild the tacos fresh. If you want the shells crisp again, warm them on a baking sheet in a hot oven for a few minutes instead of microwaving them, which turns them leathery.
Questions I Get Asked About This Recipe
Crispy Baked Ground Beef Tacos
Ingredients
Equipment
Method
- Heat a cast iron skillet over medium-high heat and add the ground beef. Brown it for about 8 minutes, breaking it apart as it cooks, until no pink remains.
- Drain excess fat from the skillet, then stir in taco seasoning and water. Simmer for 5 minutes, until the mixture looks thick and well-coated.
- Season with salt and pepper to taste. Stir to combine and keep the filling warm over low heat.
- Brush both sides of the corn tortillas lightly with olive oil. Fold each tortilla in half so it holds a taco shape.
- Arrange the folded tortillas on a sheet pan and bake at 400°F for 8-10 minutes. Bake until they turn crispy and golden around the edges.
- Fill each baked taco shell with the seasoned ground beef. Add shredded cheddar cheese on top so it can melt from the hot filling.
- Top each taco with shredded lettuce, diced tomatoes, and diced onion. Finish with sour cream and salsa to taste.
- Serve immediately while the shells are crisp. The contrast of golden crunch and warm, savory filling is best right away.