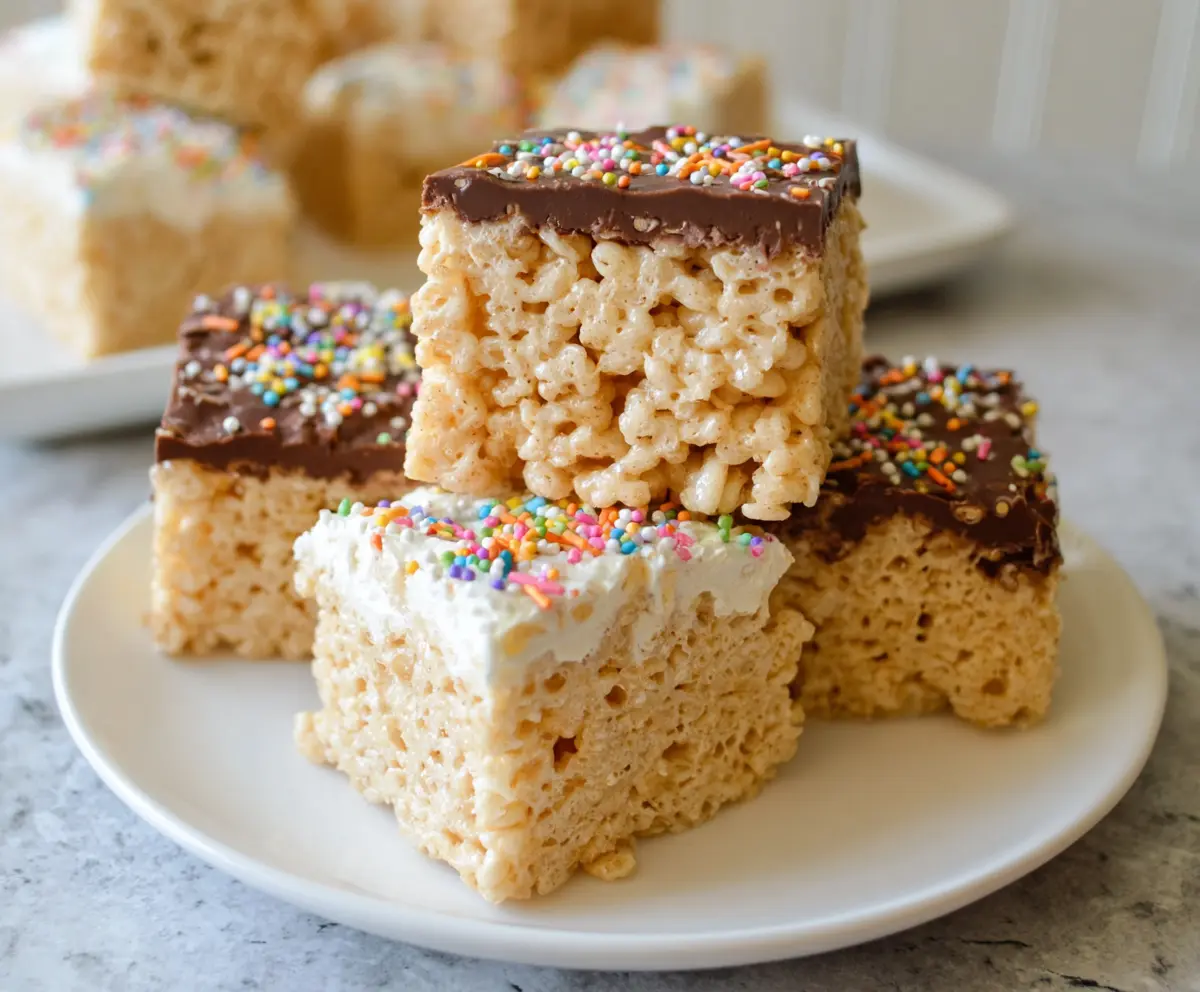
These Protein Rice Krispie Treats are a fun twist on the classic snack! With creamy peanut butter and protein powder, they pack a tasty punch while still being super chewy and crispy.
They’re perfect for a quick energy boost or a sweet treat after a workout! I often make a batch to keep at home for those late-night cravings. Trust me, you’ll want to keep these close! 😄
Key Ingredients & Substitutions
Rice Krispies cereal: This is the base of your treats. For a gluten-free option, you can use gluten-free crispy rice cereal. Some people like to use cornflakes for a different texture!
Marshmallows: Use traditional marshmallows for classic flavor. If you want a healthier twist, look for natural marshmallows or even make homemade marshmallows if you’re up for it!
Peanut butter: Creamy peanut butter adds richness. If you’re allergic or avoiding nuts, almond butter or sunflower butter works great, too. You can even use a nut-free option like tahini.
Protein powder: Vanilla protein powder adds flavor and nutrition. You can swap it with chocolate protein powder if you want a richer taste or even leave it out for regular treats. Vanilla extract adds a nice aroma!
How Do You Get the Right Texture for Rice Krispie Treats?
Getting the perfect texture is key! To achieve that, follow these steps:
- Melt the butter and marshmallows over low heat to prevent burning. Stir continuously until smooth.
- Add peanut butter right after you remove from heat—this keeps it creamy without overcooking.
- Add Rice Krispies quickly and mix gently. Folding instead of stirring can help keep them airy.
- When pressing the mixture into your dish, don’t compact too tightly. This helps the treats remain chewy and light.
Enjoy making your treats and feel free to get creative with toppings or mix-ins!
Protein Rice Krispie Treats
Ingredients You’ll Need:
Base Ingredients:
- 6 cups Rice Krispies cereal
- 1 (10 oz) package marshmallows (about 40 large marshmallows) or 4 cups mini marshmallows
- 3 tbsp unsalted butter
- 1/4 cup creamy peanut butter
- 1/3 cup vanilla or unflavored protein powder
- 1/2 tsp vanilla extract
- 1/4 tsp salt
For Topping (Optional):
- 1 cup semi-sweet chocolate chips or melting chocolate
- Sprinkles
- Whipped cream or frosting (optional)
How Much Time Will You Need?
This recipe takes about 15 minutes of preparation time and an additional 30 minutes to chill and set. It’s super quick and makes a great treat to enjoy any time!
Step-by-Step Instructions:
1. Melting the Base:
Start by melting the butter in a large pot or saucepan over low heat. Stir often to ensure it doesn’t burn. Once melted, add the marshmallows, stirring continuously until they are completely melted and smooth. This is where the magic begins!
2. Mixing in Goodness:
Once the marshmallows are melted, stir in the creamy peanut butter. Mix it together until everything is blended nicely. Then remove the pot from the heat and add in the protein powder, vanilla extract, and salt. Mix well until all the ingredients are fully combined and you have a smooth mixture.
3. Combining with Rice Krispies:
Now for the fun part! Quickly pour the Rice Krispies cereal into the marshmallow mixture. Gently stir it together, making sure all the Rice Krispies are coated without crushing them too much. You want it to remain fluffy!
4. Pressing Into the Dish:
Next, prepare a 9×13-inch baking dish by lightly greasing it or lining it with parchment paper. Transfer the Rice Krispie mixture into the dish and use a buttered spatula or a piece of wax paper to evenly press down the mixture. Press it firmly but not too tightly, allowing the treats to stay light and crispy.
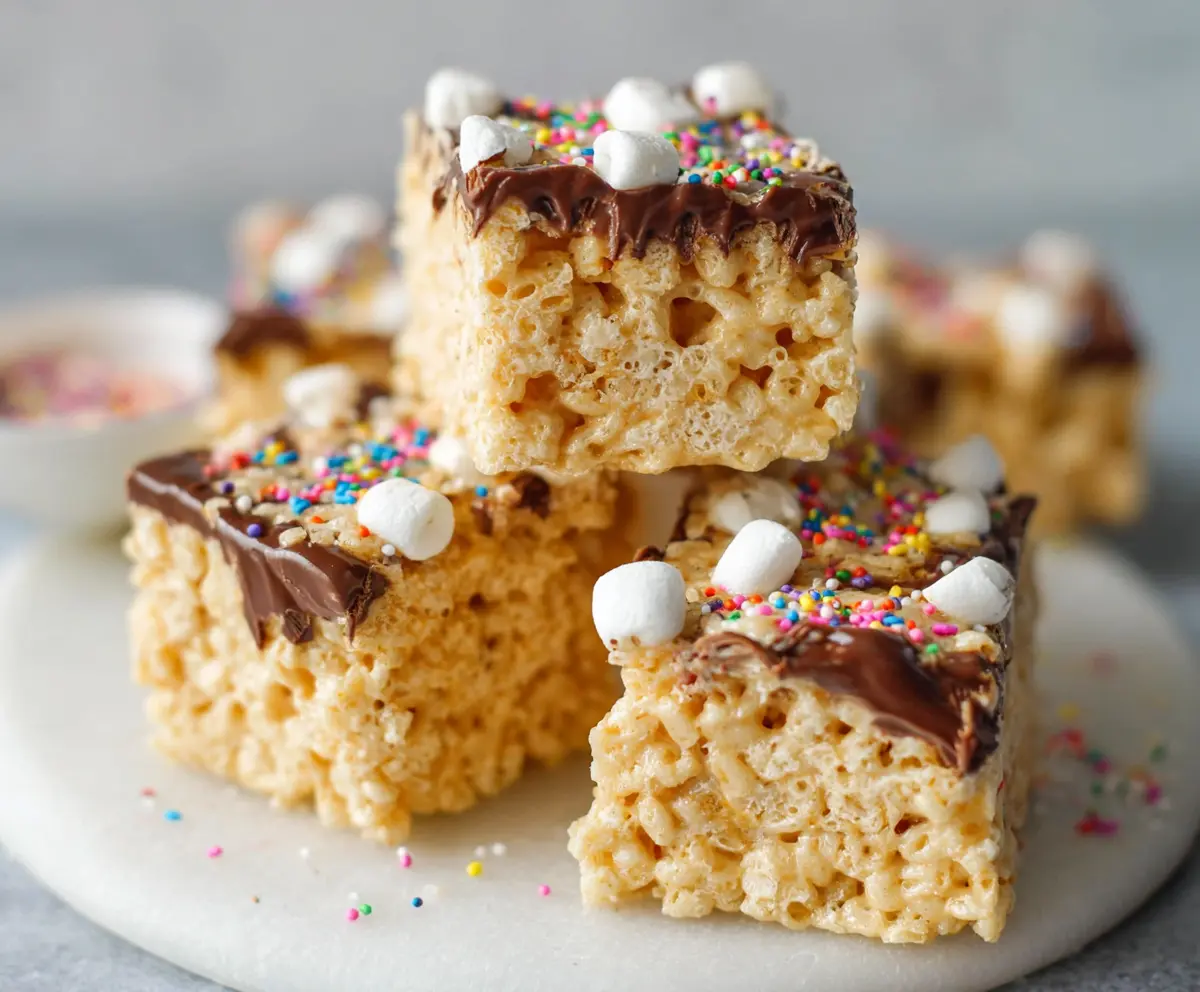
5. Adding the Toppings:
If you want to add a chocolate topping, melt the chocolate chips in the microwave. Do this in short bursts, stirring between each interval until smooth. Once melted, spread the chocolate over the top of the cooled Rice Krispie treats. Immediately sprinkle colorful sprinkles on top if desired!
6. Cooling and Serving:
Let the treats cool at room temperature until the chocolate sets, about 30 minutes. If you’re in a hurry, you can place them in the fridge to speed up the process. Once set, cut them into squares and enjoy!
7. Storing Your Treats:
Store any leftovers in an airtight container. They will stay fresh at room temperature for up to 3 days or in the fridge for about a week.
Enjoy your delightful, chewy, and crispy Protein Rice Krispie Treats! Perfect for an energizing snack or a sweet treat post-workout!
Can I Use Different Types of Cereal?
Absolutely! While Rice Krispies are traditional, you can use gluten-free crispy rice cereal, cornflakes, or even granola for a unique twist and flavor.
What if I’m Allergic to Nuts?
No problem! You can simply omit the peanut butter or substitute it with sunflower seed butter or tahini for a nut-free option that still provides creaminess.
How Can I Make These Treats Vegan?
For a vegan version, use vegan marshmallows and substitute the butter with coconut oil or a dairy-free butter alternative. The protein powder should also be plant-based.
How Do I Store Leftovers?
Store them in an airtight container at room temperature for up to 3 days. If you want them to last longer, keep them in the refrigerator for about a week. Just make sure they are fully cool before storing!