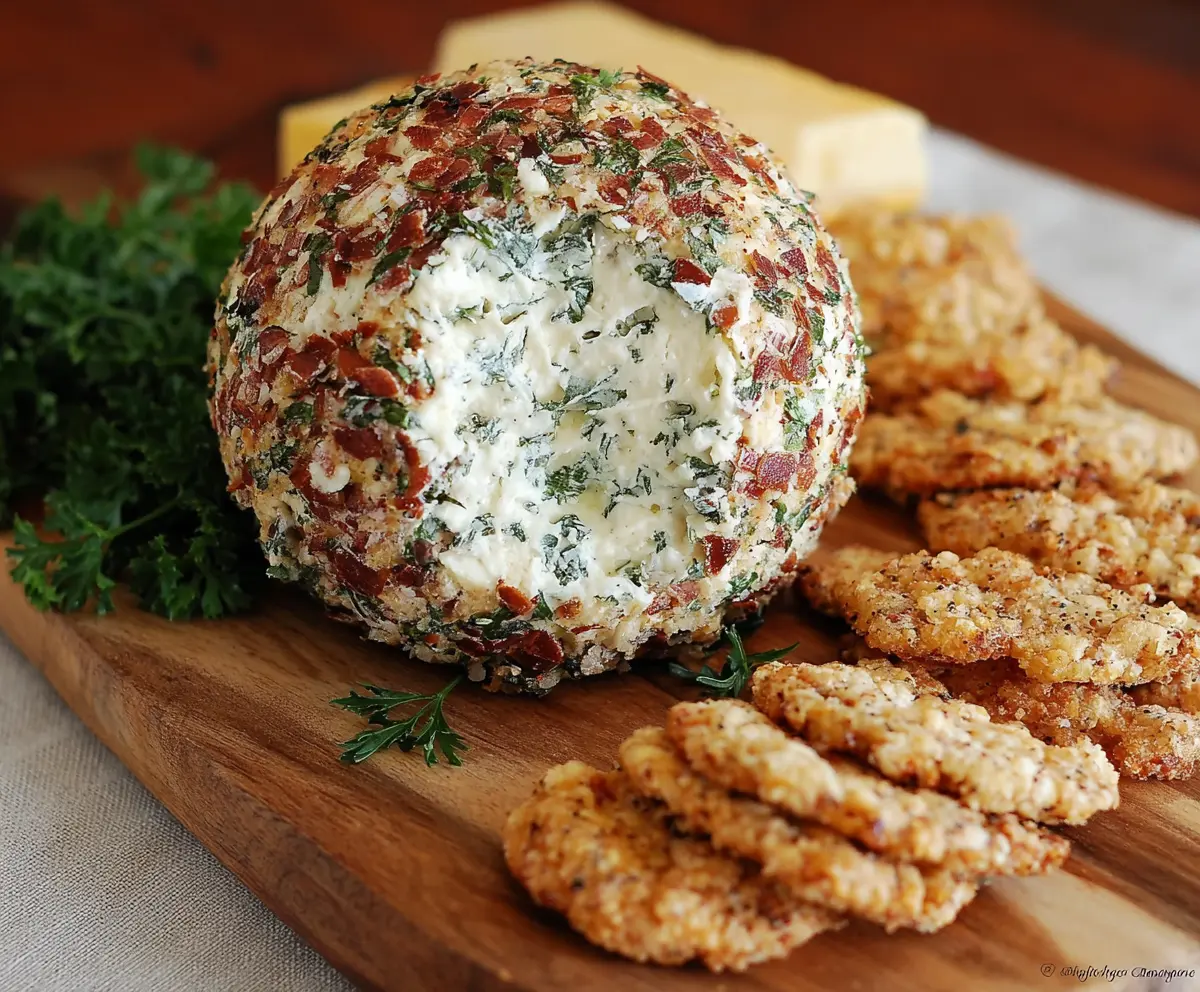
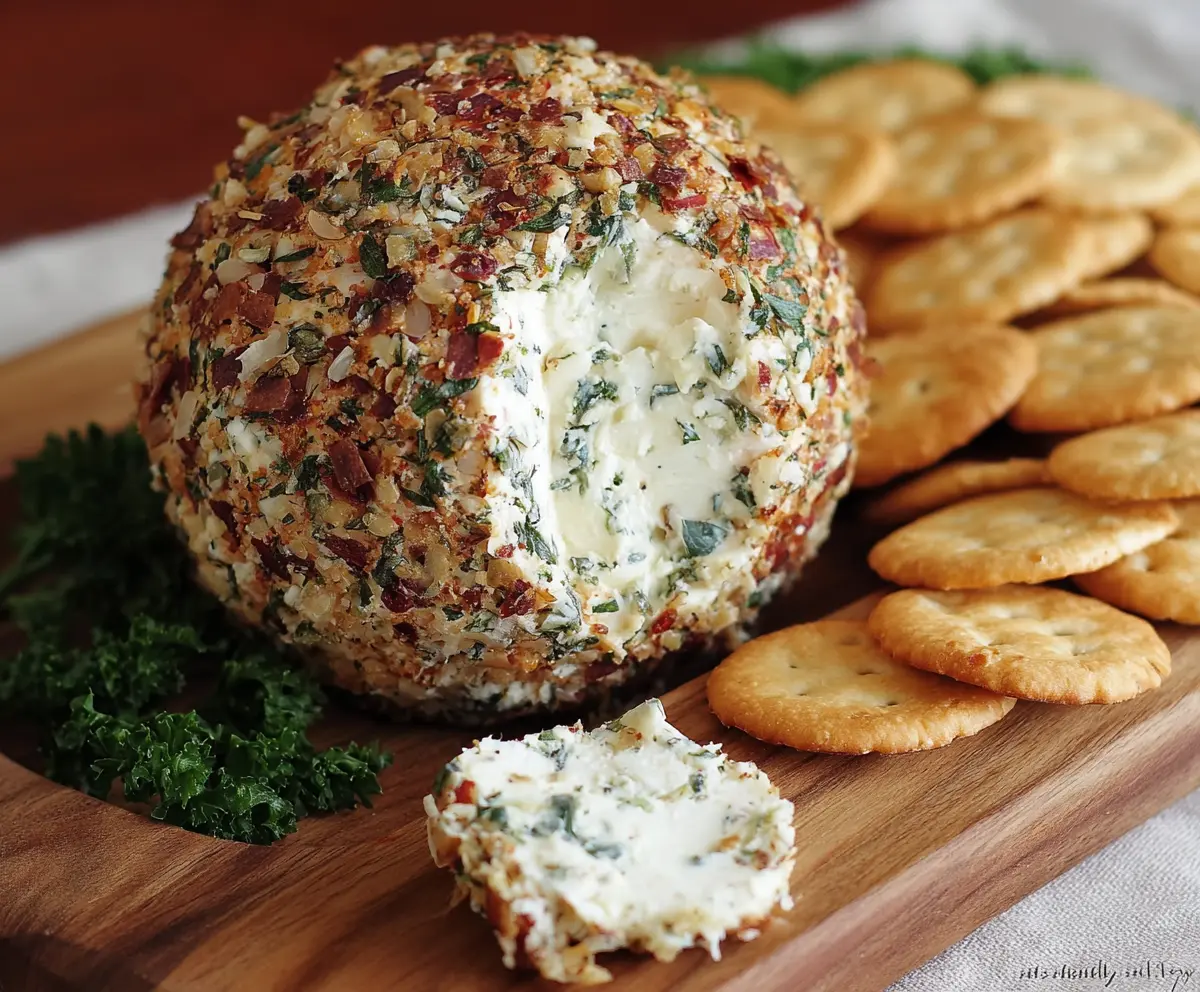
This herb and garlic cheese ball is a fun and tasty snack! Made with cream cheese, herbs, and garlic, it’s bursting with flavor and perfect for spreading on crackers or bread.
Not gonna lie, I love making this when friends come over. It’s so easy to whip up, and watching everyone enjoy it is the best part. Give it a try and impress your guests! 😄
Key Ingredients & Substitutions
Cream Cheese: This is the base of your cheese ball and gives it that creamy texture. If you’re looking for something lighter, you can use Neufchâtel cheese, which has less fat. I find that using a mix of cream cheese and goat cheese adds a nice tang!
Herbs: Fresh herbs like parsley, chives, and dill make this cheese ball flavorful. If you don’t have all of them, you can substitute with dried herbs or just use what you have on hand, like basil or thyme. Fresh herbs really brighten the dish up!
Garlic: Fresh garlic adds a strong punch. If you’re sensitive to garlic, consider using garlic powder instead, but fresh really gives the best flavor. I often mix in an extra clove for more kick!
Nuts: Choose nuts like pecans, walnuts, or almonds for the coating. If you want a nut-free version, chopped sun-dried tomatoes or seeds work well. I love adding a mix of both for extra flavor and texture!
How Do I Shape and Roll the Cheese Ball Perfectly?
Shaping your cheese ball doesn’t have to be tricky! Here are some tips to get it right:
- After mixing your ingredients, chill the mixture first. This will make it firmer and easier to handle.
- Use plastic wrap to help shape the cheese ball. Place the mixture in the center, then pull the wrap around to form a smooth ball.
- When rolling in the coating, press gently so it sticks well. It’s fine if some herbs or nuts fall off; you can always just sprinkle extras on before serving!
- Let the cheese ball rest in the fridge so it firms up. This helps the flavors come together and makes it easier to slice.
Enjoy creating this delicious cheese ball for your next gathering or snack time! It’s so fun to share and so easy to make!
Herb and Garlic Cheese Ball
Ingredients You’ll Need:
- 8 oz (225g) cream cheese, softened
- 4 oz (115g) goat cheese or more cream cheese for extra tang (optional)
- 2 cloves garlic, minced
- 2 tbsp fresh parsley, finely chopped
- 1 tbsp fresh chives, finely chopped
- 1 tbsp fresh dill, finely chopped
- 1/2 tsp salt
- 1/4 tsp black pepper
- 1/4 tsp garlic powder (optional for extra garlic flavor)
- 1/4 cup finely chopped nuts (pecans, walnuts, or almonds) or finely chopped sun-dried tomatoes
- 2 tbsp fresh herbs (parsley and chives combined) for rolling the ball
- Crackers or vegetable sticks for serving
How Much Time Will You Need?
This herb and garlic cheese ball takes about 15 minutes of preparation time, plus an additional 2 hours for chilling in the refrigerator. This waiting time allows the flavors to blend beautifully and helps the cheese ball set properly! Perfect for planning ahead for that gathering or a cozy night in.
Step-by-Step Instructions:
1. Combine the Cheeses:
In a mixing bowl, take the softened cream cheese and goat cheese (if using) and mix them together until the mixture is smooth and creamy. You can use a hand mixer or just a sturdy spoon—whatever you have on hand works great!
2. Add the Flavor:
Next, toss in the minced garlic, chopped parsley, chives, dill, salt, pepper, and garlic powder (if you want an extra garlicky kick). Stir everything well until all the herbs and garlic are evenly distributed through the cheese mixture. It’s starting to smell wonderful!
3. Chill the Mixture:
Cover the bowl with plastic wrap and pop it into the refrigerator for about 30 minutes to 1 hour. This allows the mixture to firm up a bit, making it easier to shape into a ball later and letting those flavors get to know each other. Yum!
4. Prepare the Coating:
While the cheese mixture is chilling, grab a flat surface (like a cutting board) and mix together the finely chopped nuts (or sun-dried tomatoes) with the fresh herbs that you set aside for rolling. This will be the crunchy outer layer that makes your cheese ball even more delicious!
5. Shape the Cheese Ball:
Once the cheese mixture is firm, take it out of the fridge and place it on a large sheet of plastic wrap or parchment paper. Carefully shape the mixture into a smooth, compact ball using the wrap to help mold it without sticking to your hands.
6. Roll It Up:
Now it’s time to roll! Gently roll the cheese ball in the nut and herb mixture, pressing lightly so that the coating adheres well and covers the entire surface. This step adds a lovely crunch and flavor!
7. Final Chill:
Wrap the cheese ball tightly in plastic wrap and refrigerate it again for at least 1 more hour. This helps everything set nicely and makes for easier slicing when it’s time to serve.
8. Serve and Enjoy:
When you’re ready to serve, take the cheese ball out of the fridge and place it on a wooden board or serving platter. Pair it with your favorite crackers or vegetable sticks and watch it disappear! Everyone will love this creamy, flavorful snack.
Dig in and enjoy this delightful herb and garlic cheese ball, perfect for all your gatherings or just a cozy night at home! 😊
Can I Use Different Types of Cheese?
Absolutely! While cream cheese is the base, you can experiment with other cheeses like mascarpone for a creamier texture or even some cheddar for a sharper flavor. Just keep the ratios similar for the best consistency!
What Can I Use Instead of Nuts?
If you need a nut-free option, you can substitute the nuts with finely chopped seeds, like pumpkin or sunflower seeds. Alternatively, chopped sun-dried tomatoes can also add great flavor and texture!
How Long Can I Store Leftovers?
Leftover cheese ball can be stored in an airtight container in the fridge for up to 3 days. Just make sure to keep it wrapped well to maintain its freshness. You might want to let it sit out for a few minutes before serving again to soften it up a bit!
Can I Make This Cheese Ball Ahead of Time?
Yes! This cheese ball can be made a day in advance. Just cover it tightly with plastic wrap, and refrigerate it until you’re ready to serve. It’s a great make-ahead dish that still tastes fabulous!