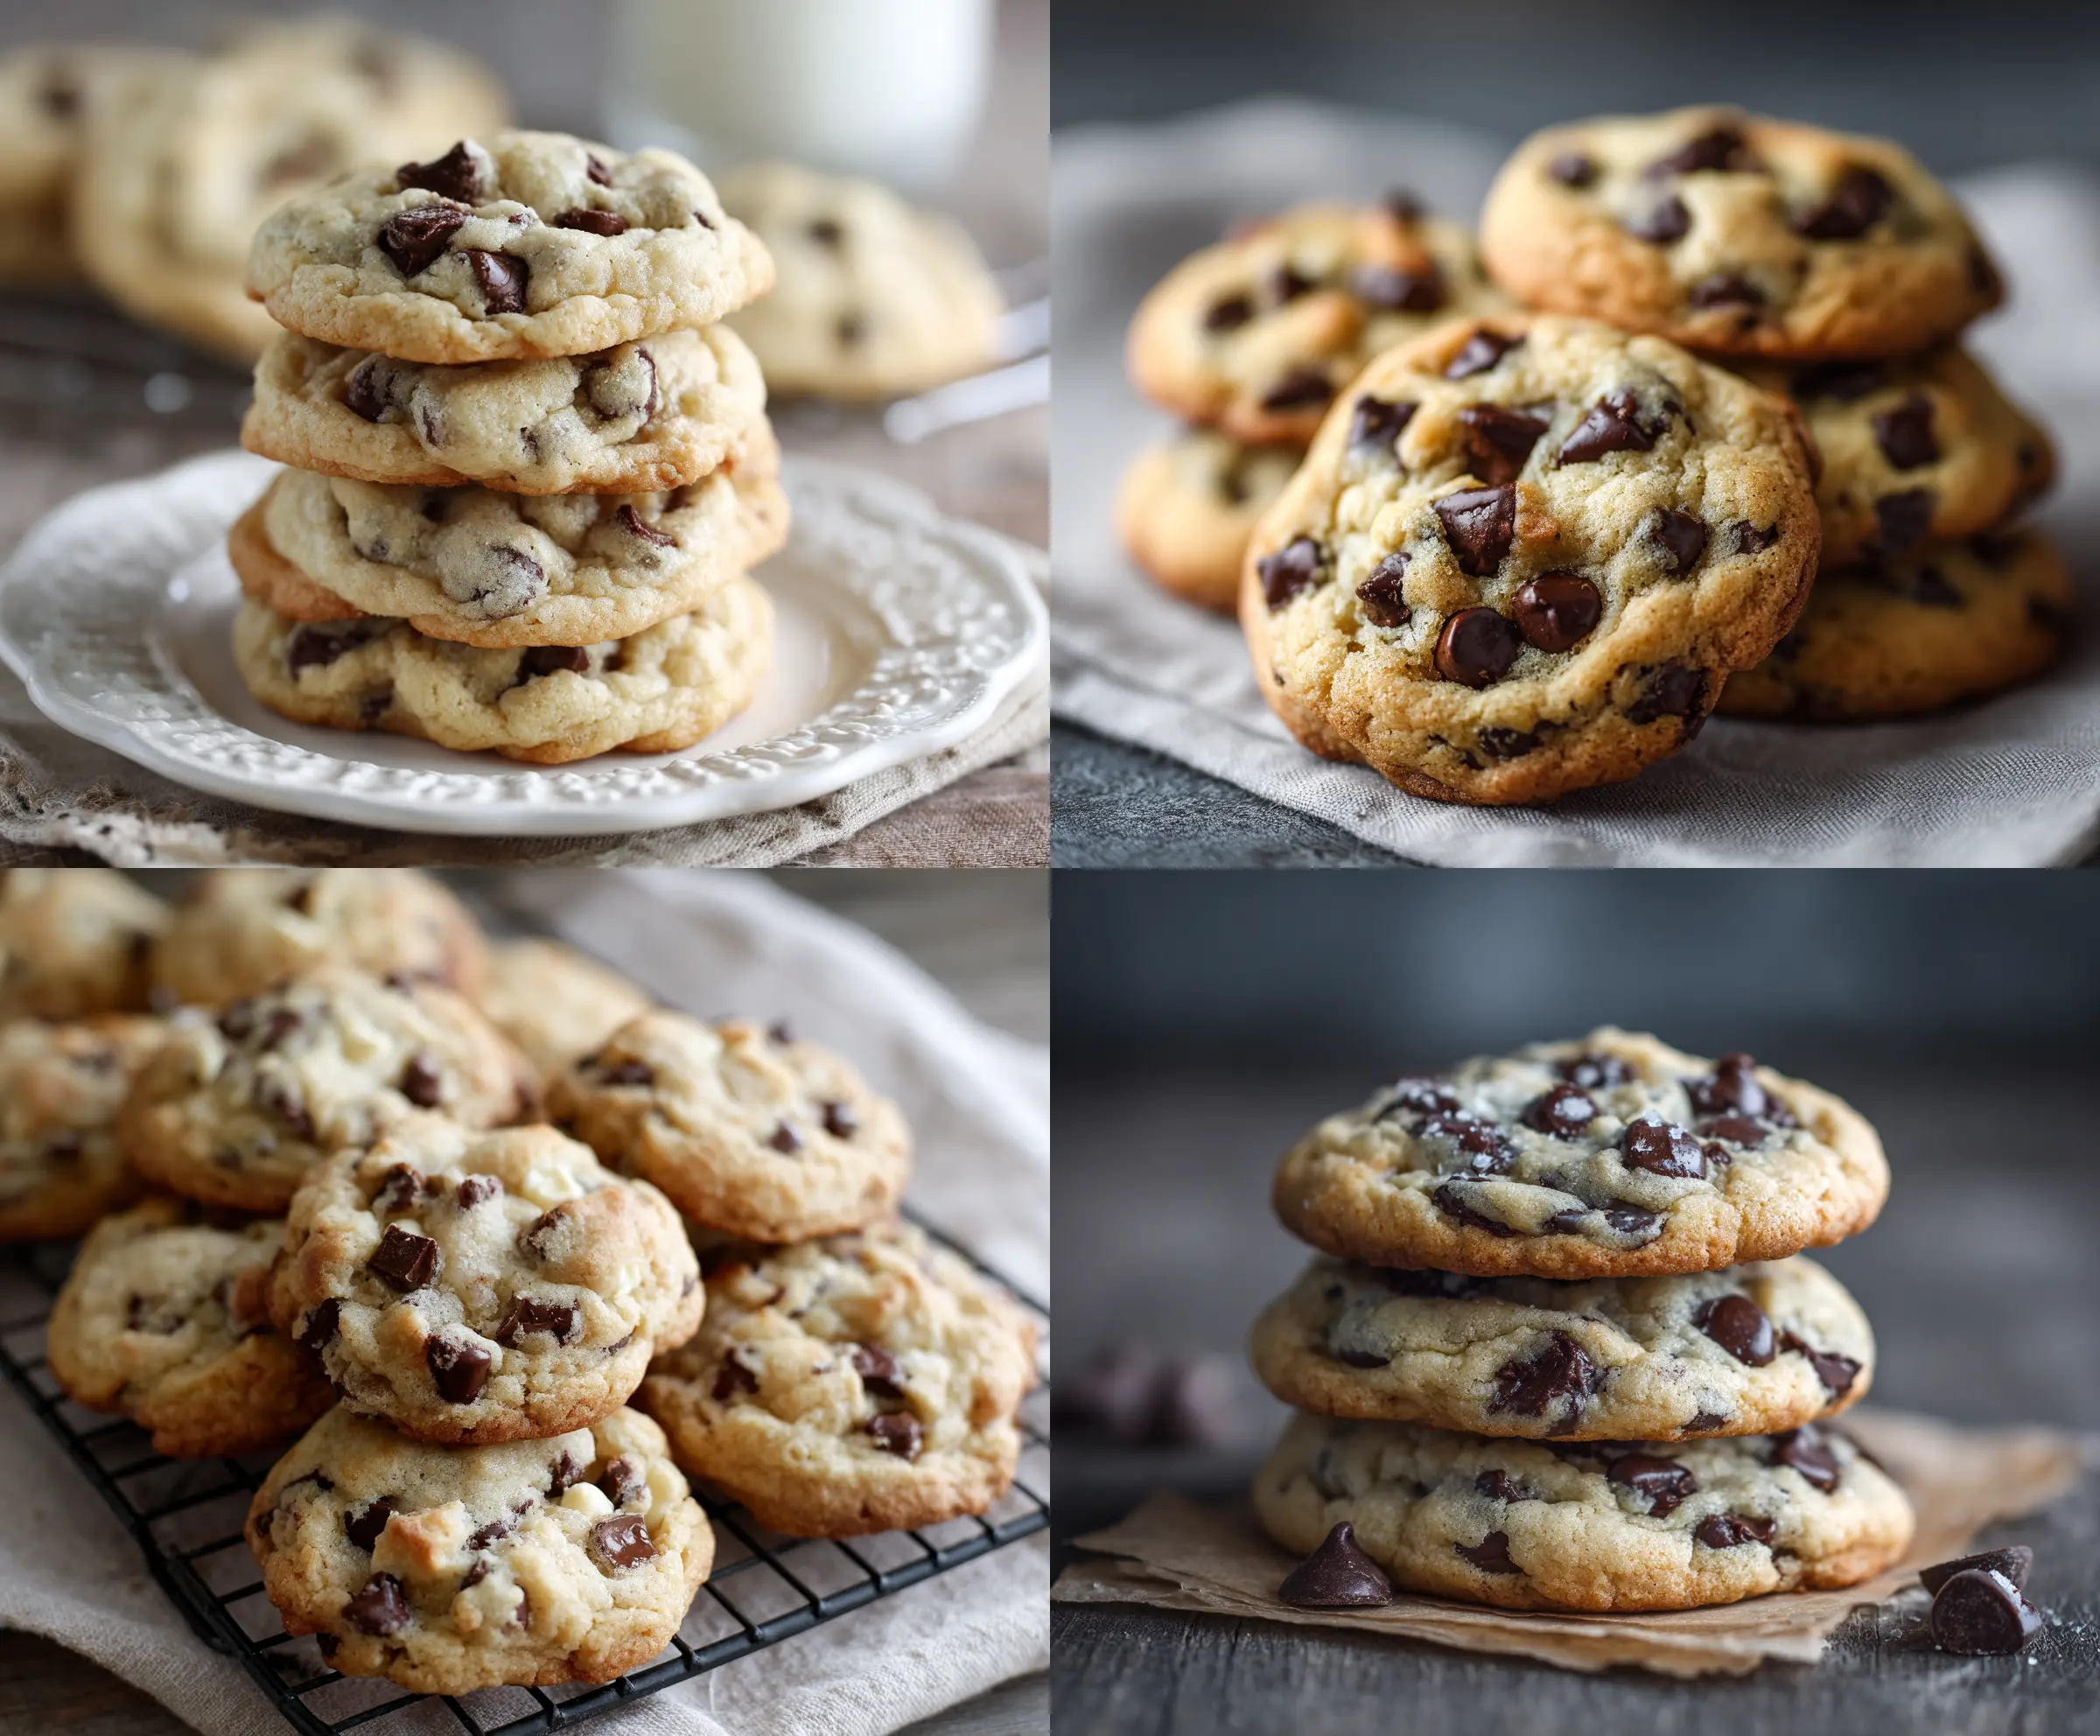
These Soft-Batch Cream Cheese Chocolate Chip Cookies are a treat for cookie lovers! They are soft, chewy, and packed with chocolate chips, giving each bite a sweet surprise.
Using cream cheese makes them extra soft and delightful. Trust me, you’ll want to make a double batch—because these cookies vanish fast! 🥳
Key Ingredients & Substitutions
Cream Cheese: This is the star ingredient! It adds moisture and a creamy texture. If you’re looking for a lighter option, you can substitute with Greek yogurt, but the cookies may be slightly less rich.
Butter: Unsalted butter is preferred since you can control the salt level. If you’re out of butter, you can use margarine, but it might alter the texture a bit. Coconut oil is another good substitute!
Flour: All-purpose flour is what you need for classic cookies. If you need a gluten-free version, try using a 1:1 gluten-free baking blend. Just check it has xanthan gum included for the right texture.
Chocolate Chips: Semi-sweet chips work great, but feel free to mix in milk chocolate, dark chocolate, or even white chocolate. For a healthier twist, you can use dark chocolate or sugar-free chips.
How Can I Ensure My Cookies Stay Soft and Chewy?
The key to keeping these cookies soft lies in a few tricks. First, do not overmix the dough once you add the flour; this helps avoid tough cookies. Use cold butter and cream cheese for a rich flavor, and make sure to bake them just until the edges are lightly golden while the centers remain soft.
- Start with softened butter and cream cheese, but don’t melt them.
- When measuring flour, use the spoon and level method to avoid too much flour, which can make cookies dry.
- After baking, let the cookies cool on the sheets—this helps them firm up while staying soft.
With these tips, your cookies will turn out deliciously soft and tender every time! Enjoy the baking adventure!

Soft-Batch Cream Cheese Chocolate Chip Cookies
Ingredients You’ll Need:
- 1/2 cup (115g) unsalted butter, softened
- 4 oz (115g) cream cheese, softened
- 3/4 cup (150g) granulated sugar
- 3/4 cup (165g) packed brown sugar
- 1 large egg
- 2 teaspoons vanilla extract
- 2 1/4 cups (280g) all-purpose flour
- 1 teaspoon baking soda
- 1/2 teaspoon salt
- 1 1/2 cups semi-sweet chocolate chips (or a mix of chips and chunks)
How Much Time Will You Need?
This cookie recipe takes about 15 minutes to prep and 10-12 minutes to bake. You’ll want to set aside some time for the cookies to cool, too—about 5 minutes on the baking sheets before transferring to a rack. In total, you should expect about 30-40 minutes from start to finish before you can enjoy your delicious cookies!
Step-by-Step Instructions:
1. Prepping the Oven:
First, preheat your oven to 350°F (175°C). While it’s warming up, line your baking sheets with parchment paper or silicone baking mats to keep the cookies from sticking—this helps them bake perfectly.
2. Creaming the Ingredients:
In a large mixing bowl, add the softened butter and cream cheese. Using an electric mixer, blend them together until the mixture is nice and smooth. This is what makes your cookies soft and creamy!
3. Mixing in the Sugars:
Now, add the granulated sugar and brown sugar to your bowl. Beat them together with the butter mixture until it’s light and fluffy—this should take about a minute or two.
4. Adding Egg and Vanilla:
Crack in the large egg and pour in the vanilla extract. Mix until everything is blended well and looks creamy.
5. Whisking the Dry Ingredients:
In a separate bowl, whisk together the all-purpose flour, baking soda, and salt. This helps distribute the baking soda evenly throughout the flour.
6. Combining Wet and Dry:
Now, gradually add the dry ingredients into the wet mixture. Use your mixer on low speed to combine everything, but be careful not to overmix! You want the dough to be soft and fluffy.
7. Folding in Chocolate Chips:
Gently fold in the chocolate chips with a spatula or wooden spoon, making sure they’re evenly distributed throughout the dough.
8. Scooping the Dough:
Using a cookie scoop or a tablespoon, drop the dough onto your prepared baking sheets. Space them about 2 inches apart. These will spread a little while baking!
9. Baking the Cookies:
Pop the baking sheets into your preheated oven and bake for 10-12 minutes. Keep an eye on them! You want the edges to be a light golden brown, but the centers should still look soft. If they look too cooked, they might be harder than you want.
10. Cooling Down:
Once they’re out of the oven, let the cookies cool on the baking sheet for about 5 minutes. This helps them set up just right! Then, transfer them to a wire rack to cool completely.
11. Enjoying Your Treat:
Your Soft-Batch Cream Cheese Chocolate Chip Cookies are ready! Grab a glass of milk or your favorite beverage, and enjoy these deliciously soft and flavorful cookies. They’re perfect for sharing, but no one would blame you for keeping them all for yourself!
Can I Use Low-Fat or Non-Fat Cream Cheese?
Yes, you can use low-fat or non-fat cream cheese, but the texture of the cookies may be slightly different. They might not be as rich and creamy, but they’ll still turn out tasty!
How Should I Store Leftover Cookies?
Store any leftover cookies in an airtight container at room temperature for up to 3 days. If you want them to stay soft, place a slice of bread inside the container to help retain moisture!
Can I Freeze the Cookie Dough?
Absolutely! To freeze the dough, scoop the cookie balls onto a baking sheet and freeze until solid. Then, transfer them to a freezer bag. You can bake them straight from the freezer; just add a minute or two to the baking time.
Why Are My Cookies Flat or Hard?
Flat or hard cookies can be due to overmixing the dough or insufficient chilling of the butter and cream cheese. Make sure your ingredients are at the right temperature and don’t overmix once you add the flour! Additionally, be careful not to overbake them.
