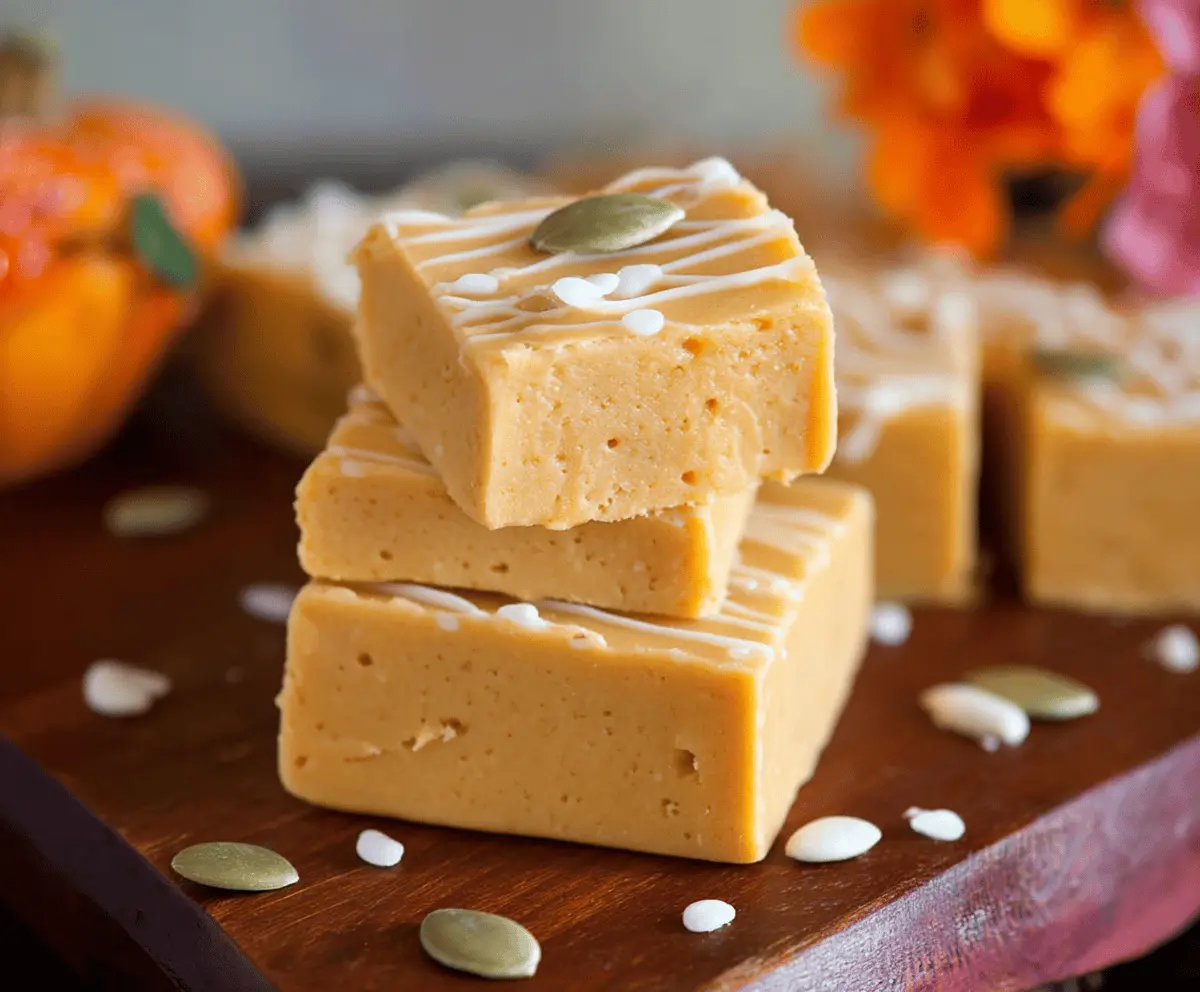
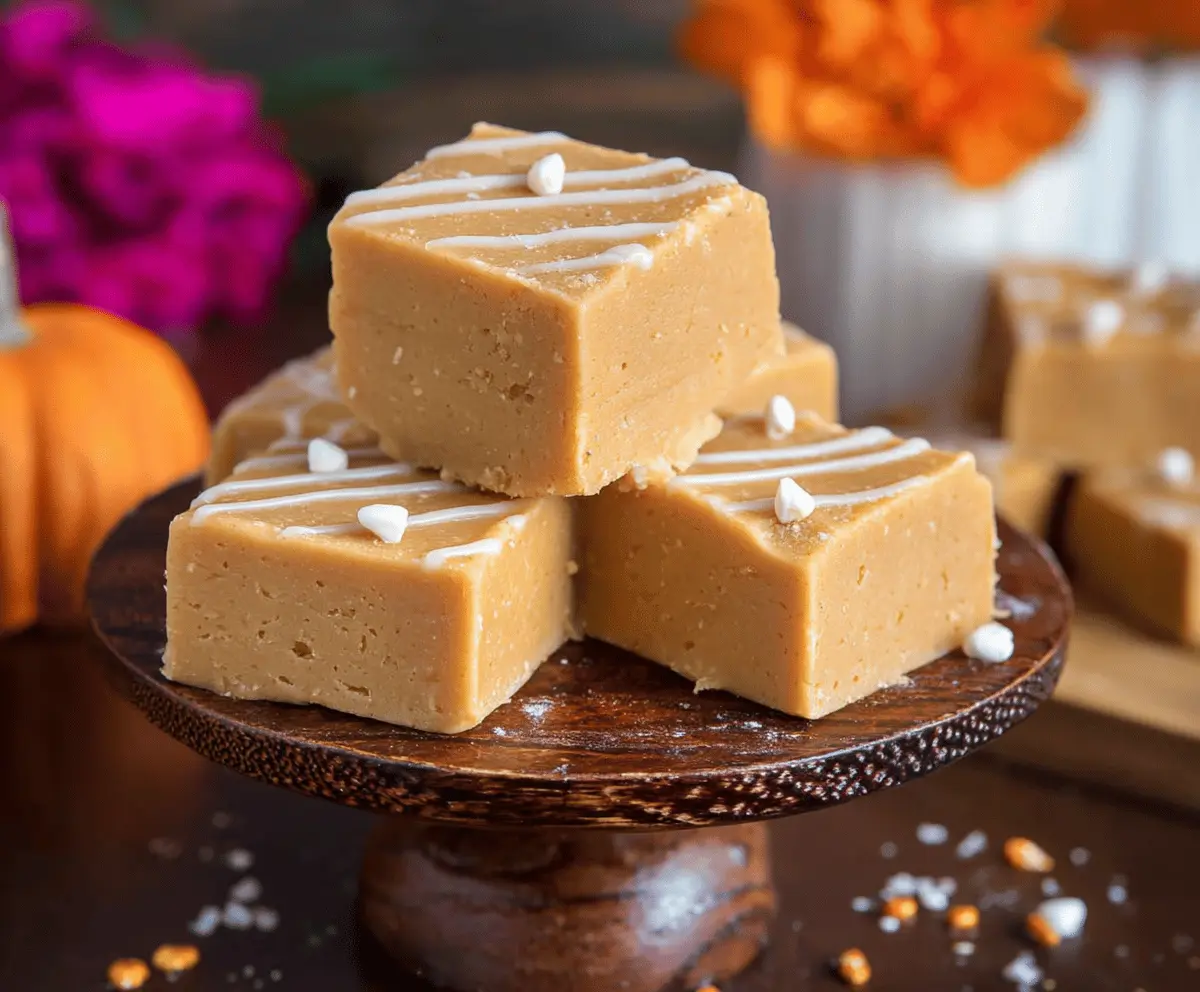
This creamy pumpkin fudge is like autumn in a bite! With rich pumpkin flavor and warm spices, it’s sweet and just melts in your mouth.
You won’t believe how easy it is to make—but good luck sharing! I often keep it all for myself because it’s just that good. Who can resist pumpkin treats, right? 😄
Key Ingredients & Substitutions
White Chocolate Chips: These are crucial for the creamy texture of the fudge. If you’re looking for alternatives, you can use dark chocolate chips for a richer taste, or even butterscotch chips for a different sweetness.
Pumpkin Puree: Always go for plain canned pumpkin puree, not pumpkin pie filling which contains added sugars and spices. If you’re missing pumpkin, butternut squash puree works well too!
Unsalted Butter: Unsalted butter gives you control over the saltiness of your fudge. You can swap in coconut oil for a dairy-free option that still adds creaminess.
Spices: Stick with the spices mentioned for that perfect fall flavor! If you don’t have ground ginger, you can skip it or use pumpkin pie spice instead, which contains all these spices plus more.
How Do You Get Smooth Fudge Without Overheating?
Getting smooth fudge is all about gentle heat. In a microwave, go slow with 30-second bursts and stir in between. Stirring helps evenly distribute the heat without burning the chocolate. If it starts to look grainy, that’s usually a sign it’s been heated too long, so keep an eye on it!
- Combine ingredients in a microwave-safe bowl.
- Microwave in intervals, stirring after each until totally melted.
Taking your time results in a silky fudge! Once cooled, remember to store it properly to maintain that smooth texture and flavor!
How to Make Pumpkin Fudge
Ingredients You’ll Need:
- 3 cups white chocolate chips
- 1/2 cup canned pumpkin puree (not pumpkin pie filling)
- 1/4 cup unsalted butter
- 1 teaspoon vanilla extract
- 1 teaspoon ground cinnamon
- 1/2 teaspoon ground nutmeg
- 1/4 teaspoon ground ginger
- Pinch of salt
- White chocolate for drizzling (optional)
- Pumpkin seeds for garnish (optional)
How Much Time Will You Need?
This delicious pumpkin fudge will take about 15 minutes of preparation time and around 2 hours to chill in the refrigerator. This means you can whip it up quickly and then just let it set while you enjoy your day!
Step-by-Step Instructions:
1. Prepare the Baking Pan:
Start by lining an 8×8 inch square baking pan with parchment paper. Make sure to leave some overhang on the sides—this will help you lift the fudge out of the pan later.
2. Mix the Ingredients:
In a medium microwave-safe bowl, combine the white chocolate chips, canned pumpkin puree, and unsalted butter. This combination will create the rich and creamy base for your fudge.
3. Melt the Mixture:
Microwave the mixture in 30-second intervals, stirring well after each session until everything is completely melted and smooth. Be patient and stir well to get rid of any lumps!
4. Add Flavors:
Once your mixture is smooth, stir in the vanilla extract, ground cinnamon, ground nutmeg, ground ginger, and a pinch of salt. Mix well until all the flavors are beautifully combined.
5. Pour into the Pan:
Next, pour the mixture into the prepared baking pan. Use a spatula to smooth the top evenly, ensuring it will look nice and neat when it’s set.
6. Optional Decoration:
If you want to add a little extra flair, melt a small amount of white chocolate for drizzling. Use a spoon or a piping bag to create pretty designs on top of your fudge before it sets.
7. Add Garnish:
For a touch of crunch, sprinkle some pumpkin seeds on top of the fudge. This step is optional, but it adds a lovely texture contrast!
8. Chill the Fudge:
Place the baking pan in the refrigerator for at least 2 hours or until the fudge is firm. This will help it hold its shape when you cut it.
9. Cut into Squares:
Once the fudge is set, lift it out of the pan using the parchment paper overhang. Place it on a cutting board and cut into squares.
10. Store and Enjoy:
Store your pumpkin fudge in an airtight container in the refrigerator for up to 1 week—if it lasts that long! Enjoy your creamy, autumn-inspired treat!
Can I Use Different Types of Chocolate in This Fudge?
Absolutely! While white chocolate gives a creamy texture and sweetness, you can use dark or milk chocolate for a richer flavor. Just keep in mind that this will change the overall color and taste of the fudge.
How Can I Make This Fudge Dairy-Free?
To make this fudge dairy-free, substitute the unsalted butter with coconut oil and use dairy-free white chocolate chips. This will still give you that creamy texture with a hint of tropical flavor!
Can I Add Nuts or Other Mix-Ins?
Yes! Feel free to fold in chopped nuts like pecans or walnuts for added crunch. You can also mix in dried fruits or chocolate chips for an extra twist. Just be cautious not to overpower the pumpkin flavor!
How Should I Store Leftover Fudge?
Store any leftover fudge in an airtight container in the refrigerator for up to 1 week. If you want to keep it longer, you can freeze it by wrapping individual pieces in plastic wrap and placing them in a freezer-safe bag for up to 3 months.