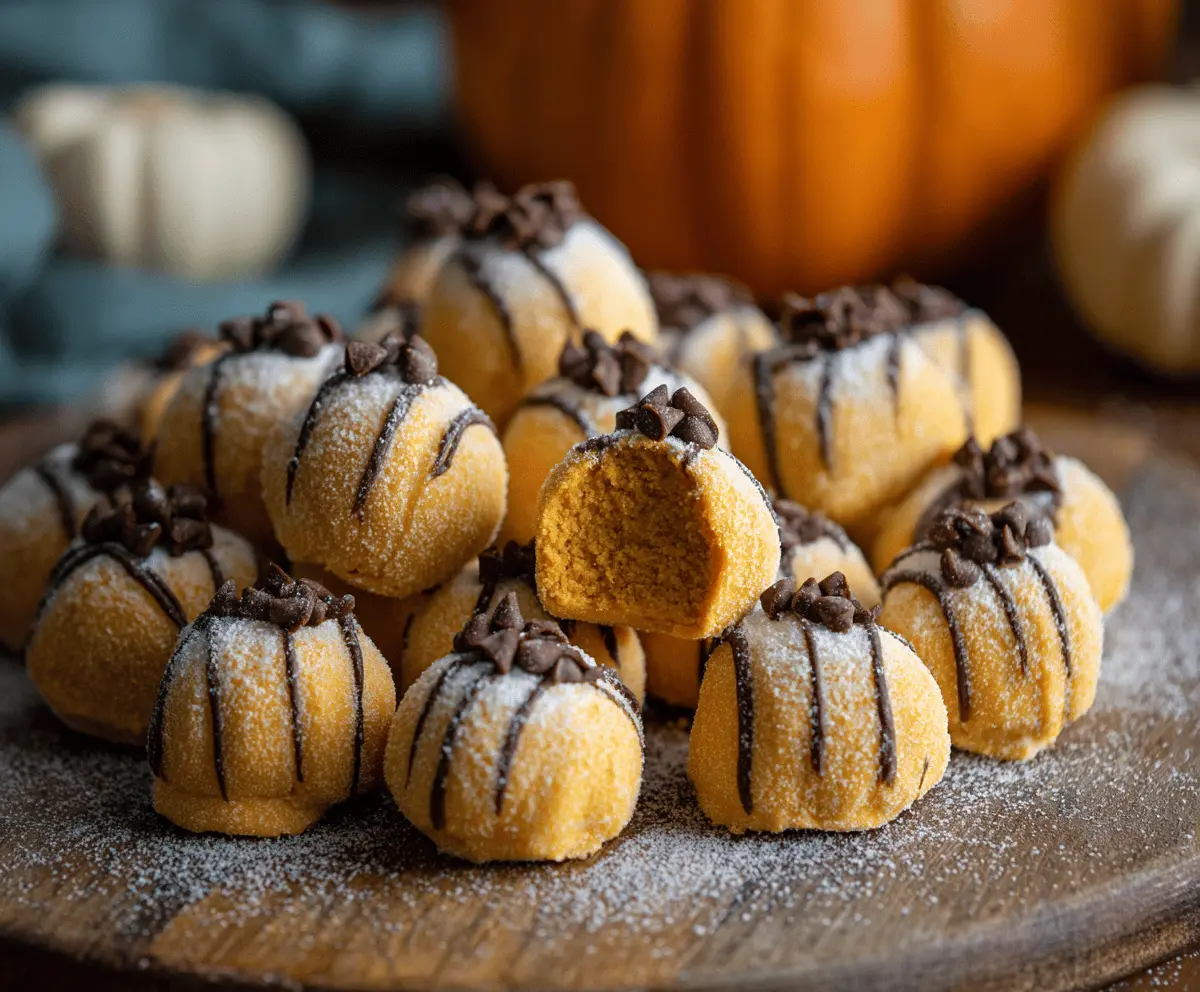
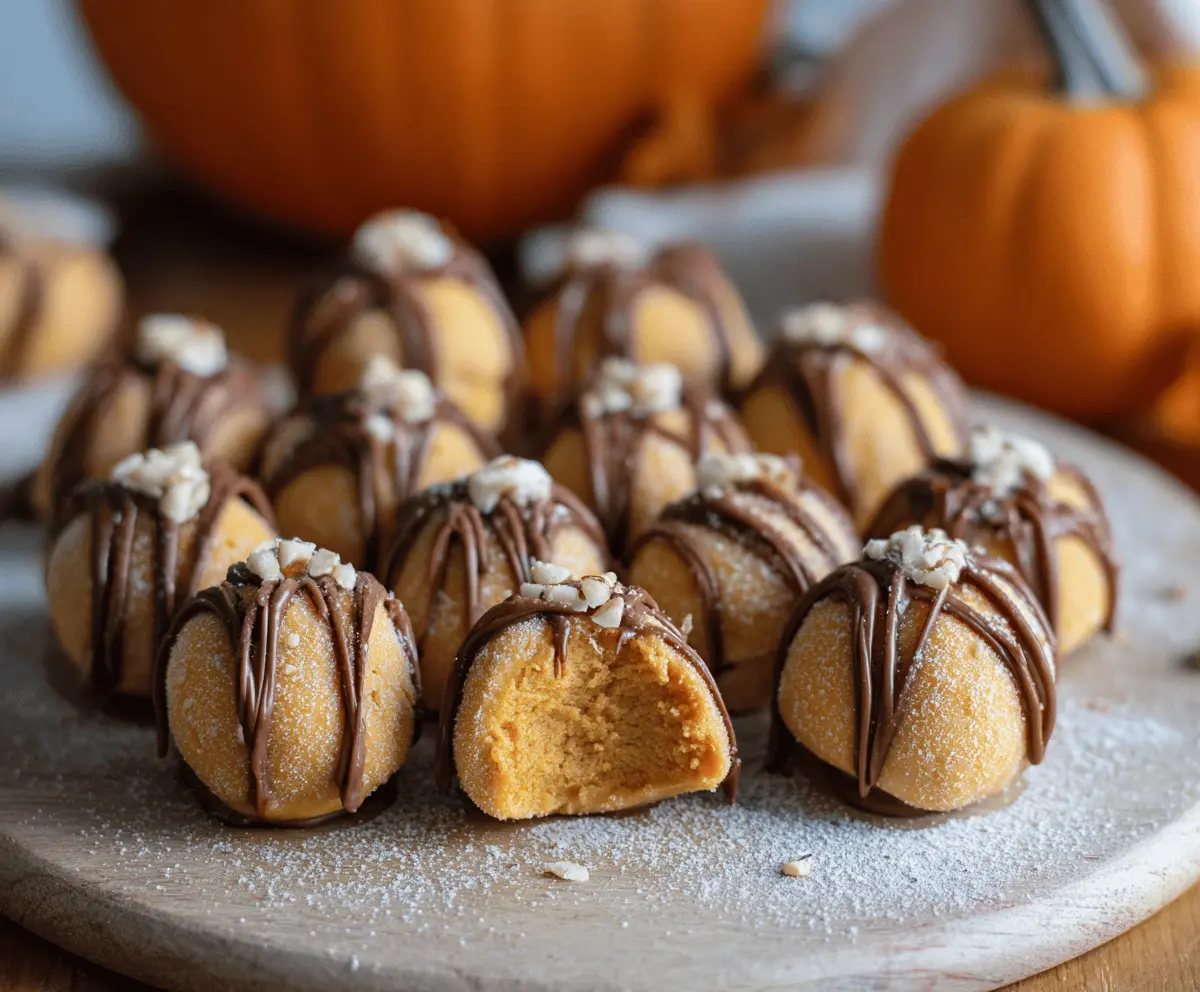
These Pumpkin Cheesecake Truffles are like tiny bites of fall! They combine creamy cheesecake and spiced pumpkin, all wrapped in chocolate. Yum!
Making them is a fun little project. I love to roll them up and imagine I’m an artist shaping sweet little pumpkins. Can’t wait for you to give them a try!
Key Ingredients & Substitutions
Cream Cheese: This is crucial for the rich and creamy texture of the truffles. You can substitute it with a dairy-free cream cheese for a vegan option, but keep in mind the flavor might slightly change.
Canned Pumpkin Puree: Always use plain canned pumpkin puree, not pumpkin pie filling. If you’re out, homemade puree works too—just roast and blend the pumpkin. You can also substitute with mashed sweet potatoes for a different flavor.
Pumpkin Pie Spice: This spice mix gives a warm flavor. If you don’t have it, mix cinnamon, nutmeg, ginger, and allspice to create your own. It’s a great way to adjust to your taste!
Vanilla Wafer or Graham Cracker Crumbs: These create a sweet base. If you’re gluten-free, use gluten-free cookie crumbs or crushed nuts instead. My personal favorite is using ginger snap crumbs for a spicy twist!
Chocolate Chips: Semi-sweet chocolate is used for drizzling. You can switch to dark chocolate or white chocolate based on your preference. The chocolate should be high-quality for the best taste!
How Do I Get the Right Texture When Mixing Ingredients?
Getting that smooth and creamy texture is key for truffles! Start by making sure your cream cheese is really soft at room temperature. This helps it mix better and avoids lumps. Here are my tips:
- Beat cream cheese first until fluffy and smooth, then add pumpkin, vanilla, and pumpkin spice.
- Add powdered sugar gradually. Mixing gently prevents clumps and keeps the truffle mixture smooth.
- When folding in the crumbs, do it gently so you don’t lose the fluffiness of the cream cheese mixture.
Chilling is important too. It firms up the mixture, making it easier to roll into balls without sticking. Enjoy making your truffles! They’re delightful treats for fall and beyond!
How to Make Pumpkin Cheesecake Truffles
Ingredients You’ll Need:
- 8 oz (225g) cream cheese, softened
- 1/2 cup (120g) canned pumpkin puree (not pumpkin pie filling)
- 1 teaspoon vanilla extract
- 1 teaspoon pumpkin pie spice
- 2 cups (200g) powdered sugar, sifted
- 1 1/2 cups (150g) vanilla wafer crumbs or graham cracker crumbs
- 4 oz (115g) semi-sweet chocolate chips or melting chocolate
- Mini chocolate chips (for topping)
- Powdered sugar (for dusting)
How Much Time Will You Need?
This delightful recipe will take you about 20 minutes to prep and around 1 hour to chill. All together, you’ll need about 1 hour and 20 minutes before you can enjoy your tasty truffles. Get ready for some delicious fall flavors!
Step-by-Step Instructions:
1. Mix the Creamy Base:
Start by placing the softened cream cheese in a large bowl. Using a hand mixer or a whisk, beat the cream cheese until it’s nice and smooth. This will be the base of your truffles and will give them that creamy cheesecake texture!
2. Add Pumpkin and Flavors:
Next, add the canned pumpkin puree, vanilla extract, and pumpkin pie spice to the cream cheese mixture. Mix everything together until it’s well combined and all the flavors are just right.
3. Sweeten It Up:
Gradually add the sifted powdered sugar to your mixture. Be sure to mix well after each addition until the sugar is fully incorporated. The mixture should be thick and creamy, perfect for shaping into truffles!
4. Fold in the Crumbs:
Now it’s time to add in the vanilla wafer crumbs or graham cracker crumbs. Gently fold them into the mixture until everything is evenly combined. You want a thick mixture that can hold its shape.
5. Shape the Truffles:
Using your hands, roll the mixture into small balls, about 1 inch in size. Place each ball onto a baking sheet lined with parchment paper. Once you have them all shaped, it’s time for a chill!
6. Chill Out:
Place the baking sheet with the truffle balls in the refrigerator or freezer. Let them chill for at least one hour, until they are firm to the touch.
7. Melt the Chocolate:
While your truffles are chilling, melt the chocolate chips in a microwave-safe bowl or a double boiler. If you’re using a microwave, heat them in short intervals, stirring in between until completely melted and smooth.
8. Drizzle the Chocolate:
Once the truffles are firm, take them out of the fridge. Using a fork or toothpick, drizzle the melted chocolate over each truffle to create that festive “pumpkin” look.
9. Add the Finishing Touches:
Immediately press a few mini chocolate chips into the top of each truffle to look like cute little pumpkin stems. Then, lightly dust the truffles with powdered sugar for that lovely finishing touch!
10. Let Them Set:
Allow the chocolate to set at room temperature or pop the truffles back into the fridge for a few minutes. This will help everything come together nicely.
11. Enjoy and Store:
Your pumpkin cheesecake truffles are now ready to enjoy! Store any leftovers in an airtight container in the fridge for up to 5 days. They make perfect bites for fall gatherings, parties, or just a sweet treat whenever you crave something special!
These pumpkin cheesecake truffles are a seasonal delight, bringing together the flavors of creamy cheesecake and warm spices in a fun little treat. Enjoy each bite! 🎃
Can I Use Low-Fat Cream Cheese?
Yes, you can use low-fat cream cheese as a substitute! Just keep in mind that it may alter the texture a bit, making it slightly less creamy, but it will still taste delicious!
What If I Can’t Find Pumpkin Pie Spice?
No worries! You can easily make your own by mixing 1/2 teaspoon cinnamon, 1/4 teaspoon ginger, 1/4 teaspoon nutmeg, and a pinch of allspice. Adjust the spices to your taste for a custom blend!
How Do I Store Leftover Truffles?
Store the pumpkin cheesecake truffles in an airtight container in the fridge for up to 5 days. If you need to store them longer, you can freeze them for up to 2 months. Just thaw in the fridge before enjoying!
Can I Use Other Types of Chocolate for the Coating?
Absolutely! You can use dark chocolate or white chocolate instead of semi-sweet chocolate. Just remember to adjust the sweetness accordingly if using very sweet chocolate!