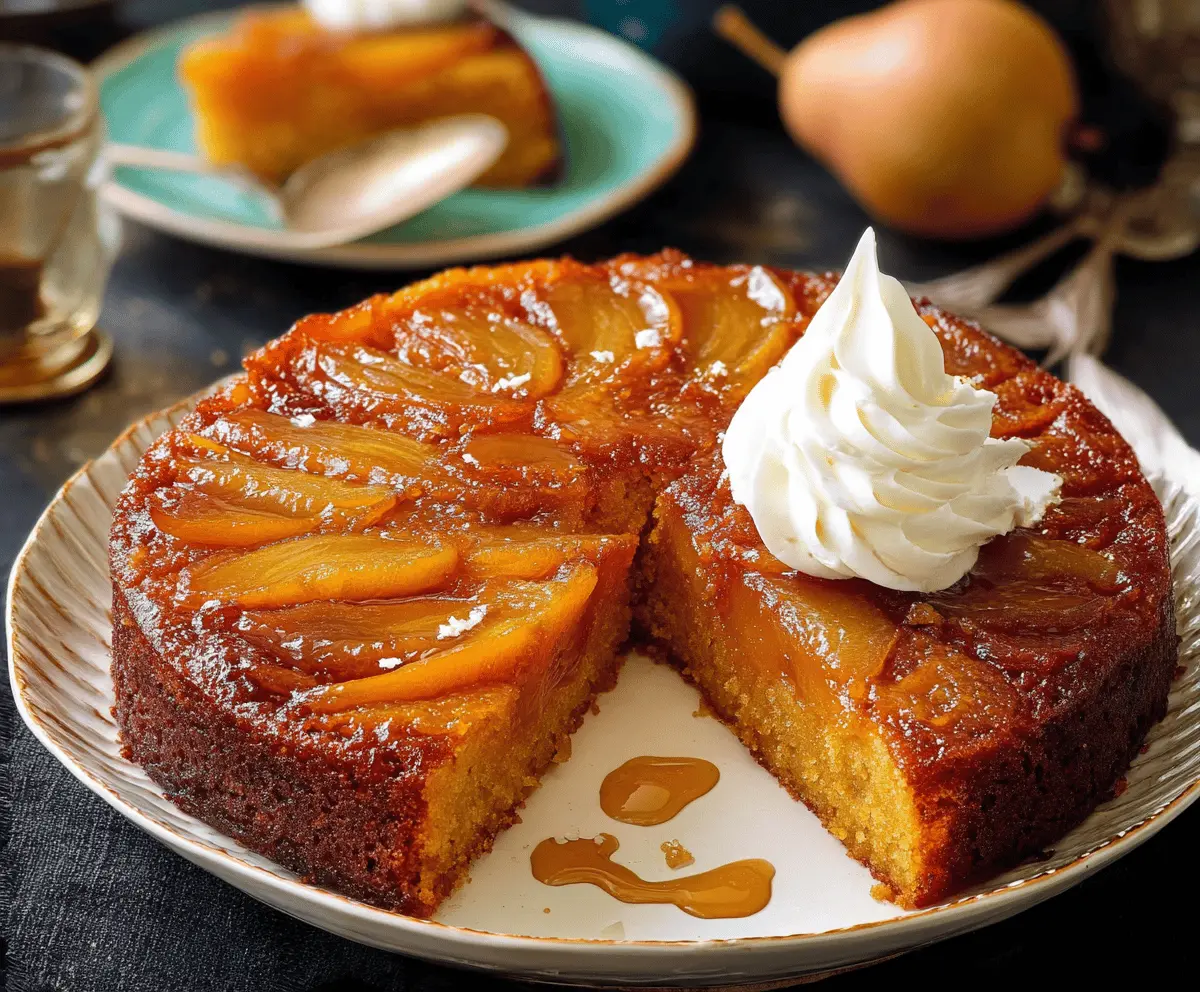
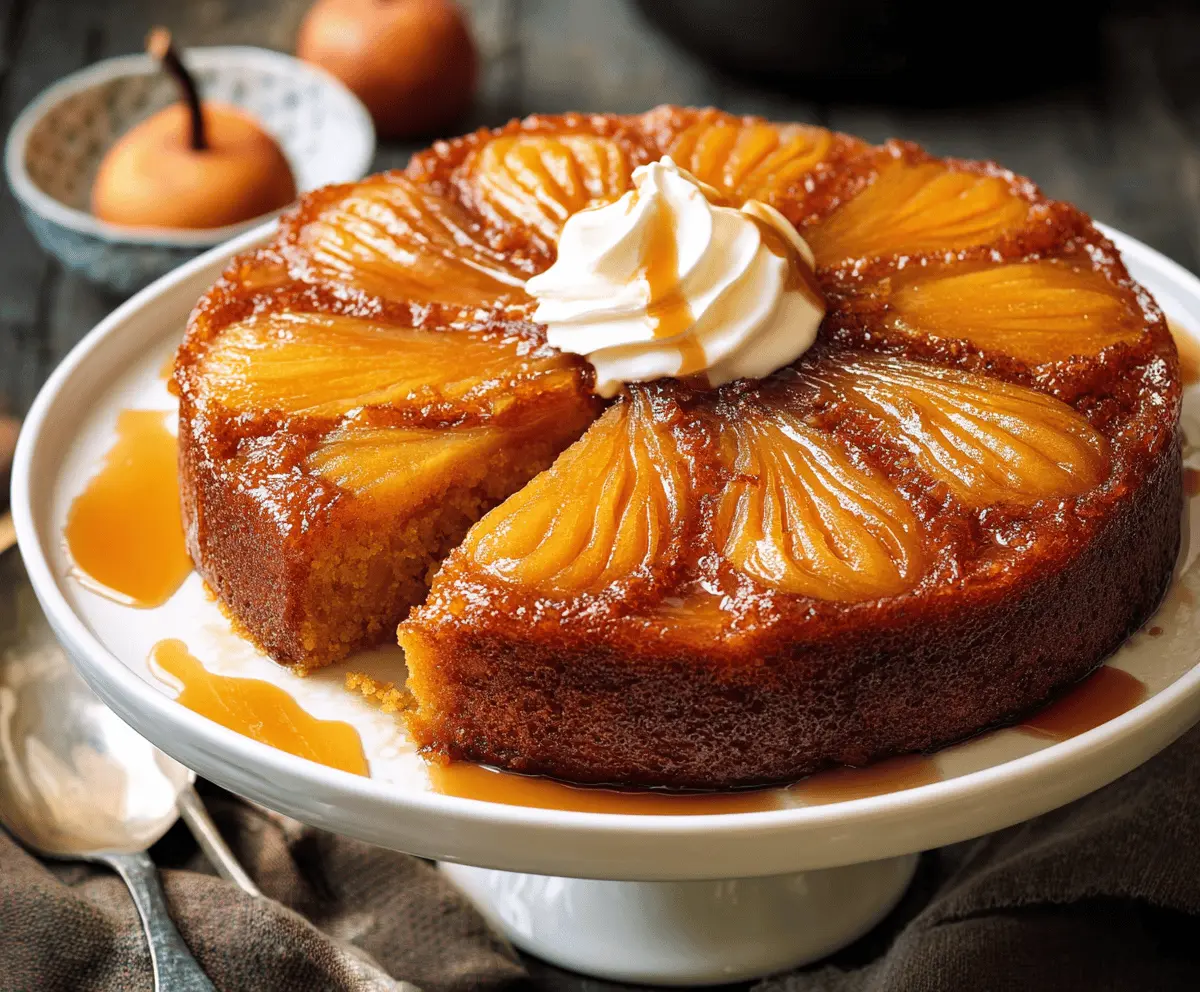
This Pumpkin Upside Down Cake is a warm and cozy dessert that highlights the sweet taste of pumpkin and spices. With a lovely caramel layer on top, it’s a treat for the senses!
I can’t resist the soft, moist cake that practically melts in my mouth. It’s perfect for fall gatherings or a simple family night. Plus, it’s fun to flip it over and reveal that stunning topping! 🎃
Key Ingredients & Substitutions
Pumpkin Puree: Use canned pumpkin puree for best results. If you have fresh pumpkin, you can cook and blend it, but it requires extra time. Be cautious—do not use pumpkin pie filling, it’s too sweet.
Apples or Pears: While the recipe calls for pear or apple, feel free to use other fruits like peaches or even canned pineapple for a twist. Choose fruits that hold up well during baking.
Buttermilk: If you don’t have buttermilk, you can easily substitute with milk and a tablespoon of vinegar or lemon juice. Let it sit for about 5 minutes for a similar effect!
How Do You Achieve the Perfect Caramel Topping?
The topping is essential for this cake, and getting it just right can make a big difference. Here’s how to do it successfully:
- Melt the butter slowly—keep an eye on it to avoid burning. Stir in brown sugar and spices until it’s bubbly and smooth.
- Spread the mixture evenly across the bottom of the pan to ensure all parts of the cake get that delicious caramel flavor.
- When laying down your pear or apple slices, overlap them slightly for a beautiful presentation after you invert the cake.
How to Make Pumpkin Upside Down Cake
Ingredients You’ll Need:
For the Topping:
- 1/4 cup unsalted butter (half a stick)
- 1/2 cup light brown sugar, packed
- 1 teaspoon ground cinnamon
- 1 small pear or apple, peeled, cored, and thinly sliced
For the Cake:
- 1 1/2 cups all-purpose flour
- 1 teaspoon baking powder
- 1/2 teaspoon baking soda
- 1/2 teaspoon salt
- 1 teaspoon ground cinnamon
- 1/2 teaspoon ground nutmeg
- 1/4 teaspoon ground cloves
- 1/4 teaspoon ground ginger
- 1/2 cup unsalted butter, softened
- 3/4 cup granulated sugar
- 1 large egg
- 1 teaspoon vanilla extract
- 3/4 cup canned pumpkin puree (not pumpkin pie filling)
- 1/2 cup buttermilk or plain yogurt
How Much Time Will You Need?
This delicious Pumpkin Upside Down Cake takes about 20 minutes of prep time and 40-50 minutes of baking time. After baking, let it cool for about 15 minutes before serving. In total, you should plan for around 1 hour and 30 minutes from start to finish!
Step-by-Step Instructions:
1. Preheat and Prepare the Pan:
First, preheat your oven to 350°F (175°C). While that’s warming up, grease a 9-inch round cake pan with butter or non-stick spray to prevent the cake from sticking later.
2. Make the Topping:
In a small saucepan over medium heat, melt the 1/4 cup of unsalted butter. Add in the brown sugar and ground cinnamon, stirring until it becomes smooth and bubbly—this should take about 1-2 minutes. Pour this delicious mixture into the bottom of your prepared cake pan and spread it evenly.
3. Arrange the Fruit:
Next, take your thinly sliced pear or apple and arrange the slices in a circular pattern over the buttery sugar mixture. This will create a lovely topping once the cake is flipped!
4. Combine the Dry Ingredients:
In a medium-sized bowl, whisk together the all-purpose flour, baking powder, baking soda, salt, and spices (cinnamon, nutmeg, cloves, and ginger). This will ensure that your cake has the right flavor and rises nicely!
5. Cream Butter and Sugar:
In a separate large bowl, cream together the softened butter and granulated sugar. Use an electric mixer to beat them together until the mixture is light and fluffy, which should take about 3-4 minutes.
6. Add Egg and Vanilla:
Beat in the egg and vanilla extract until this mixture is fully combined, creating a rich batter.
7. Mix in the Pumpkin:
Now, fold in the canned pumpkin puree until it’s well incorporated into the batter. This adds moisture and that delicious pumpkin flavor!
8. Combine Wet and Dry Ingredients:
Gradually add the dry ingredients to the pumpkin mixture, alternating with the buttermilk or yogurt. Start and end with the dry ingredients. Mix just until combined—be careful not to overmix, as this keeps the cake light and fluffy!
9. Assemble the Cake:
Pour the batter gently over the arranged fruit in the cake pan, smoothing it out with a spatula to make it even.
10. Bake the Cake:
Place the cake in the preheated oven and bake for 40-50 minutes. To test if it’s done, insert a toothpick into the center; it should come out clean when the cake is ready.
11. Cool the Cake:
Once baked, take the cake out and let it cool in the pan on a wire rack for about 15 minutes. This cooling time helps it set and makes it easier to flip over.
12. Invert the Cake:
Run a knife around the edges of the cake to loosen it from the pan. Place a serving plate over the pan and carefully invert the cake onto the plate. Lift off the pan, revealing the delicious caramelized fruit topping!
13. Serve and Enjoy:
Serve your warm or room temperature Pumpkin Upside Down Cake with a dollop of whipped cream if you like. Enjoy every moist, spicy, and sweet bite!
Indulge in this delightful dessert and share it with friends and family for a wonderful treat! 🎃🍰
Can I Use Fresh Pumpkin Instead of Canned?
Yes, you can use fresh pumpkin! Just make sure to cook it until tender, then scoop out the flesh and blend it until smooth. It may require extra time and effort compared to using canned pumpkin puree, but it’s a great option if you want to use fresh ingredients!
Can I Substitute Other Fruits for the Topping?
Absolutely! While the recipe suggests pear or apple, you can use other fruits like peaches, apricots, or even canned pineapple. Just make sure the fruit you choose holds up well during baking!
How Do I Store Leftover Cake?
To store leftovers, place the cake in an airtight container and keep it in the refrigerator. It will stay fresh for about 3-4 days. You can enjoy it cold or gently reheat it in the microwave!
Can I Make This Cake Gluten-Free?
Yes, you can! Substitute the all-purpose flour with a gluten-free flour blend. Be careful to ensure that it has a similar consistency to regular flour for the best results in texture!