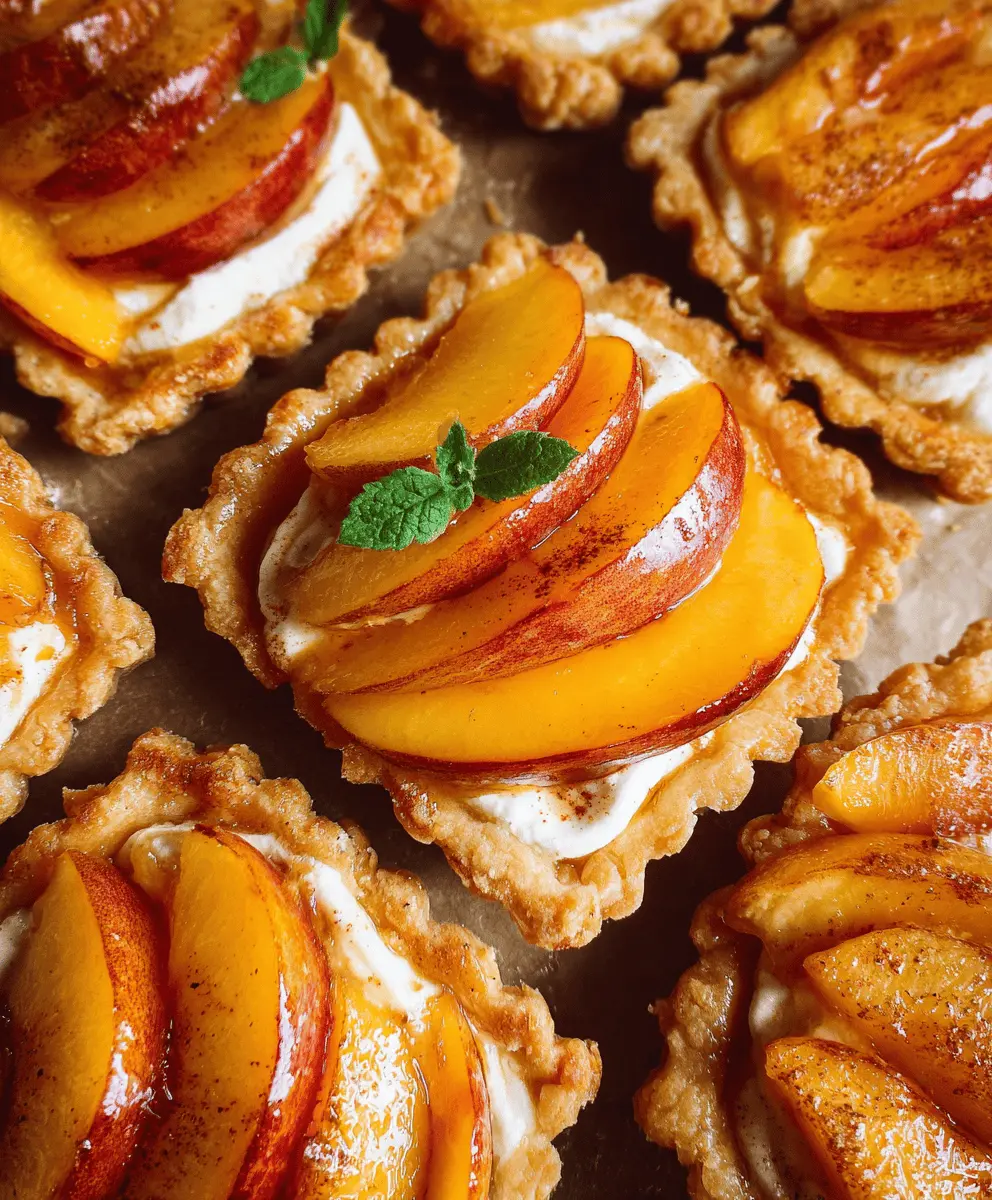
These mini peach and cream cheese tarts are like little bites of sunshine! With a buttery crust, sweet peaches, and a creamy filling, they make any day feel special.
These tarts are easy to whip up and perfect for sharing or enjoying alone. I love to serve them chilled—it’s like a sweet hug on a plate! 🍑❤️
Key Ingredients & Substitutions
All-purpose flour: This serves as the base for your tart crust. If you’re looking for a gluten-free option, you can use a 1:1 gluten-free flour blend. I’ve had great results with almond flour for a nutty flavor, but it might require slightly more butter.
Cream cheese: It provides a rich texture to the filling. If you’re dairy-free, feel free to substitute with a vegan cream cheese alternative. I find that cashew-based creams work well, giving a nice creamy feel.
Peaches: Fresh, ripe peaches are best for flavor. If peaches aren’t in season, you can use canned peaches — just make sure to drain them well! I often mix in some sliced strawberries or nectarines for variety.
Heavy cream: This adds fluffiness to the filling. If you prefer a lighter option, you can use whipped topping or a non-dairy whipping cream, which gives a similar texture without dairy.
Apricot jam: Using apricot jam offers a lovely glaze. If you don’t have that on hand, any fruit preserves or honey can work too. Just remember to warm them slightly for easy brushing!
How Can I Ensure My Tart Crust is Perfectly Crispy?
Making a great tart crust is key for your mini tarts. Here are some tips to achieve that perfect crispy crust:
- Keep your butter cold. This helps create layers that lead to a flaky crust. No room temperature butter here!
- Do not overwork the dough. Mix just until combined to keep it tender. If you see some flour bits, that’s okay!
- Prick the bottom of the crust a few times with a fork before baking. This allows steam to escape and prevents puffing.
- Bake until golden brown and let them cool completely before adding the filling to avoid sogginess.

How to Make Mini Peach and Cream Cheese Tarts
Ingredients You’ll Need:
For The Crust:
- 1 1/4 cups all-purpose flour
- 1/4 cup granulated sugar
- 1/2 teaspoon salt
- 1/2 cup (1 stick) unsalted butter, cold and cubed
- 1 large egg yolk
- 2-3 tablespoons ice-cold water
For The Filling:
- 8 ounces cream cheese, softened
- 1/3 cup powdered sugar
- 1 teaspoon vanilla extract
- 1/2 cup heavy cream
For The Topping:
- 2-3 ripe peaches, peeled and thinly sliced
- 1 tablespoon apricot jam (optional, for glazing)
- Fresh mint leaves (optional, for garnish)
How Much Time Will You Need?
This recipe takes about 30 minutes of prep time and an additional hour to chill before serving. So, plan for about 1 hour and 30 minutes total. Perfect for a sweet treat any time of the day!
Step-by-Step Instructions:
1. Prepare Your Oven and Tart Pan:
Start by preheating your oven to 350°F (175°C). Lightly grease a mini tart pan or mini muffin tin to make it easier to remove the tarts later. You can use non-stick spray or a little butter.
2. Make the Tart Crust:
In a large bowl, whisk together the flour, sugar, and salt. Add the cold cubed butter and use a pastry cutter or your fingers to blend until it looks like coarse crumbs. This helps create a crunchy texture!
3. Combine the Egg Yolk:
In a small bowl, beat the egg yolk along with 2 tablespoons of ice-cold water. Pour this into the flour mixture and mix it up until the dough starts to come together. If it seems too dry, add the extra tablespoon of water.
4. Chill the Dough:
Shape the dough into a ball, flatten it into a disk, and wrap it tightly in plastic wrap. Pop it in the fridge for about 30 minutes. This helps the dough relax, making it easier to roll out later.
5. Roll Out the Dough:
On a lightly floured surface, roll out the chilled dough to about 1/8 inch thick. Use a round cutter to cut out small circles that are slightly larger than the tart pan cavities. They will shrink a bit while baking, so don’t worry!
6. Line the Tart Pan:
Press the dough rounds gently into the greased mini tart pan or muffin tin. To stop them from puffing up, prick the bottoms lightly with a fork. This allows steam to escape while baking.
7. Bake the Crusts:
Place the crusts in the preheated oven and bake them for about 12-15 minutes, or until they turn nicely golden brown. Once baked, take them out and let them cool completely.
8. Prepare the Cream Cheese Filling:
In a mixing bowl, whip together the softened cream cheese, powdered sugar, and vanilla extract until it’s nice and smooth. Set it aside—it’s going to be delicious!
9. Whip the Cream:
In another bowl, whip the heavy cream until it reaches stiff peaks. This will make your filling light and fluffy! Gently fold the whipped cream into the cream cheese mixture until everything is well combined.
10. Fill the Tarts:
Using a spoon or piping bag, fill each cooled tart shell with the cream cheese mixture. Be generous and make them nice and full!
11. Add the Peach Topping:
Arrange the thinly sliced peaches beautifully on top of the cream cheese filling. You can layer them in a circular pattern or just pile them on—whichever you prefer!
12. Optional Glaze:
If you’d like a shiny finish, warm a tablespoon of apricot jam slightly and brush it over the peaches. It adds a lovely shine and extra flavor!
13. Chill Before Serving:
Pop the tarts into the refrigerator for at least 1 hour. This will help them set up well and make them nice and refreshing when you serve them.
14. Garnish and Enjoy:
Before you serve, garnish with fresh mint leaves if desired. Now, enjoy your delightful mini peach and cream cheese tarts—they’re bound to impress!
Frequently Asked Questions
Can I Use Other Fruits in These Tarts?
Absolutely! While peaches are delicious, you can swap them for other fruits like berries, nectarines, or even mango slices. Just make sure the fruit is ripe for the best flavor!
Can I Make These Tarts Gluten-Free?
Yes! Simply substitute the all-purpose flour with a gluten-free flour blend. Make sure it’s one that works well for baking to maintain the crust’s texture.
How Should I Store Leftover Tarts?
Store any leftover tarts in an airtight container in the refrigerator for up to 3 days. They are best enjoyed chilled, so just take them out of the fridge when ready to serve!
Can I Prepare the Filling Ahead of Time?
Definitely! You can make the cream cheese filling a day in advance. Keep it stored in the fridge in a sealed container, but be sure to fill the tart shells right before serving to keep the crust crisp!