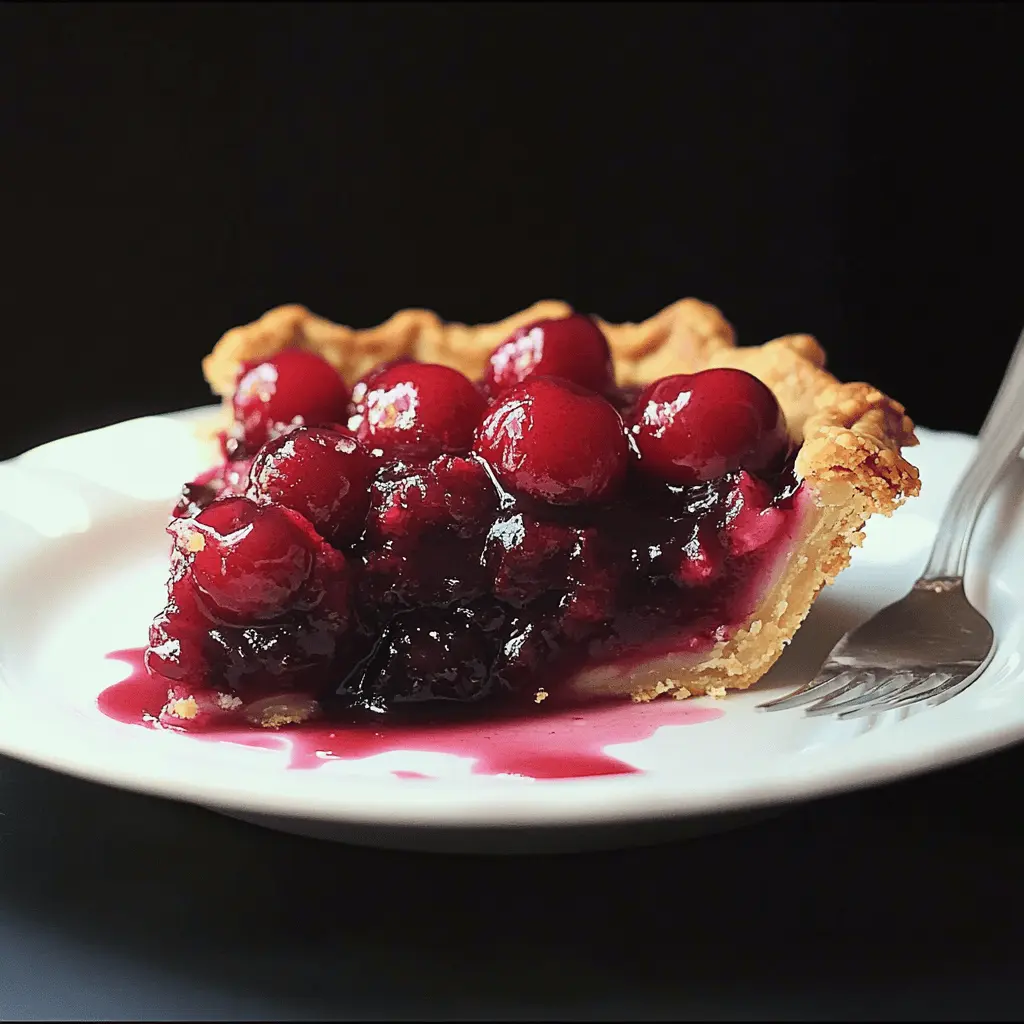
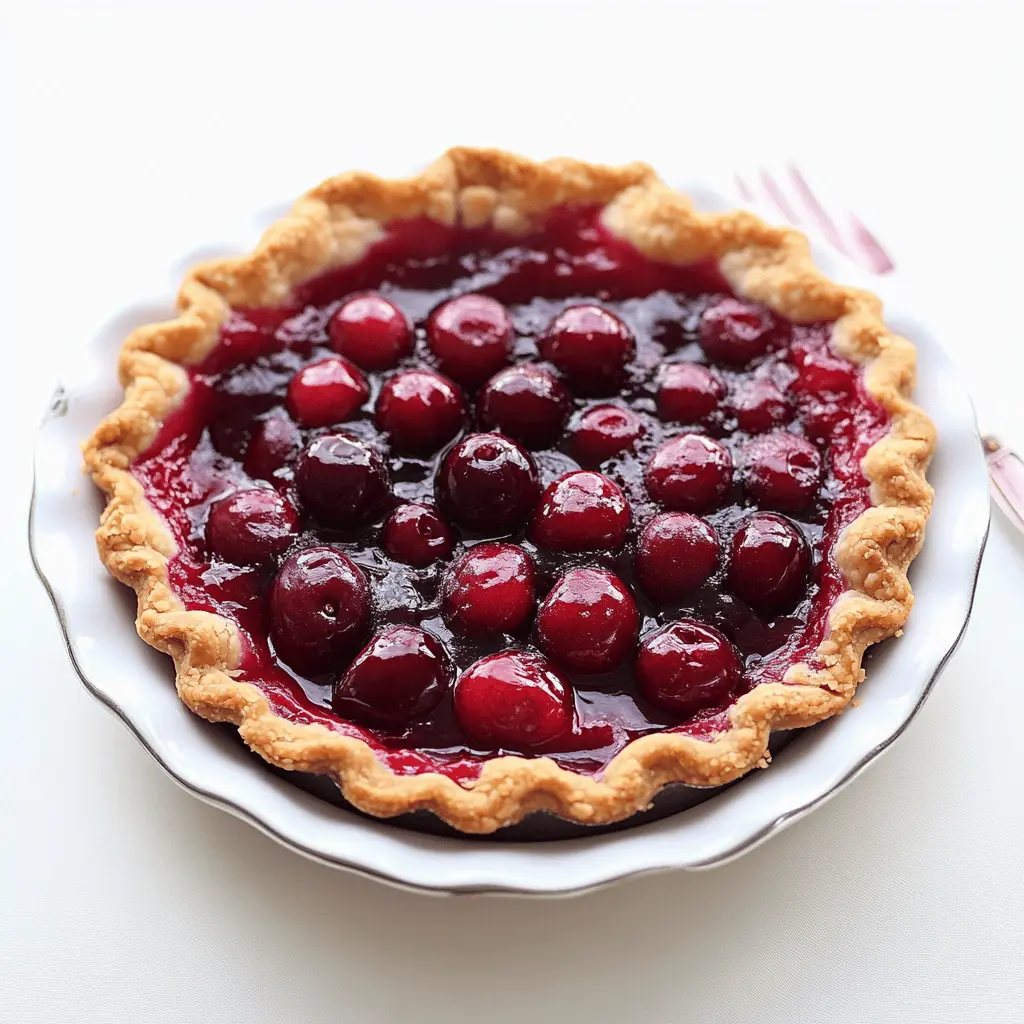
This easy homemade cherry pie bursts with sweet, juicy cherries and is wrapped in a flaky crust. Perfect for dessert lovers, it’s a real treat for the senses!
Making this pie brings back happy memories from childhood. Just roll out the dough, fill it with cherries, and bake! And let’s not forget, a scoop of ice cream on top makes it even better! 🍦
Key Ingredients & Substitutions
Frozen or Fresh Cherries: Fresh tart cherries bring vibrant flavor, but frozen ones can work well too. Just thaw and drain them a bit to avoid extra liquid. If cherries aren’t available, you can use blueberries or mixed berries for a different twist.
Sugar: The amount of sugar can depend on the natural sweetness of your cherries. Taste before you add too much! For a healthier option, consider using honey or maple syrup instead—just adjust the amounts accordingly.
Cornstarch: This thickens the filling and helps it set better. If you’re out of cornstarch, you can use all-purpose flour, but keep in mind the pie may be a bit less glossy and thick.
Pie Crust: The refrigerated ones are super convenient! However, homemade crust is an option if you’re feeling up for it. Store-bought crusts like graham cracker crust could also work if you’re looking for a no-fuss alternative.
How Do I Ensure My Cherry Pie Has a Perfectly Flaky Crust?
The crust is just as important as the filling! To get it flaky, handle it gently and don’t overwork the dough. Here’s some tips:
- Keep your ingredients cold (especially the butter) to help the crust stay flaky.
- Roll out the dough on a lightly floured surface to prevent sticking.
- Don’t skip the egg wash on the top crust; it adds a beautiful golden color when baked.
- Let the pie cool for a couple of hours before slicing to help it set.
With these tips, you’re on your way to a delicious cherry pie every time! Enjoy!
Easy Homemade Cherry Pie
Ingredients:
- 1 package (14.1 oz) refrigerated pie crusts (2 crusts)
- 4 cups fresh or frozen pitted tart cherries
- 1 to 1 1/2 cups granulated sugar (adjust to taste)
- 1/4 cup cornstarch
- 1/4 tsp almond extract (optional)
- 1 tbsp lemon juice
- 1/4 tsp salt
- 2 tbsp unsalted butter, cut into small pieces
- 1 egg, beaten (for egg wash)
- Vanilla ice cream or whipped cream (for serving)
How Much Time Will You Need?
This delicious cherry pie will require approximately 15 minutes of prep time and about 1 hour of baking time, plus at least 2 hours for cooling. In total, plan on around 3 hours from start to finish, but it’s worth the wait!
Step-by-Step Instructions:
1. Preheat the Oven:
Start by preheating your oven to 425°F (220°C). This high initial temperature helps to set the crust quickly.
2. Prepare the Cherry Filling:
In a large bowl, mix the pitted cherries, granulated sugar (adjust based on the sweetness of your cherries), cornstarch, lemon juice, optional almond extract, and salt. Stir gently until all the cherries are well-coated in the mixture.
3. Prepare the Crust:
Roll out one pie crust and fit it into a 9-inch pie plate. Make sure it covers the bottom and sides evenly.
4. Add the Cherry Filling:
Pour the cherry filling into the prepared crust, spreading it out evenly. Dot the top with small pieces of unsalted butter for added richness.
5. Top with the Second Crust:
Roll out the second pie crust and place it over the filling. Trim any excess dough hanging over the edges and crimp the edges together to seal the pie.
6. Make Steam Vents:
Cut small slits or designs in the top crust to allow steam to escape while baking. This step helps to prevent a soggy pie!
7. Egg Wash for Shine:
Brush the top crust with the beaten egg. This will give your pie a beautiful golden finish once baked.
8. Bake the Pie:
Place the pie on a baking sheet (to catch drips) and bake in the preheated oven for 15 minutes. Then, reduce the temperature to 350°F (175°C) and continue baking for an additional 35 to 40 minutes, until the crust is golden and the filling is bubbly.
9. Cool Down:
Remove the pie from the oven and let it cool on a wire rack for at least 2 hours to allow the filling to set. Patience is key here!
10. Serve and Enjoy:
Slice the pie and serve it warm or at room temperature. Don’t forget a generous scoop of vanilla ice cream or a dollop of whipped cream on top for the perfect finishing touch!
Enjoy your delicious homemade cherry pie with a perfect flaky crust and luscious cherry filling!
FAQ for Easy Homemade Cherry Pie
Can I Use Frozen Cherries for This Recipe?
Absolutely! If using frozen cherries, make sure to thaw them first, then drain any excess liquid to avoid a soggy pie. Frozen cherries can still yield delicious results!
How Do I Know When the Pie is Done Baking?
The pie is done when the crust is golden brown and the filling is bubbling through the steam vents. If the crust browns too quickly, you can cover the edges with aluminum foil to prevent burning.
Can I Make This Pie Ahead of Time?
Yes, you can prepare the pie and freeze it unbaked. Just wrap it well in plastic wrap and aluminum foil. When ready to bake, you can bake it from frozen—just add about 10-15 minutes to the baking time.
How Should I Store Leftover Cherry Pie?
Store leftover pie in an airtight container in the refrigerator for up to 3-4 days. You can also freeze slices; just make sure they’re wrapped well to maintain freshness. Reheat in the oven or microwave when you’re ready to enjoy!