Deep chocolate ice cream only works when the base tastes bold enough before it ever hits the machine. This version comes out dark, dense, and velvety, with a custard body that keeps the scoop creamy instead of icy. The cocoa gives it that familiar chocolate depth, but the chopped dark chocolate is what makes the flavor linger on the tongue.
The trick is building the chocolate in stages. Cocoa gets whisked with sugar first so it disperses cleanly, then the hot dairy melts in the chopped chocolate for a base that tastes fuller than cocoa alone. Egg yolks thicken the custard and give the finished ice cream that rich, smooth texture you want from a good homemade batch.
Below, I’ll walk through the points that matter most: how to keep the custard from scrambling, why the chill time is not optional, and what to do if you want a softer or more intensely chocolate result.
The custard thickened right at 175F and churned into the creamiest chocolate ice cream I’ve made at home. The dark chocolate flavor was deep without tasting bitter, and it scooped beautifully after an overnight freeze.
Save this homemade chocolate ice cream for the nights when you want a deep cocoa custard and a scoop that freezes up dense and creamy.
The Step That Keeps Chocolate Ice Cream from Tasting Thin
Chocolate ice cream gets weak fast when the cocoa is added without enough sugar support or when the dairy base never fully blooms the powder. Whisking the cocoa with part of the sugar first helps it disperse, so you don’t end up with dry pockets or a dusty finish. The chopped dark chocolate deepens the base and gives the flavor more staying power after freezing, which is where a lot of homemade versions fall flat.
The other place people lose texture is at the custard stage. If the yolks hit the heat too fast, they scramble; if the heat stays too low, the base never thickens enough to coat a spoon. Aim for a smooth custard that leaves a clean line on the back of a spoon and reaches about 175F. That’s the point where the ice cream will churn into something creamy instead of slushy.
What Each Ingredient Is Actually Doing in This Custard Base

- Heavy cream — This brings the fat that keeps the ice cream rich and soft. There isn’t a good substitute if you want the same body, though half-and-half will work in a pinch and give you a lighter, less plush result.
- Whole milk — It loosens the base just enough so the custard doesn’t turn greasy. Lower-fat milk will freeze harder and taste thinner.
- Unsweetened cocoa powder — This gives the ice cream its dark color and a deep chocolate backbone. Dutch-process cocoa tastes smoother and darker; natural cocoa is a little sharper, but either works.
- Dark chocolate — Melted chocolate makes the flavor rounder and helps the base freeze with a denser, silkier finish. Use a bar you’d actually eat out of hand; chips usually contain stabilizers that don’t melt as cleanly.
- Egg yolks — They thicken the custard and keep the texture creamy instead of icy. There’s no real equal swap here; if you skip them, you’ll need a different formula entirely.
- Vanilla and salt — Vanilla smooths the chocolate edge, and the salt keeps the flavor from tasting one-note. Don’t leave the salt out; even a small amount makes the chocolate taste deeper.
Cooking the Custard Without Scrambling the Yolks
Blooming the Cocoa
Whisk the cocoa with part of the sugar before any liquid goes in. That keeps the powder from clumping and helps it dissolve into the dairy instead of floating on top like mud. When the cream and milk go in, heat the mixture until it’s steaming and the cocoa smells round and chocolatey, not raw. If you rush this part, the final ice cream can taste thin and slightly chalky.
Tempering the Yolks
Whisk the yolks with the rest of the sugar until they look pale and a little thicker, then drizzle in the hot chocolate cream slowly while whisking the whole time. That gradual rise in temperature protects the eggs from scrambling. If you pour too fast, you’ll get little bits of cooked yolk and a grainy custard. Slow is what gives you a smooth base.
Thickening to the Spoon-Coating Stage
Return the custard to the pan and cook over medium-low heat, stirring constantly and scraping the bottom and corners. Watch for the moment it starts to coat the back of a spoon and leaves a clear path when you run your finger through it. The custard should never boil; if it does, the yolks can curdle and the texture turns sandy. Pull it off the heat as soon as it reaches that 175F mark.
Straining, Chilling, and Churning
Strain the custard through a fine mesh sieve to catch any tiny bits of cooked egg and any cocoa lumps. Stir in the vanilla and salt once it’s off the heat, then cool it over an ice bath before refrigerating. The long chill is what lets the base fully relax and freeze properly in the machine. If you churn it while it’s still warm, you’ll get a loose, soft mixture that freezes with ice crystals instead of a clean scoop.
How to Adjust This Chocolate Ice Cream for Different Kitchens
Dairy-Free Version with Coconut Cream
Swap the cream and milk for full-fat canned coconut milk and coconut cream, then keep the rest of the method the same. The ice cream will still be rich, but it picks up a light coconut note and freezes a little firmer, so let it sit out for several minutes before scooping.
Extra-Dark Chocolate Flavor
Use a chocolate with 70% cacao or higher and add an extra tablespoon of cocoa powder. This makes the base more intense and slightly less sweet, which is the right move if you want a grown-up, almost truffle-like scoop.
No Ice Cream Maker
You can freeze the chilled base in a shallow pan and stir it every 30 minutes until set, but the texture won’t be as smooth as churned ice cream. The custard still gives you a richer result than a no-cook base, yet you’ll get a bit more ice crystal and less overrun.
Storage and Freezing
- Refrigerator: Keep the churned base before freezing for up to 24 hours if needed, but the texture is best when it goes into the machine chilled and then straight to the freezer.
- Freezer: Freeze in an airtight container for up to 2 weeks. After that, the flavor still holds, but the texture starts to pick up more ice crystals.
- Reheating: Let it sit at room temperature for 5 to 10 minutes before scooping. If it’s rock hard, don’t microwave the whole container; that softens the edges unevenly and makes the center icy.
Questions I Get Asked About This Recipe
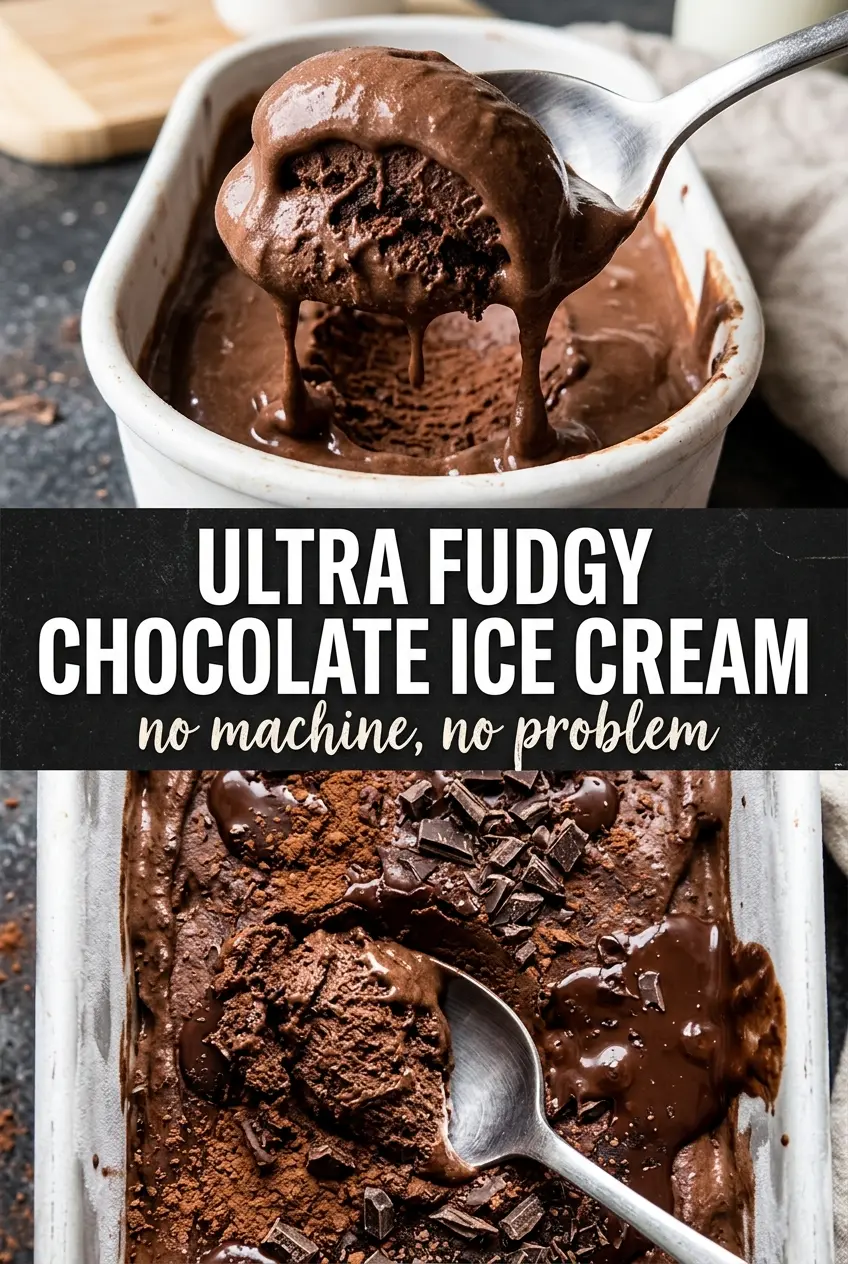
Homemade Chocolate Ice Cream
Ingredients
Equipment
Method
- Whisk the cocoa powder with 1/4 cup of the sugar, then whisk in the heavy cream and whole milk in a saucepan until smooth.
- Heat the mixture over medium, whisking constantly, until it is steaming.
- Add the finely chopped dark chocolate and whisk until fully melted and smooth.
- Whisk the egg yolks with the remaining 1/2 cup sugar until pale and slightly thick.
- Slowly whisk the hot chocolate cream into the yolks to temper the eggs.
- Return everything to the saucepan and cook over medium-low heat, stirring constantly, until the custard coats the back of a spoon at 175F.
- Strain the custard through a fine mesh sieve, then stir in the vanilla extract and salt.
- Cool the custard completely over an ice bath until room temperature.
- Refrigerate at least 4 hours or overnight until very cold.
- Churn the chilled custard in an ice cream maker until thick and soft-serve consistency.
- Freeze the churned ice cream until firm enough to scoop.