Viral cottage cheese ice cream earns its keep the first time you scoop into it and find a base that’s cold, creamy, and thick enough to hold its shape without turning icy. When it’s blended well, the cottage cheese disappears into a smooth vanilla ice cream that feels indulgent, not skimpy, and the protein keeps it satisfying in a way regular quick-fix desserts usually don’t.
The trick is treating the blender stage like the whole recipe depends on it, because it does. Cottage cheese needs enough time to go completely silky; any curds left behind will freeze into little grains. Honey or maple syrup helps with sweetness, but it also softens the texture just enough that the frozen result stays scoopable after a short rest on the counter.
Below, I’ll walk through the part that matters most: getting the base fully smooth before it goes anywhere near the freezer. I’ve also included a few smart ways to change the flavor without wrecking the texture, plus the little storage note that keeps this dessert from freezing into a brick.
I was skeptical about the cottage cheese texture, but after blending it for a full 2 minutes it turned out smooth and creamy. Mine scooped beautifully after 4 hours in the freezer and didn’t get icy at all.
Save this cottage cheese ice cream for a creamy, high-protein dessert that blends smooth and freezes scoopable.
The Blender Step That Decides Whether It Tastes Creamy or Grainy
Cottage cheese ice cream lives or dies on the first blend. If the curds aren’t fully broken down, they won’t magically smooth out in the freezer; they’ll set up as tiny icy bits that read as grainy on the tongue. A high-powered blender gives you the smoothest result, but a food processor works too if you give it enough time and stop to scrape down the sides once or twice.
The mixture should look glossy and thick, almost like a very loose pudding, before it goes into the freezer. That’s the sign the cottage cheese has actually emulsified with the sweetener and vanilla. If it still looks speckled or foamy in a bad way, keep blending. Under-blending is the most common reason this recipe disappoints.
What Each Ingredient Is Actually Doing in This Ice Cream

- Full-fat cottage cheese — This is the base, and the fat matters. Low-fat cottage cheese works, but the finished ice cream tastes thinner and can freeze harder. Full-fat curds blend into a richer, more scoopable dessert.
- Honey or maple syrup — Beyond sweetness, this keeps the texture softer straight from the freezer. Honey gives a rounder, floral sweetness; maple brings a deeper note. Either one works, but granulated sugar won’t help the texture the same way here.
- Vanilla extract — This is what makes the cottage cheese taste like dessert instead of a cold snack. Use real vanilla if you have it; the flavor is simple enough that you’ll notice the difference.
- Lemon juice — The acid brightens the flavor and cuts the dairy heaviness. It doesn’t make the ice cream taste lemony; it just keeps the base from tasting flat.
- Salt — A tiny amount sharpens everything and keeps the sweetness from tasting one-note. Don’t skip it.
Freezing the Base Without Turning It Into a Brick
Blend Until the Curds Vanish
Add the cottage cheese, honey or maple syrup, vanilla, salt, and lemon juice to a high-powered blender or food processor. Blend until the mixture is completely smooth, stopping to scrape the sides if needed. You’re looking for a creamy base with no visible curds, not just a mixture that looks mostly combined. If you rush this part, the texture will never fully recover after freezing.
Freeze in a Shallow Container
Pour the blended mixture into a freezer-safe container with a lid and spread it out evenly. A shallow container freezes faster and more evenly than a deep one, which helps keep ice crystals smaller. Set it in the coldest part of your freezer and leave it alone for about 4 hours. If the top freezes first while the center stays soft, it usually means the container was too deep or the freezer is packed too tightly.
Let It Relax Before Scooping
After freezing, let the ice cream sit at room temperature for about 5 minutes. That short rest makes a big difference in scoopability and brings the texture back from frozen-solid to creamy. If it’s still too firm, wait another couple of minutes rather than digging in right away and tearing it apart.
Finish With Toppings That Add Contrast
Spoon the ice cream into bowls and top with fresh berries, chocolate chips, or a drizzle of honey. The toppings matter here because the base is mild and creamy; something tart or crunchy keeps each bite interesting. If you want the most classic result, go with berries. If you want it to feel more like dessert-dessert, chocolate chips win.
Three Ways to Change the Flavor Without Breaking the Texture
Berry Swirl Version
Blend the base as written, then fold in a few spoonfuls of mashed strawberries, raspberries, or blueberries before freezing. Keep the amount modest so you don’t add too much water, which can make the ice cream icy. The fruit gives you brighter flavor and little ribbons of color without changing the method.
Chocolate Chip Protein Ice Cream
Stir in mini chocolate chips after blending, just before freezing. Mini chips distribute better than full-size chips and don’t fight the soft texture when you scoop. This version tastes the most like a classic ice cream shop pint.
Dairy-Free Version
Cottage cheese is the backbone here, so a true dairy-free swap changes the recipe completely. If you need dairy-free ice cream, this method won’t translate cleanly without a different base like coconut cream. That swap gives you richness, but it won’t deliver the same protein or the same clean tang.
Lower-Sugar Version
You can cut the sweetener slightly, but don’t remove it entirely. The syrup does more than sweeten; it helps keep the frozen texture soft enough to scoop. If you go much lower, expect a firmer, icier result and plan on a longer thaw before serving.
Storage and Reheating
- Refrigerator: Not recommended. This is meant to be frozen, and it turns loose and watery in the fridge.
- Freezer: Keeps for about 1 week with a lid on tight. After that, it can start to pick up ice crystals and lose its smooth texture.
- Reheating: Let it sit at room temperature for 5 to 10 minutes before scooping. Don’t microwave it; that melts the edges fast and leaves the center icy.
Questions I Get Asked About This Recipe
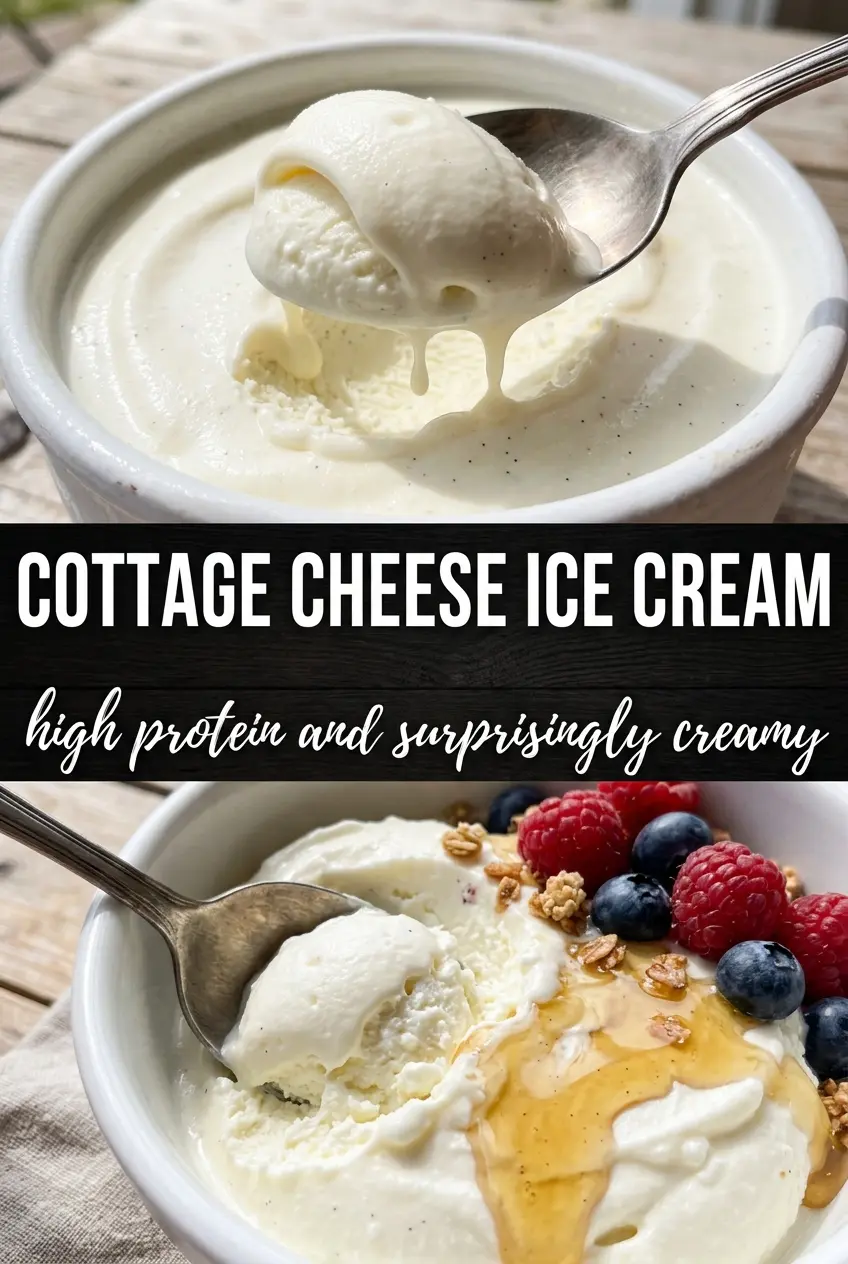
Cottage Cheese Ice Cream
Ingredients
Equipment
Method
- Add full-fat cottage cheese, honey or maple syrup, vanilla extract, salt, and lemon juice to a high-powered blender. Blend until completely smooth with no lumps, about 2 minutes, scraping the sides as needed for a thick texture.
- Taste the base and adjust sweetness by adding a little more honey or maple syrup if desired. Pour into a freezer-safe container with a lid and freeze for 4 hours until firm.
- After freezing, let the ice cream sit at room temperature for 5 minutes. Scoop into bowls and top with fresh berries or chocolate chips, and drizzle with honey if you like.